Why does your saddle feel too low after standing on a climb?
Separate a slipping seatpost from a temporary change in pedalling sensation, fatigue, gearing, and an actual bike-fit problem before moving the saddle.
 Field guide / saddle-feels-low-after-standing-climb
A saddle can feel lower when you sit down after a hard standing effort even though it has not moved. Standing changes how you load the pedals, stabilise your pelvis, and use your legs; fatigue can make the seated position feel unfamiliar for a minute. Check for actual movement before reaching for a hex key.
The short answer: mark the seatpost, measure the setup, and ride the same climb without changing anything mid-ride. If the reference mark moves, diagnose the slipping post. If it does not, recover in an easier gear and judge the fit during several normal seated efforts—not during the first few pedal strokes after standing.
Why the sensation changes after standing
A current bike-fit discussion described a rider who felt comfortable at first, stood during a hard climb, then returned to the saddle and immediately felt too low. The resulting temptation was to raise the saddle during the ride. That is a useful demand signal, but a short video or comment thread cannot diagnose an individual fit.
Seated and standing cycling are genuinely different tasks. Research comparing the positions has found changes in muscle activation, joint contribution, oxygen use, and perceived effort. That supports a modest conclusion: returning to the saddle after a forceful standing effort can feel different without proving that the saddle height is wrong.
Several ordinary effects can overlap:
- Different muscle recruitment: standing removes the saddle as a support and asks the upper body and hips to stabilise the bike differently.
- Higher force: riders often stand when the gear is hard or the gradient steepens, so the first seated strokes may still be overgeared.
- Fatigue: tired quadriceps, hips, calves, or trunk muscles can change how much you extend the ankle or settle onto the saddle.
- Position reset: you may sit on a slightly different part of the saddle after moving fore and aft.
- Real movement: the seatpost, saddle rails, or clamp may actually have slipped.
Only the last item is solved by tightening or raising something immediately.
Prove whether the seatpost moved
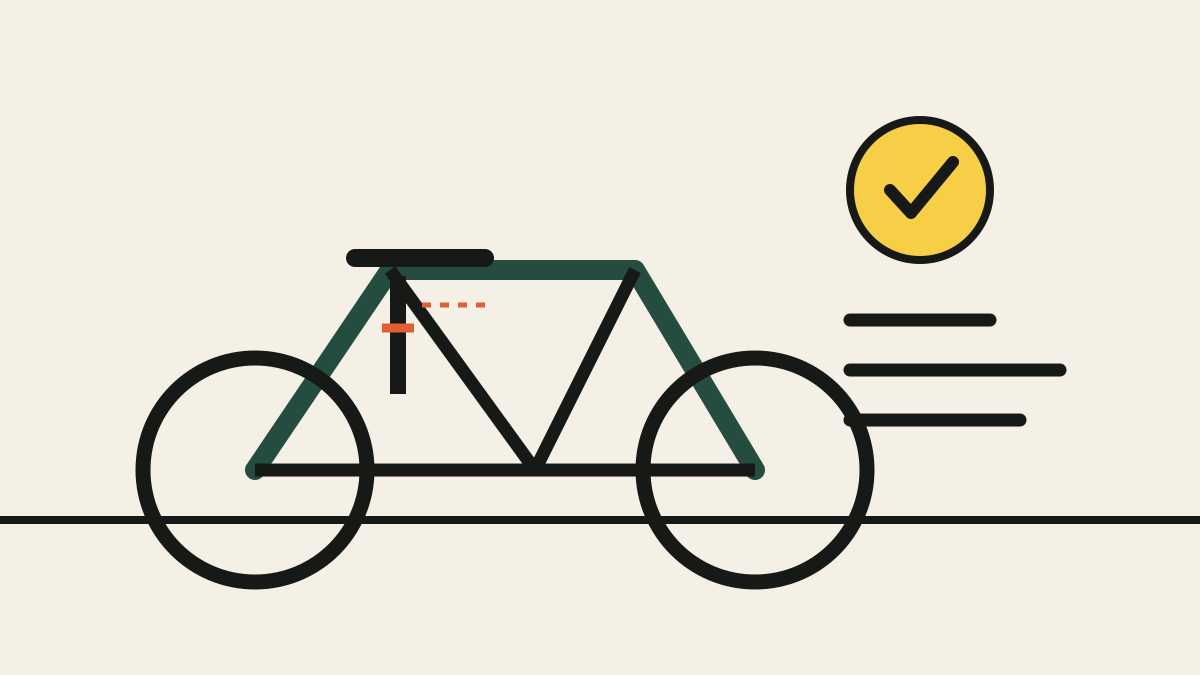
Before the next ride, clean the visible seatpost and make a small, removable reference mark exactly where it enters the frame. A narrow strip of paint-safe tape works if it cannot catch clothing or obscure the minimum-insertion mark.
Record three measurements:
- Saddle height from one repeatable frame reference to the same point on the saddle.
- Saddle setback or rail position using a repeatable reference.
- Saddle tilt measured on the same surface each time.
Photograph the seatpost mark and saddle clamp from both sides. After the climb, compare the mark before loosening anything.
If it moved, stop treating this as a fit question. Use the slipping seatpost diagnosis to verify the correct post diameter, clamp, surface preparation, hardware condition, insertion, and manufacturer torque. Repeatedly adding torque can damage a frame or post.
Also inspect the saddle rails and clamp cradle. A saddle can rotate nose-up or slide rearward while the seatpost height remains unchanged, which may also create a “too low” or cramped sensation.
Use a recovery reset before judging fit
When you sit down after standing:
- Shift to a gear that lets you pedal smoothly rather than forcefully.
- Settle onto the broad supported part of the saddle.
- Keep your hands light and elbows relaxed.
- Pedal easily for 30–60 seconds if the road allows.
- Reassess only after breathing and cadence stabilise.
Do not stare at your knee or shoe while riding. The purpose is to remove the immediate effort change, not to conduct a moving fit inspection.
If the sensation disappears after a short reset, record it but leave the saddle alone. If it returns consistently during ordinary seated riding, that is better evidence for a fit review.
Do not adjust the saddle on top of fatigue
Raising the saddle 10–15 mm because it feels low on one climb is a large intervention, not fine tuning. It can increase reach to the pedals, change pelvic movement, move your effective position rearward, and alter pressure at the hands and saddle. Moving it forward at the same time hides which change caused the result.
Instead, use the process in change one bike-fit setting at a time:
- return to the last measured baseline;
- change only one variable;
- use a small, documented increment;
- repeat the same seated route and effort;
- judge comfort and control over more than five minutes;
- reverse the change if symptoms worsen.
Do not use saddle fore-aft position merely to shorten or lengthen reach to the bars. Start with lower-body support, then assess the cockpit.
A repeatable test ride is more useful than a mirror
Choose a familiar loop with a flat section, a steady seated climb, and a safe place to stop. Keep tyre pressure, shoes, pedals, and normal riding kit consistent.
Record:
- when the sensation begins;
- whether it follows standing every time;
- gear and approximate cadence;
- whether the seatpost mark moved;
- any pain, numbness, hip rocking, or loss of control;
- whether easy seated pedalling resolves it.
Repeat the ride twice before changing hardware, unless a safety issue appears. A five-minute trainer clip can reveal obvious movement, but it cannot reproduce the fatigue, gradient, surface, or duration that triggered the complaint.
When the bike fit deserves a professional review
Get qualified help when the setup stays mechanically fixed but you have persistent pain, numbness, marked asymmetry, repeated saddle sores, or an inability to control the bike from the hoods and drops. Bring the measurement log and describe the exact trigger rather than asking whether the position “looks right.”
The guide to choosing a bike fitter explains how to assess qualifications, process, and follow-up. If a previous fit produced this problem, use its follow-up period before paying someone else to start again.
Your next step
Mark the seatpost and photograph the saddle clamp before your next climb. Ride the setup unchanged, recover for one minute after standing, and check the mark. You will finish with one of two useful findings: a mechanical slip to repair, or a repeatable sensation to test from a documented fit baseline.