Why do road-bike tyres lose air without a puncture?
Some pressure loss is normal because air moves through tubes and seals. Compare both wheels, measure the trend, and find slow leaks at the valve, tube, tape, or tyre.
 Field guide / road-bike-tyres-lose-air-without-puncture
Before you buy
Check the starter kit first
Print the one-page buying brief for helmet, lights, water, phone, and repair compatibility before comparing upgrades.
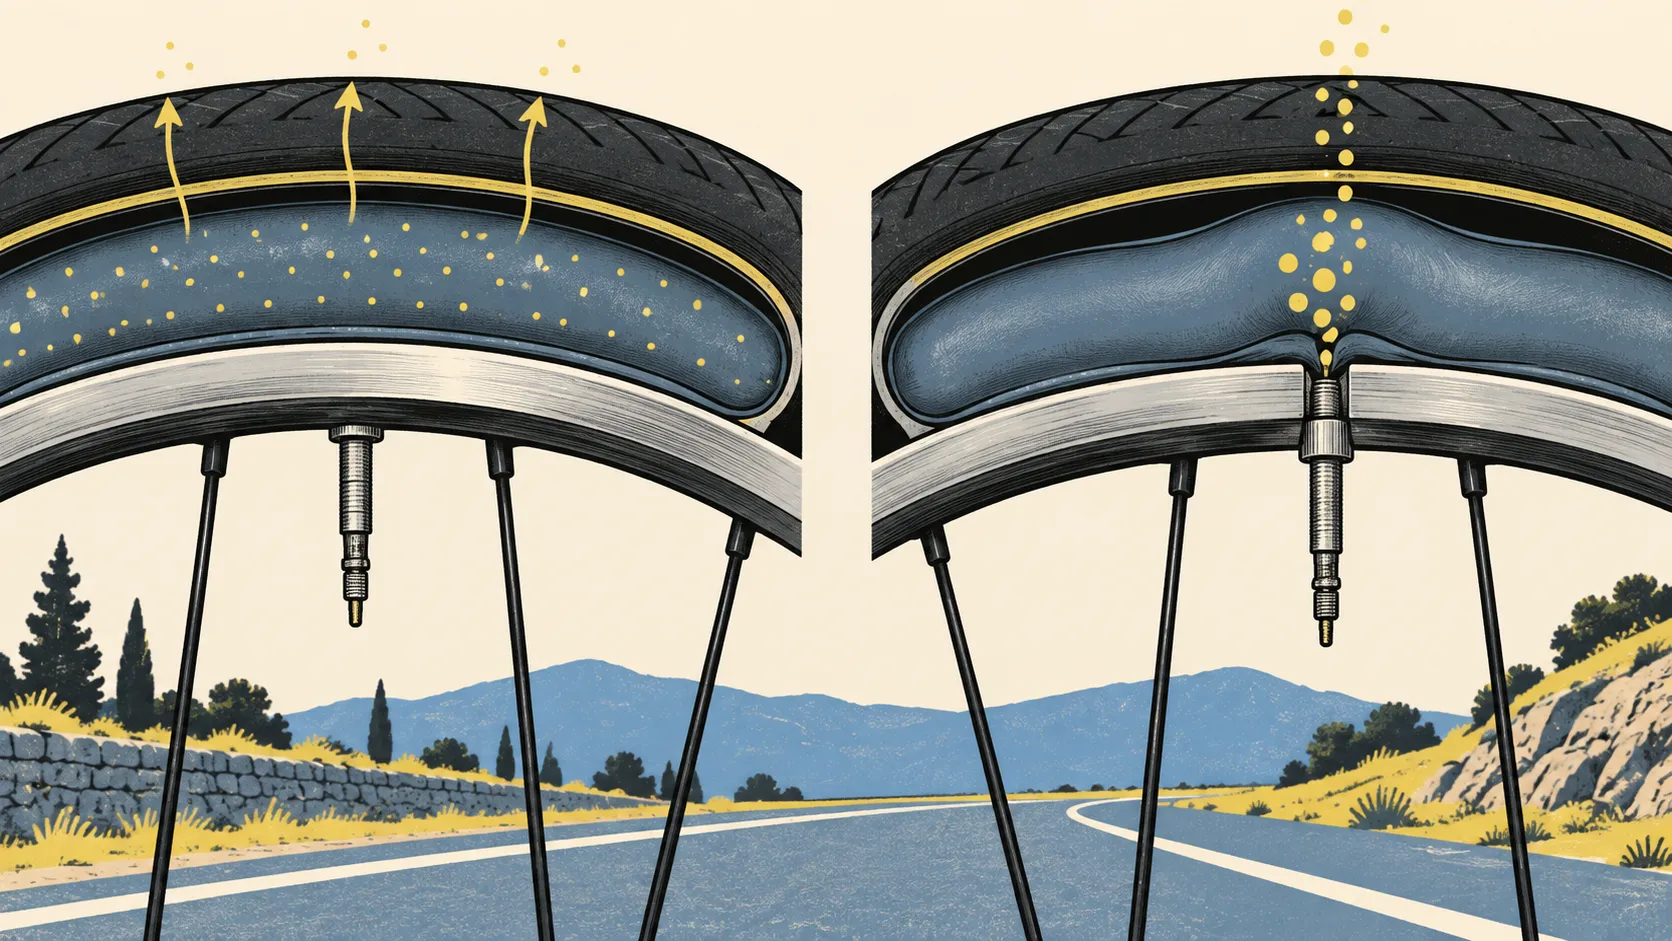
All bicycle tyres lose some air while parked. Air molecules gradually pass through tubes, tyre casings, and seals, and a pressure reading also changes with temperature. The practical problem is deciding whether the loss matches your system’s normal pattern or indicates a slow leak.
The short answer: measure with the same gauge, at roughly the same temperature, over several days. Similar gradual loss from both wheels can be normal. One wheel falling much faster, a tyre becoming unrideably soft overnight, bubbles at one point, or a worsening trend points to a valve, tube, rim tape, bead, sealant, or tyre problem.
Why there is no universal normal rate
Repeated r/cycling questions ask whether losing roughly one bar per week is normal or whether a large difference between front and rear indicates a leak. The replies often give conflicting numbers because the systems are not equivalent.
Pressure loss varies with:
- tube material such as butyl, latex, or TPU;
- tubed versus tubeless construction;
- starting pressure and air volume;
- tyre and rim construction;
- valve and removable-core condition;
- sealant age and distribution;
- temperature change;
- the pump head and gauge used to measure it.
Schwalbe’s technical information describes gradual pressure loss as normal and notes that different tube materials retain pressure differently. Treat any quoted rate as product context, not a pass/fail rule for every wheel.
Establish your own baseline
Use a floor pump with one gauge for the comparison.
- Inspect both tyres before inflation.
- Set each to its appropriate riding pressure, within the tyre and rim makers’ limits.
- Record pressure, time, and room temperature after the pump is disconnected.
- Leave the bike in the same location without riding it.
- Measure after 24 hours and again after several days.
Connecting a pump can release a brief hiss from the pump hose and fitting. That sound does not prove the tyre lost all that air. The first gauge movement may also fill and pressurise the pump hose, so use a consistent technique.
Do not use a thumb squeeze to measure a small change. It is useful only for noticing that a tyre is grossly soft. Read why a quick tyre squeeze is not a full bike check for the pre-ride routine.
Compare patterns, not internet numbers
| Pattern | Likely interpretation | Next step |
|---|---|---|
| Both matching wheels lose a similar modest amount | May be normal permeability or temperature | Establish baseline and top up before riding |
| One wheel loses much more than the other | Local slow leak likely | Test valve, tube or tubeless system |
| Tyre is nearly flat by morning | Not useful normal loss | Do not ride; find and repair the fault |
| Loss speeds up over time | Developing leak or seal problem | Inspect promptly |
| Tubeless tyre bubbles at bead, spoke hole, or valve | Sealing or tape/valve problem | Follow rim, tyre, and sealant instructions |
| Pressure changes after moving between hot and cold rooms | Temperature contributes | Compare at similar temperature |
Your front and rear may use different pressures, tyres, or tubes, so compare percentage and trend cautiously. A dramatic mismatch still deserves inspection.
Check the valve first
Presta valve
Unscrew the small tip before pumping, tap it briefly if stuck, and close it finger-tight afterward. Do not use pliers on the tip. Some Presta valves have a removable core; if the core is loose, use the correct tool gently and follow the valve maker’s instructions.
Look for bubbling around the core, stem base, and where a tubeless valve meets the rim. A tube leaking where the stem joins the rubber is normally replaced, not trusted for a road repair.
Schrader valve
A loose or contaminated removable core can leak. Park Tool notes that a loose core may cause a slow leak. Use a compatible tool and do not over-tighten.
The external plastic cap keeps dirt away; it is not the primary air seal for either valve type.
Find a leak in an inner tube
Remove the wheel and tube using the steps in how to fix a road-bike puncture. Keep the tube oriented relative to the tyre so the hole location can lead you to the cause.
Add only enough air to give the tube shape. Listen and feel, then apply soapy water or submerge sections in water and watch for repeated bubbles. Do not inflate the unsupported tube to tyre pressure; it can stretch dramatically or burst.
Once the hole is located, inspect the matching point in the tyre and rim:
- outer surface: embedded glass, wire, thorn, or casing damage;
- inner surface: protruding object or rough repair;
- rim side: displaced tape, sharp spoke hole, burr, or valve-hole damage;
- two parallel cuts: possible pinch event from impact or low pressure;
- stem base: movement, misalignment, or tube damage.
Remove the cause before fitting a patch or new tube, or the replacement may puncture immediately.
Find a leak in a tubeless system
Confirm the wheel, tyre, tape, valve, and sealant are designed to work together. Inflate only within every component limit. Rotate and shake the wheel only as the sealant maker directs, then use soapy water to check:
- tread and sidewalls;
- tyre bead on both sides;
- valve core and valve base;
- spoke holes and rim joint.
Bubbles at spoke holes can indicate rim-tape leakage rather than multiple punctures. Do not keep adding sealant to hide damaged tape, an incompatible combination, a loose valve, or casing damage. Remove the tyre and inspect, or use a qualified mechanic.
Top up by measurement, not habit alone
Check pressure before each ride until you know how quickly your setup changes. Some high-pressure or high-permeability systems need attention more often than butyl tubes in larger tyres. A stable weekly routine may work for one bike and be too infrequent for another.
Choose the riding pressure separately using tyre pressure for beginner road cyclists. The sidewall maximum is a limit, not a target, and the rim may have a lower limit.
Your next step
Inflate both tyres with the same gauge, record the readings and temperature, and recheck after 24 hours without riding. If one wheel drops markedly faster, test the valve and then the tube or tubeless interfaces. Do not ride until a rapid or unexplained loss is resolved.