Road bike tyre pressure for heavier riders (85kg–110kg+)
Calculate safe, fast, and comfortable tyre pressure for heavier road cyclists (85kg to 110kg+): rim limits, pinch-flat prevention, and PSI charts for 25mm, 28mm, 30mm, and 32mm tyres.
 Field guide / road-bike-tyre-pressure-heavy-riders
Before you buy
Check the starter kit first
Print the one-page buying brief for helmet, lights, water, phone, and repair compatibility before comparing upgrades.
If you weigh between 85kg and 115kg+ (187–250+ lbs), old-school cycling advice told you to pump your tyres to 110 or 120 PSI to avoid pinch flats. That advice is outdated, uncomfortable, and often dangerous on modern wheels. Dialling in your road bike tyre pressure as a heavier cyclist requires balancing total system weight, front-to-rear distribution, tyre width, and strict rim safety limits. Moving from 25mm to 28mm, 30mm, or 32mm tyres allows you to drop pressure safely, preventing flats while drastically improving comfort, cornering grip, and actual rolling speed on real-world roads.
The short answer: do not inflate to 120 PSI. Calculate your total system weight (rider + bike + gear), split pressure 45% front and 55% rear (running the rear tyre 5–8 PSI higher), and never exceed your rim’s maximum pressure limit (especially the strict 72.5 PSI / 5.0 bar limit on hookless rims). If you weigh over 85kg, upgrading to 28mm, 30mm, or 32mm tyres gives you the air volume needed to prevent rim strikes without turning your bike into a teeth-rattling jackhammer.
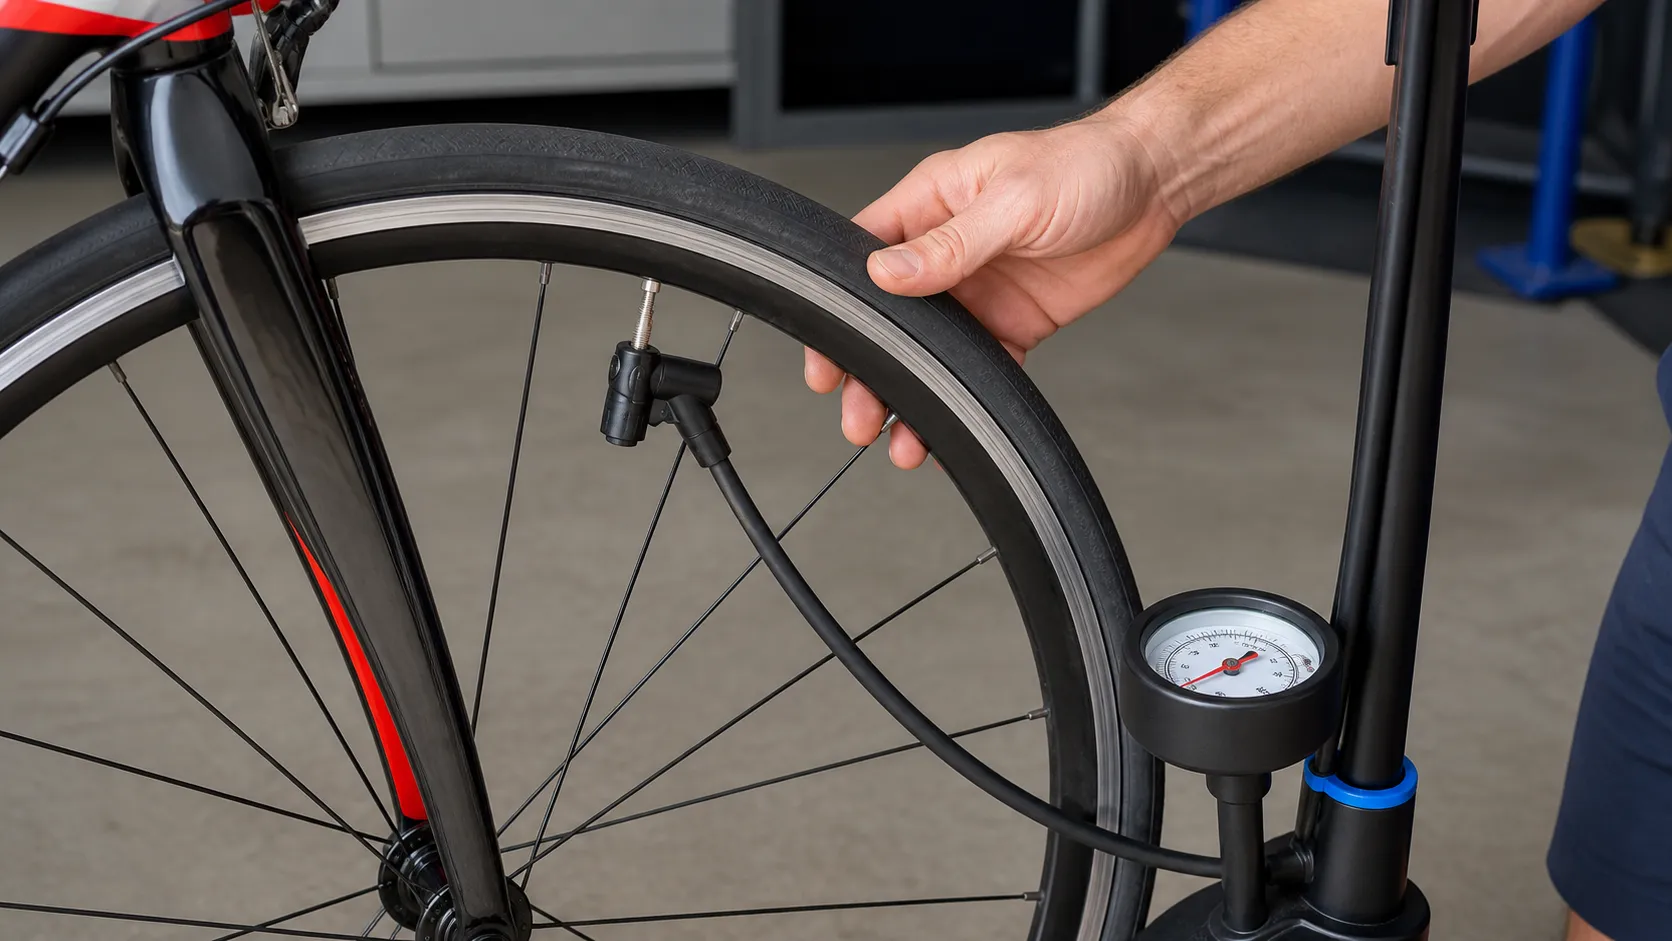
The heavy rider pressure paradox: why old advice fails
For decades, the standard road cycling myth was simple: heavier riders need rock-hard tyres. If an 65kg rider ran 90 PSI, a 95kg rider was told to pump to 120 PSI.
Modern rolling resistance research and real-world testing from tyre manufacturers (like Continental, Schwalbe, and SILCA) have proven this assumption completely backwards. Here is why the 120 PSI habit hurts heavier cyclists:
1. The myth of the steel drum vs real tarmac
In laboratory drum tests on glass-smooth steel cylinders, ultra-high pressure yields low rolling resistance because the tyre casing does not flex. But real roads are made of asphalt, chipseal, bumps, and micro-cracks.
When a tyre is inflated to 110–120 PSI on real pavement, it cannot deform around micro-bumps. Instead, the entire bike and rider are thrown upward micro-fractions of an inch with every pebble. This vertical bouncing is called impedance loss or suspension loss. The energy required to lift your body weight upwards comes directly out of your forward momentum.
For an 85kg–105kg rider, an over-inflated tyre acts like an unsprung wooden wheel. It feels fast because of high-frequency road buzz, but on a stopwatch and power meter, you are working harder to go slower.
2. Physical fatigue and joint punishment
Road bikes have rigid carbon or aluminium frames without suspension forks. Your tyres are your bike’s only suspension. Rock-hard tyres transmit violent vibration straight into your wrists, palms, lower back, and saddle contact area. Over a 50km or 100km ride, that constant road chatter drains your muscular endurance far faster than pedal resistance ever will.
3. Loss of cornering grip and braking traction
Traction comes from the tyre’s rubber contact patch conforming to the road. A tyre inflated to extreme pressure skips across ripples in the tarmac during fast descents and hard cornering. When leaning into a turn or braking hard in emergency conditions, a slightly softer casing moulds over the road surface, dramatically increasing your mechanical grip and stopping power.
Understanding system weight and weight distribution
When setting tyre pressure, your bathroom scale is only part of the equation. You must calculate total system weight:
Total System Weight = Rider Body Weight + Bike + Water Bottles + Gear & ClothingFor a typical heavier road cyclist:
- Rider Body Weight: 85kg to 115kg
- Road Bike: 8.5kg to 11kg (including pedals and bottle cages)
- Hydration: Two full 750ml bottles = 1.5kg
- Carried Gear & Kit: Shoes, helmet, clothing, saddle bag with spare tube, mini-tool, phone, keys = ~2.5kg to 3.5kg
- Total Added Weight: ~12kg to 16kg on top of your body weight
An 85kg cyclist has a system weight of roughly 98kg (216 lbs), while a 105kg cyclist rolls with an active system weight near 120kg (265 lbs).
The 45 / 55 front-to-rear weight distribution
On a standard drop-bar road bike in the hoods or drops, your weight is not split evenly between both wheels. Typically:
- The front wheel supports approximately 40% to 45% of the load.
- The rear wheel supports approximately 55% to 60% of the load (carrying the majority of your torso and pelvis directly above the saddle).
Because the rear tyre carries substantially more mass, running identical pressures front and rear causes the rear tyre to sag excessively while the front tyre feels excessively harsh.
The Golden Rule: Always run your rear tyre roughly 5 to 8 PSI (0.35 to 0.55 bar) higher than your front tyre.
Why wider tyres (28mm, 30mm, 32mm) transform your ride
If you are a heavier cyclist riding narrow 23mm or 25mm tyres, you are trapped in an engineering dilemma: you must run high pressures (95–105+ PSI) to prevent the inner tube from pinch-flatting against the rim over potholes, but that extreme pressure creates brutal vibration and exceeds modern rim ratings.
Upgrading to 28mm, 30mm, or 32mm tyres breaks this cycle by dramatically increasing the internal air volume:
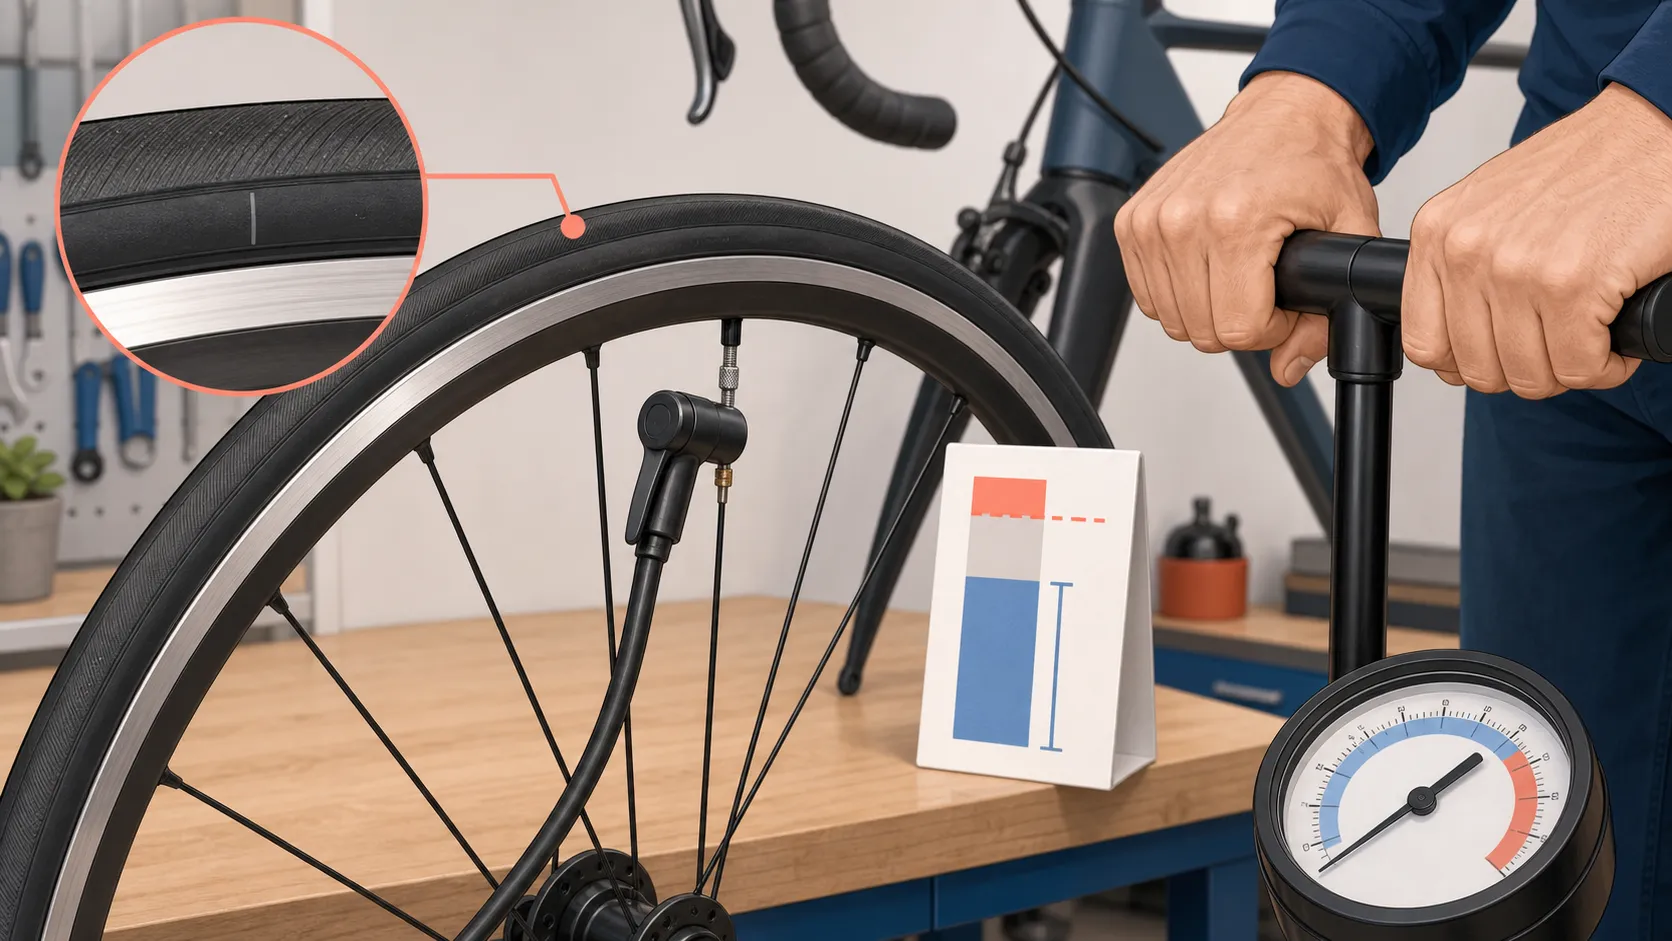
The air volume advantage
Air volume does not increase linearly with tyre width; it increases roughly with the square of the tyre’s radius ($V \propto r^2$). A 30mm tyre holds roughly 40% to 50% more air volume than a 25mm tyre at the same outer diameter.
What this means on the road:
- Pinch-Flat Cushion: The taller, wider air chamber provides a much thicker protective cushion between road obstacles and your expensive wheel rims.
- Lower Pressure Sweet Spot: A 95kg rider who needs 95 PSI on a 25mm tyre can comfortably and safely run 68–74 PSI on a 30mm tyre.
- Wider, Shorter Contact Patch: A wider tyre creates a wider, shorter contact patch at lower pressure, reducing casing deformation at the leading edge and lowering rolling resistance on rough roads.
- Rim Protection: Wider tyres reduce the risk of cracking carbon rim hooks or bending alloy flanges when hitting square-edged potholes.
Checking your frame clearance
Before buying wider tyres, check your frame, fork, and brake calliper clearance. Modern disc-brake road bikes typically accommodate 32mm to 35mm tyres with ease. Rim-brake bikes or older race geometries may max out at 25mm or 28mm.
[!TIP] Always maintain at least 4mm of clear space between the inflated tyre and any part of your frame, fork, or brake calliper to prevent road grit from wearing away frame paint or carbon layers.
Hookless vs hooked rims: the critical 72.5 PSI / 5.0 bar safety wall
If your road bike has modern carbon wheels, you must know whether your rims are hooked or hookless (TSS - Tubeless Straight Side).
The strict hookless limit (72.5 PSI / 5.0 bar)
The European Tyre and Rim Technical Organisation (ETRTO) and International Organization for Standardization (ISO) mandate a strict maximum inflation pressure of 72.5 PSI (5.0 bar) for all hookless road rims.
On a hookless rim, there is no inward-curving mechanical lip to retain the tyre bead; the tyre is held purely by bead tension and dimensional tolerance against the straight rim wall. Exceeding 72.5 PSI on a hookless rim can cause the tyre bead to stretch, slip over the rim sidewall, and blow off catastrophically while riding.
What this means for riders over 85kg:
- Do not run 25mm tyres on hookless rims if you weigh over 85kg. A 25mm tyre requires 78–95 PSI to avoid pinch flats and rim bottoming under heavy load, which directly violates the 72.5 PSI hookless safety ceiling.
- Choose 30mm or 32mm tubeless tyres on hookless wheels. With 30mm or 32mm tyres, a 95kg–110kg rider can run 58–68 PSI, providing plush comfort and robust bottom-out resistance while staying safely below the 72.5 PSI rim threshold.
- Hooked rims allow higher pressures: Traditional hooked rims (with an internal retaining lip) commonly support up to 100–115 PSI for tubed clincher tyres, giving heavier riders a wider safety margin on 25mm and 28mm setups.
Reference tyre pressure lookup table for heavier riders
Use this reference table as your calibrated starting baseline for dry, average asphalt roads. All values represent Front PSI / Rear PSI (reflecting a 45/55 weight split) with an average road bike setup (+12–14kg bike and gear).
| Rider Body Weight | Setup Type | 25mm Tyres (25c) | 28mm Tyres (28c) | 30mm Tyres (30c) | 32mm Tyres (32c) |
|---|---|---|---|---|---|
| 85 kg (187 lbs) ~98kg system |
Inner Tubes Tubeless |
82 / 88 PSI ⚠️ 76 / 82 PSI ⚠️ |
72 / 78 PSI ⚠️ 66 / 72 PSI |
64 / 70 PSI 58 / 64 PSI |
58 / 63 PSI 52 / 57 PSI |
| 95 kg (209 lbs) ~108kg system |
Inner Tubes Tubeless |
89 / 96 PSI ⚠️ 83 / 90 PSI ⚠️ |
78 / 85 PSI ⚠️ 72 / 78 PSI ⚠️ |
70 / 76 PSI ⚠️ 64 / 70 PSI |
63 / 69 PSI 57 / 63 PSI |
| 105 kg (231 lbs) ~118kg system |
Inner Tubes Tubeless |
96 / 104 PSI ⚠️ 90 / 98 PSI ⚠️ |
85 / 92 PSI ⚠️ 78 / 85 PSI ⚠️ |
76 / 83 PSI ⚠️ 69 / 75 PSI ⚠️ |
68 / 75 PSI ⚠️ 62 / 68 PSI |
| 115 kg+ (253+ lbs) ~128kg+ system |
Inner Tubes Tubeless |
Not Recommended Not Recommended |
91 / 99 PSI ⚠️ 84 / 92 PSI ⚠️ |
82 / 89 PSI ⚠️ 74 / 81 PSI ⚠️ |
74 / 81 PSI ⚠️ 66 / 72 PSI |
⚠️ Safety note on the table: Any value marked with ⚠️ exceeds the 72.5 PSI (5.0 bar) maximum for hookless rims and should only be used on confirmed hooked rims with compatible tyres. Never exceed the lowest printed limit on your tyre or wheel.
Adjusting for road conditions and weather:
- Wet or slippery roads: Drop both front and rear by 4 to 6 PSI to expand the tyre contact patch and enhance wet cornering grip.
- Rough chipseal or bumpy lanes: Drop pressure by 3 to 5 PSI to prevent severe vibration and chassis bouncing.
- Ultra-smooth track or fresh velodrome asphalt: You can add 3 to 5 PSI, but never exceed rim limits.
Inner tubes vs tubeless: preventing the dreaded pinch flat
For heavier riders, understanding how your tyre holds air directly dictates your puncture risk and minimum safe pressure.
       SNAKEBITE PINCH FLAT (INNER TUBE)

        [ Pothole Edge / Sharp Rock ]
                     ↓
        (=== Tyre Tread / Casing ===)
          |   (X) Tube Pinched (X)  |   ← Tube gets crushed between
        [=== Rim Flange / Hook =====]      impact and rigid metal rim
Inner tubes (Clincher setups)
A classic pinch flat (also called a “snakebite”) happens when you hit a sharp pothole, railway line, or rock at speed. The impact compresses the tyre all the way down to the rim, pinching the thin rubber inner tube against the metal or carbon bead wall and slicing two tiny parallel slit holes.
- Why heavy riders are vulnerable: Greater mass creates greater impact kinetic energy over road edges.
- The rule for tubes: If you run inner tubes, you must maintain roughly 5 to 8 PSI more than a comparable tubeless setup to prevent the tyre casing from bottoming out against the rim edges.
- Tube choice: Avoid super-thin, featherweight race tubes (50g butyl). Use standard-thickness butyl tubes (0.8–0.9mm wall thickness) or modern thermoplastic polyurethane (TPU) tubes, which offer superior puncture and pinch resistance at low weight.
Tubeless setups
A tubeless system eliminates the inner tube entirely, using liquid sealant inside an airtight casing seated directly against the rim bed.
- Zero snakebites: Because there is no tube inside the tyre to pinch, snakebite flats are physically impossible.
- Lower safe operating pressure: You can safely run lower pressures for maximum grip and comfort without fear of instant deflation from a rim bottom-out.
- Self-sealing punctures: Small thorns, glass shards, and wire fragments that would normally cause a flat are sealed instantly by liquid latex as you ride.
For road cyclists weighing over 90kg, converting to tubeless with 28mm or 30mm tyres is one of the most effective equipment upgrades you can make.
Step-by-step: dialling in your baseline pressure
Follow this repeatable 6-step workflow before your next ride:
Step 1: Calculate total rolling weight
Step on the scale with your normal cycling kit, shoes, and helmet, or add 12–15kg to your naked body weight to account for the bike, filled bidons, saddle pack, and tools.
Step 2: Identify your wheel and rim type
Inspect your wheels or check the manufacturer manual:
- Are your rims hooked or hookless?
- What is the maximum pressure rating printed on the rim decal?
Step 3: Check your tyre sidewall and measure width
Read the tyre sidewall for nominal size (e.g. 700x28C or 28-622). Note that wide modern rims (21mm–25mm internal width) often make a 28mm tyre measure 30mm or 31mm wide when inflated.
Step 4: Determine your front and rear target PSI
Use the lookup table above or our dedicated tyre pressure guide for beginner road cyclists. Set your front tyre at your base number and add 5 to 8 PSI to the rear tyre. Double-check that both numbers sit comfortably below the lowest safe ceiling for your tyre and rim.
Step 5: Inflate using a track pump gauge
Attach your floor pump firmly to the Presta valve. Inflate to your target pressure while watching the needle. Bleed off excess air using the pump release valve if you overshoot.
Step 6: Test on a familiar 10km loop and fine-tune
Ride a local route with typical asphalt and a few rough sections:
- If the bike feels harsh, bounces across bumps, or chatters in turns, drop pressure by 2–3 PSI.
- If the bike feels sluggish, wallows when standing on the pedals, or squirts sideways in high-speed bends, add 2–3 PSI.
Once dialled in, integrate this habit directly into the five-minute pre-ride bike check.
What the wrong pressure feels like: diagnostic guide
Use your on-bike sensations to diagnose whether your tyres are over-inflated or under-inflated:
| What You Feel on the Road | The Underlying Problem | How to Correct It |
|---|---|---|
| Harsh buzzing in hands and saddle; the bike skips across rough chipseal | Pressure is too high (impedance loss and casing stiffness) | Drop front and rear pressure by 3–5 PSI; test again on rough pavement. |
| Vague, squirmy feeling in corners; bike wanders when standing on climbs | Pressure is too low (tyre casing rolling laterally under load) | Increase pressure by 3–5 PSI to restore casing sidewall stability. |
| Loud metal CLACK over potholes; sudden double-slit puncture | Severe under-inflation (rim strike and pinch flat) | Replace tube, inspect rim for dents/cracks, and add 6–8 PSI. Consider switching to wider tyres or tubeless. |
| Front wheel skitters outward during fast descending turns | Front tyre pressure is too high relative to rider load | Lower front pressure by 4–6 PSI to restore mechanical tyre contact patch. |
| Rear tyre feels completely flat when accelerating out of the saddle | Rear tyre under-inflated or slow valve/sealant leak | Check rear pressure with a pump gauge. Ensure rear is 5–8 PSI higher than front. |
Common tyre pressure mistakes heavier cyclists make
1. Relying on the thumb squeeze test
A road tyre at 45 PSI feels rock-hard to your bare thumb, but underneath an 95kg rider entering a high-speed pothole, 45 PSI will bottom out instantly and destroy a carbon rim. A thumb test only tells you if a tyre is completely flat; it cannot distinguish between 50 PSI and 80 PSI. Always use an accurate floor pump gauge.
2. Inflating to maximum sidewall pressure out of habit
The number stamped on the tyre sidewall (e.g. “MAX 120 PSI”) is a destructive blowout safety ceiling established in a factory lab, not a recommendation. Pumping to the maximum causes harsh riding, slow speeds, poor traction, and severe rim stress. Read our complete guide on why the maximum tyre pressure is not a target.
3. Setting front and rear tyres to identical PSI
Because 55% to 60% of your mass sits over the rear wheel, equal pressures mean your front tyre is too stiff while your rear tyre is overloaded. Always stagger your pressures.
4. Refusing to upgrade beyond 23mm or 25mm tyres
Many cyclists stick with narrow tyres because “that is what racing bikes always had.” Upgrading to 28mm, 30mm, or 32mm tyres is the single most effective upgrade for rider comfort, puncture resistance, and descending confidence.
5. Ignoring hookless rim safety limits
Pumping a 28mm tubeless tyre to 85 PSI on a hookless carbon wheel is an extreme blowout risk. Always verify your rim construction and never exceed 72.5 PSI on hookless wheels.
6. Forgetting that tyres lose air continuously
Road bike tubes lose 1 to 3 PSI every 24 to 48 hours due to natural micro-porosity (and latex tubes lose air even faster). If you pumped your tyres on Saturday, they will be under-inflated by Wednesday. Check and top up your pressure before every significant ride.
Your next step
Before your next ride, take three practical steps:
- Check your tyres and rims: Confirm your nominal tyre width, verify whether your rims are hooked or hookless, and note the maximum pressure rating on both components.
- Set your staggered pressure: Use the reference table above to set your front baseline and rear pressure (+5–8 PSI) using a floor pump gauge.
- Log your ride feel: Ride a familiar 15–20km route. If the ride feels harsh or squirmy, adjust in small 2–3 PSI increments until the bike feels planted, smooth, and fast.
To build safe, effortless cycling habits, combine your tyre pressure setup with the five-minute pre-ride bike check and review our beginner foundations in tyre pressure for beginner road cyclists.
Sources and technical references
- SILCA Pro Tire Pressure Calculator & Impedance Data: Josh Poertner’s breakpoint pressure and surface vibration loss research (silca.cc).
- ETRTO (European Tyre and Rim Technical Organisation): Standards Manual for Tubeless Straight Side (Hookless) Bicycle Rims and Tyre Maximum Pressure Limits (5.0 bar / 72.5 PSI).
- Continental Bicycle Tyres: Technical guidance on tyre width, casing deflection, and hookless rim compatibility (continental-tires.com).
- Schwalbe Bicycle Tyres: Pressure Prof tyre pressure recommendations and hookless safety guidelines (schwalbe.com).
- SRAM / Zipp AXS Tire Pressure Guide: System weight, hookless rim limits, and front/rear pressure distribution algorithms (axs.sram.com/guides/tire/pressure).
- Michelin Bicycle Advice: Tyre section width, load capacity, and contact patch dynamics (michelinman.com/bicycle).