How to protect your road bike from sweat on an indoor trainer
Use airflow, washable cockpit coverage, a floor mat, and a short post-ride routine to keep sweat away from bolts, bearings, bar tape, and floors.
 Field guide / protect-road-bike-from-sweat-indoor-trainer
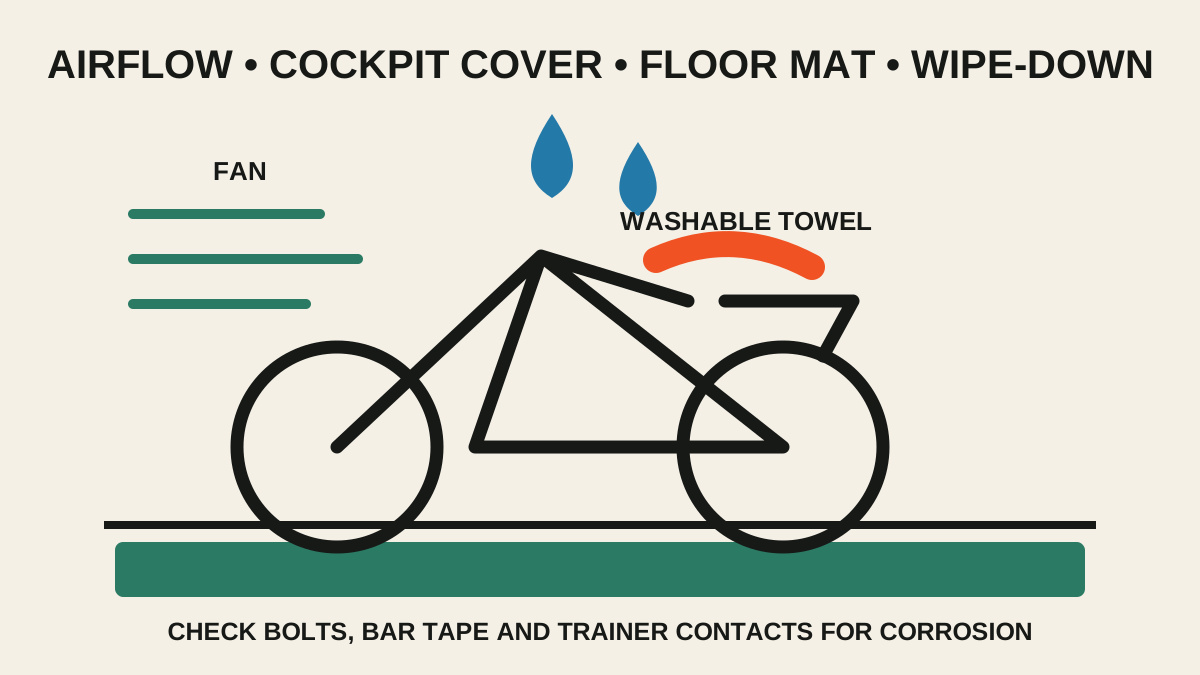
Indoor sweat protection is a four-part routine: move air across the rider, catch sweat before it reaches the cockpit, protect the floor, and wipe the bike after every session. A towel alone is not enough if it stays wet on the bike.
The short answer: aim a strong fan at your torso, place a clean washable cover over the top tube and cockpit without touching moving parts, use a waterproof mat, then remove the cover and dry the bike as soon as the ride ends.
Why indoor riding is hard on a bike
Outdoors, moving air helps sweat evaporate and carries some droplets away. Indoors, the rider can produce plenty of heat without equivalent airflow. Sweat can collect around stem bolts, headset spacers, handlebar tape, bottle-cage bolts, cable ports, and trainer contact points.
The practical problem is not one dramatic splash. It is repeated wetting followed by incomplete drying. That is why trainer makers such as Wahoo tell owners to wipe equipment dry and inspect fasteners for rust, corrosion, or wear.
Build the protection in the right order
1. Use enough airflow
A fan is bike protection as well as comfort equipment. Put it where it moves air across your torso and face without creating a trip hazard. One strong fan is usually more useful than trying to tolerate a hot room with a small desk fan.
Do not deliberately remove cooling to make every normal workout a heat session. Heat acclimation is a separate training intervention with hydration and health considerations, not a shortcut to fitness.
2. Catch sweat above the bike
Drape a clean towel across the handlebar and top tube, or use a purpose-made sweat guard anchored as its maker specifies. Check it from the pedalling position:
- it cannot fall into the crank, chain, cassette, or trainer;
- it does not block trainer cooling vents;
- it does not pull on control cables or hoses;
- it does not rub a delicate frame finish under movement;
- it leaves the controls accessible for a safe stop.
Wash the cover regularly. A salty, permanently damp towel stored over the bars becomes part of the problem.
3. Protect the floor
Use a waterproof mat large enough to catch droplets from the rider and drivetrain. A mat also makes cleanup easier and can reduce vibration transfer. On wood or laminate, lift and dry the mat periodically; moisture trapped below it can damage the floor even when the top looks clean.
4. Clean immediately after the session
Remove the bike and trainer covers. Wipe the bars, hoods, stem, headset area, top tube, seatpost clamp, bottle bosses, and trainer contact points with a soft damp cloth, then dry them. Use only cleaners permitted by the frame, component, and trainer makers.
Keep cleaning products away from disc rotors and brake pads. A mist intended for the frame can create a contaminated brake problem later.
Add a weekly inspection
Once a week during frequent indoor use, inspect:
- stem, faceplate, headset, and handlebar fasteners;
- the underside of bar tape and hood edges for persistent dampness or residue;
- headset movement or roughness;
- seatpost and bottle-cage fasteners;
- rear dropouts, thru-axle or quick release, and trainer adapters;
- the chain for rust and the drivetrain for dried sweat.
Do not loosen every bolt as a ritual. Look first, then service fasteners according to the component manual and correct torque. If corrosion appears around a safety-critical clamp, remove the bike from service until the affected parts are properly inspected.
Do not forget trainer compatibility
Sweat care cannot rescue an incorrectly mounted bike. Confirm axle adapters, cassette spacing, derailleur clearance, and frame approval before the first session. For choosing hardware, start with rollers, wheel-on, or direct-drive. If indoor posture feels wrong, use why a bike feels less comfortable on a trainer rather than moving every fit contact point at once.
When to replace the bar tape
Unwrap the bars if tape stays wet, smells persistently musty, adhesive has failed, or corrosion is visible at exposed edges. This is especially important on aluminium handlebars, where damage can hide beneath the wrap. Our bar-tape replacement guide covers inspection and rewrapping.
Your next step
Before the next indoor ride, place a fan, washable cover, mat, and two cloths beside the trainer. The best routine is the one that takes less than two minutes immediately after you save the workout.