How to wrap road-bike handlebar tape without gaps
Prepare drop bars, inspect hidden cables and hoses, keep overlap and tension consistent, cover the brake clamps, and finish both sides neatly.
 Field guide / how-to-wrap-road-bike-handlebar-tape
Good bar tape has no exposed gaps, loose edges, painful ridges, or free ends. Start at each bar end, overlap consistently, cover the area behind the brake hood, and finish near the stem. The exact hood wrap and stretch depend on the tape maker, so read the package before cutting anything.
The short answer: unwrap one side at a time, photograph the cable routing, inspect the bare bar, then wrap from the drops upward with even tension and roughly consistent overlap. Install both bar-end plugs securely and squeeze-test the full wrap before riding.
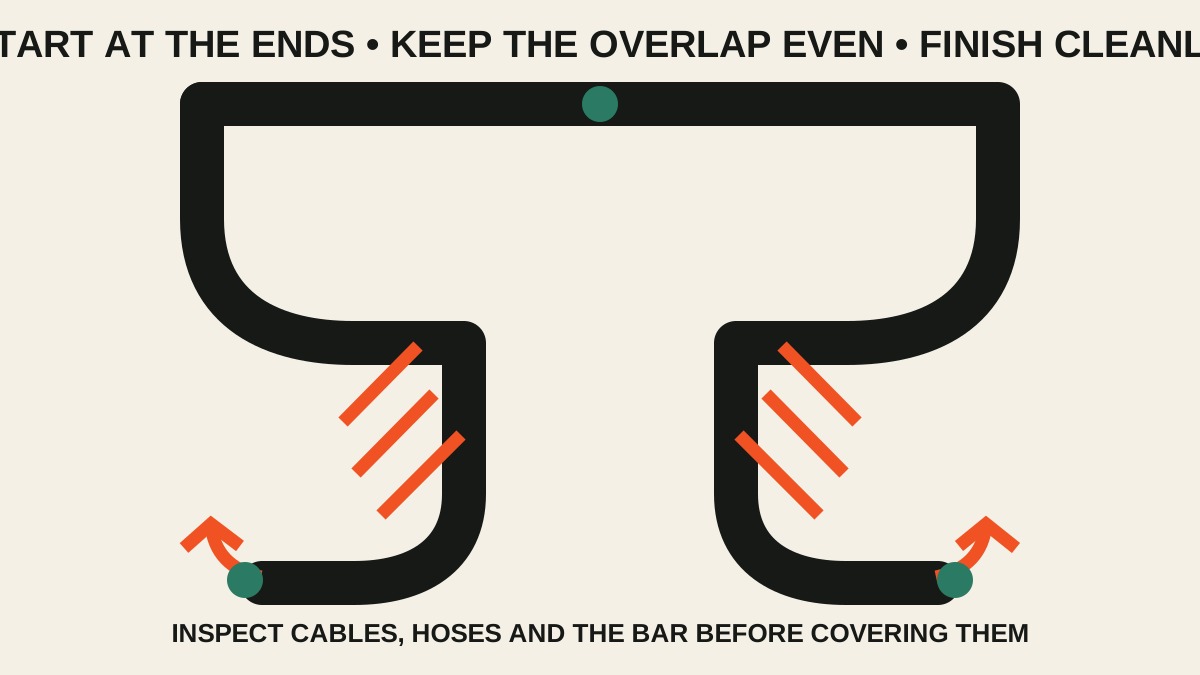
Replace tape for function, not just colour
Rewrap when the tape is torn, loose, compressed into hard spots, persistently wet or contaminated, or no longer supports a secure grip. Also unwrap it when inspecting a bike that has lived on an indoor trainer, because sweat damage can hide below apparently usable tape.
A crash or handlebar impact is not simply a reason for fresh tape. Remove the old wrap and inspect the bar according to its manufacturer. Carbon damage can be subtle; if there is doubt after an impact, stop and use a qualified inspection service.
Prepare the bar
- Place the bike securely and keep the front wheel from flopping side to side.
- Roll both rubber brake hoods forward carefully.
- Photograph cable, hose, and wire routing before removing tape.
- Unwrap one side so the other remains a reference.
- Remove old adhesive without scratching the bar or using an unapproved solvent.
- Inspect the bar, lever clamps, housing, hoses, and electrical wires.
- Secure routing with narrow tape only where the original setup or component instructions allow.
This is a useful moment to decide whether cables and housing need replacement, but it is not permission to alter hydraulic or electronic routing casually. If a hose looks kinked, a wire is damaged, or a control is loose, pause the wrap and repair the system first.
Rehearse around the hood
Most tape kits include two short strips for the back of the lever clamps. These cover the small patch that is difficult to reach with the main spiral. Other systems use a figure-eight or another specified path. Dry-run the route around one hood so you know where gaps could appear.
Lift the hood from the front and back to inspect coverage. A wrap can look perfect from the rider’s view while leaving bare bar behind the lever body.
Wrap the first side
Start at the bar end
Leave enough tape overhanging the open end to fold inside for the plug, following the tape maker’s instructions. Begin so hand pressure on the drops tends to tighten rather than peel the wrap. Viewed from the rider’s position, Park Tool’s method wraps the right drop clockwise and the left drop counter-clockwise.
Keep overlap and tension consistent
Stretch only as much as the product allows. Cork-like tape may tear if pulled like a tougher synthetic tape. Aim for the adhesive strip to contact the bar just beyond the previous turn, creating a repeatable overlap without building a ridge.
Increase overlap slightly through tight bends. After every two or three turns, look at both the inside and outside of the curve. If a gap appears, unwrap to the mistake; do not hide it with a patch.
Cover the hood area
Use the included strip or documented hood pattern, then continue onto the tops. Check that the hood returns naturally and does not expose a gap. Do not trap a folded hood edge under the tape.
Finish near the stem
Choose a symmetrical finishing point with enough bare clamping area around the stem. Cut the main tape at an angle so its last turn forms a straight edge, then secure it with the supplied finishing strip or quality finishing tape. Do not allow a thick edge where the heel of the hand rests.
Match the second side
Use fixed landmarks—the hood tip, bar graphics, or measured distance from the stem—to match the finish. Count wraps only as a secondary check because curves and tension change the spacing.
Fold the starting overhang into each bar and install the correct plug fully. A plug that can be pulled out easily by hand is not finished. Exposed hollow bar ends can cause serious injury in a crash.
Test before the road
Grip and twist along the drops, hoods, and tops. The tape should not rotate or reveal gaps. Confirm both brake levers operate normally and the hoods are seated. Take a short low-speed test ride, then recheck the finishing edges and plugs.
If the bars still feel painfully far away, thicker tape will not solve cockpit length. Use the road-bike reach check and hood-position guide instead.
Your next step
Buy one forgiving tape kit plus a spare roll of inexpensive tape if this is your first attempt. Practise one side without rushing. Clean, even coverage is more important than preserving a strip you wrapped badly.