How to test a road-bike saddle before buying another one
Run a controlled saddle trial using consistent fit, shorts, routes, and notes so you can judge support, pressure, and movement instead of chasing recommendations.
 Field guide / how-to-test-road-bike-saddle-before-buying
The best way to choose a road-bike saddle is a controlled trial, not a popularity contest. Start with a plausible width and shape, reproduce your fit, ride it on familiar routes, and change only one variable at a time. A saddle that is perfect for another rider can still be wrong for your pelvis, posture, and bike.
The short answer: borrow, demo, or buy with a genuine return policy. Record the old setup, install the candidate correctly, then test support, soft-tissue pressure, thigh clearance, and stability over several progressively longer rides.
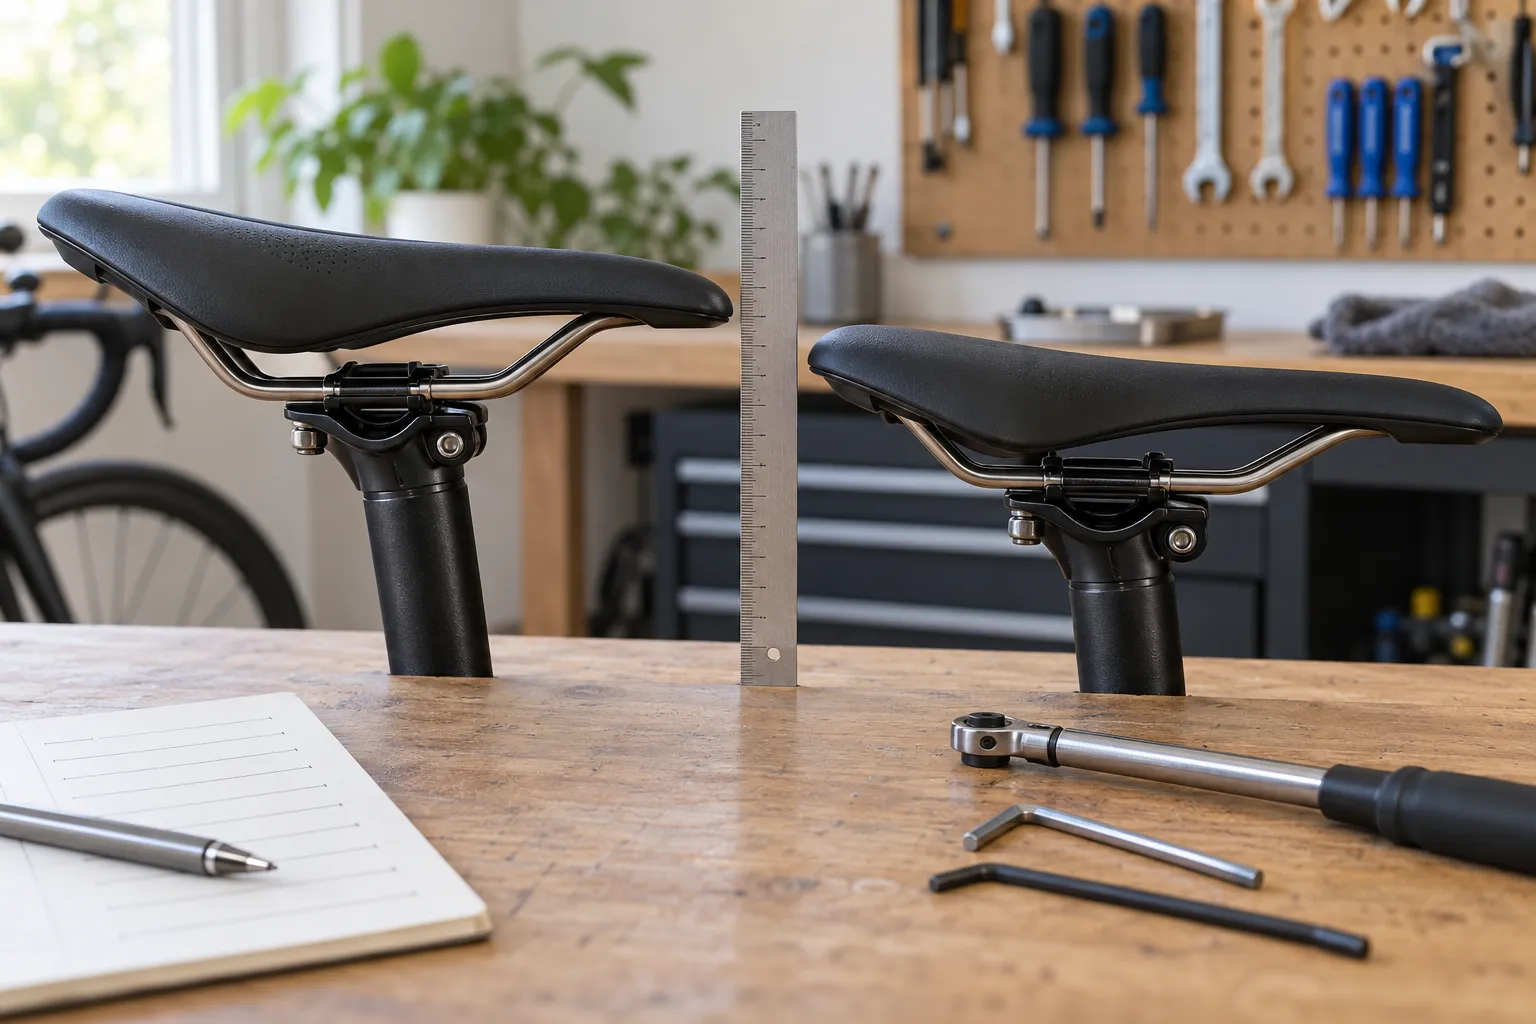
Why saddle recommendations rarely settle the question
A current r/cycling discussion asking riders for their favourite saddle produced many incompatible answers. That is useful demand evidence: riders want a shortcut, but personal endorsements cannot tell you where your pelvis will be supported.
British Cycling likewise treats saddle choice as individual and recommends trying several designs where possible. The practical lesson is not to buy twelve saddles blindly. It is to create a test that can reject unsuitable ones quickly and compare promising ones fairly.
Shortlist by shape before price
Use sit-bone width as a starting filter, not a final answer. Then consider:
- Profile: flatter saddles allow more movement; curved saddles can locate the pelvis more firmly.
- Nose: a shorter nose can create room in a rotated position, while a longer nose offers more places to move.
- Channel or cutout: either may reduce pressure for some riders, but its edges can create new pressure for others.
- Transition and edge shape: broad or abrupt wings can interfere with the thighs even when nominal width looks right.
- Rail compatibility: confirm rail material, dimensions, clamp type, and torque instructions before buying.
Buy shape before shell material, rail material, weight, or marketing tier. More padding is not automatically more comfortable because soft foam can increase movement and concentrated edge pressure.
Record the current fit before removing anything
Take side photographs and write down:
- Saddle model and stated size.
- Height from bottom-bracket centre to a repeatable saddle point.
- Horizontal setback of that same point.
- Angle measured on a clearly defined section, not across an arbitrary curved surface.
- Rail-clamp position and the manufacturer’s torque.
Do not place the new saddle at the same visible seatpost height and rail mark. Saddles differ in rail-to-top height and in where their supportive area sits. After a swap, reset height, setback, and tilt before judging comfort.
Use a three-ride trial
Keep the same shorts, tyre pressure, shoes, route type, and general effort.
Ride 1: 20 to 30 minutes
Check basic safety, thigh clearance, unexpected sliding, and any immediate focal pressure. Stop for numbness or sharp pain. Do not extend a clearly bad test to “give it time.”
Ride 2: a familiar normal ride
Use a route with seated climbing, steady flat riding, and several hand positions. Ask whether your pelvis stays supported without repeatedly pushing yourself backward or forward.
Ride 3: long enough to expose the problem
Only proceed if the first two rides were acceptable. Test near your normal longer duration, not a sudden distance record. A saddle that feels fine for 15 minutes can still create pressure or chafing later.
After each ride, note the location and type of discomfort—not merely a score out of ten. “Pressure at the front after 45 minutes” is actionable; “not comfy” is not.
Change one thing at a time
If the saddle feels promising, make one small, recorded adjustment and repeat the same ride. Do not change tilt, height, setback, handlebar height, shorts, and tyre pressure together. You will not know what helped.
An obvious need to tilt the nose dramatically downward is often a sign to reassess saddle shape, height, reach, or the complete fit. Excessive nose-down tilt can make you slide forward and load your hands. Use the saddle-angle guide for a controlled adjustment.
What counts as pass or fail?
Promising signs: stable bony support, no numbness, no focal soft-tissue pressure, free thigh movement, and no need to keep relocating yourself.
Reject or reassess: immediate numbness, one sharp pressure point, persistent sliding, inner-thigh interference, skin damage, or discomfort that worsens on each similar ride.
Normal first-ride awareness is different from escalating pain. Modern saddles generally should not require weeks of suffering before they become usable.
Your next step
Ask local shops or fitters about demo fleets and write down the exact return conditions before purchase. Shortlist two or three genuinely different shapes, reproduce the fit carefully, and run the same three-ride protocol on each.