How to check road-bike wheel bearings for hub play
Separate a loose axle or wheel installation from true hub-bearing play, roughness, spoke movement, and brake rub before adjusting anything.
 Field guide / how-to-check-road-bike-wheel-hub-play
A correctly secured road-bike wheel should not knock side to side at the hub. Before adjusting bearings, confirm the wheel and axle are installed correctly, then determine whether movement comes from the hub, rim, spokes, headset, or brake system.
The short answer: hold the bicycle still, grip the wheel near the rim, and push gently side to side while watching the hub-to-frame interface. Repeat at several positions. Any repeatable click or movement with a correctly secured axle needs diagnosis; do not tighten unknown hub parts until you identify the bearing system and its manual.
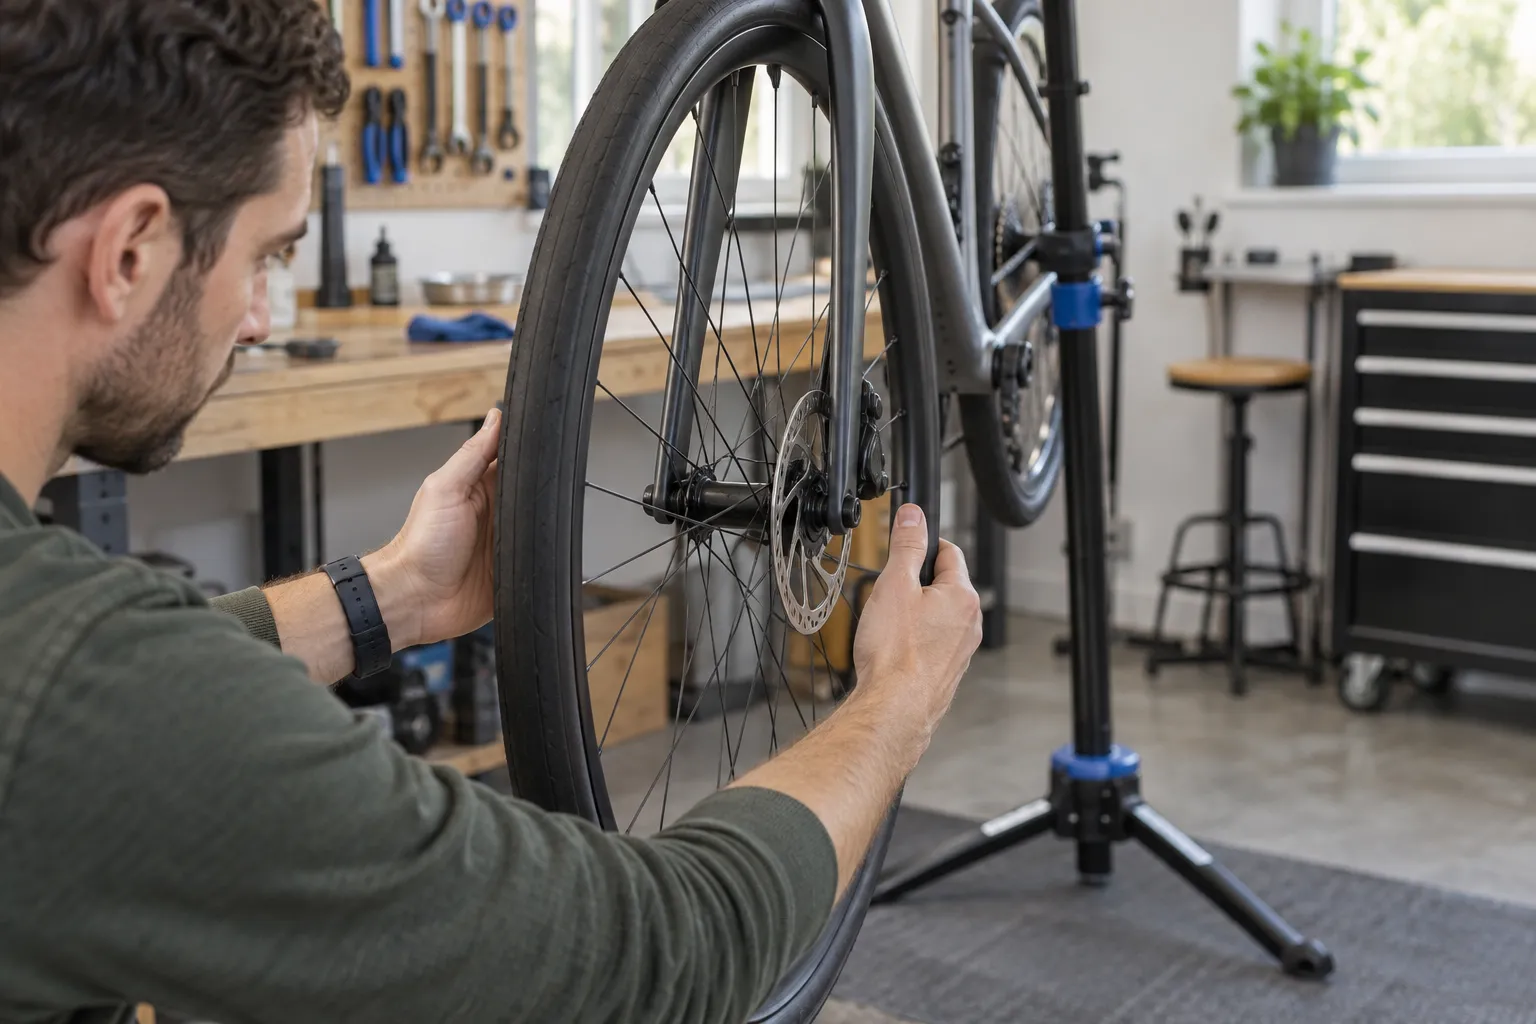
Start with wheel retention
A current repair discussion about an older hub described movement even with the wheel installed, plus loose-feeling end caps. That distinction matters: some removable end caps can move when the wheel is out, yet the assembled system should become secure when installed exactly as designed.
Check the wheel-retention system before blaming bearings:
- the wheel sits fully in both dropouts;
- the correct thru-axle or quick-release skewer is present;
- threads, springs, end caps, washers, and lever orientation match the manual;
- the axle or quick release is secured to its stated procedure;
- no dropout, axle, or thread damage is visible.
Do not overtighten a thru-axle to hide movement. If wheel security is uncertain, stop and use the thru-axle installation guide or quick-release guide for identification.
Perform the installed-wheel play check
Keep the bicycle on the floor or in a stable stand. For a front wheel, hold the fork crown or handlebar so steering does not imitate looseness. For a rear wheel, hold the frame securely.
- Grip the rim or tyre with one hand on each side.
- Apply light alternating sideways pressure.
- Watch the gap between hub end caps and fork or frame.
- Listen and feel for a click.
- Rotate the wheel a quarter turn and repeat.
- Check that the brake rotor is not merely flexing between pads.
Movement only at one rim position may indicate rim or spoke trouble rather than hub play. Movement at the axle interface on every rotation points back toward wheel installation, end caps, axle, or bearings.
Avoid squeezing a carbon rim or pushing hard enough to flex a wheel that was not designed for that load. A clear diagnosis requires small controlled forces.
Separate the common lookalikes
Loose headset
Applying the front brake and rocking the bike can reveal headset play, but disc pads can also shift slightly in the caliper. Place fingers across the headset joint while rocking. If the movement is at the steerer rather than the wheel, use the loose-headset guide.
Brake-rotor flex or rub
A thin rotor can move laterally when you push the rim. Watch the hub shell and axle, not only the rotor at the caliper. Continuous rub can come from wheel seating or caliper alignment even when the bearings are sound.
Loose or damaged spokes
Spoke or rim movement can make the wheel feel vague without motion at the axle. Look for loose, broken, or differently tensioned spokes and a local wobble. Do not randomly tighten spokes; tension changes affect the whole wheel.
Tyre movement
A soft tyre or loose bead can shift under your hand while the rim remains fixed. Inflate to a suitable checked pressure and observe the rim directly.
Check bearing smoothness separately
Play and roughness are different symptoms. A bearing can feel rough without obvious play, or loose while still spinning freely.
Remove the wheel only after understanding the axle and disc-brake precautions. Turn the axle or end cap gently by hand where the design permits. Feel for grinding, notches, binding, or a dry rasp. Do not use free-spinning duration as the sole bearing test: seals, grease, freehub mechanisms, and disc drag all change how long a wheel spins.
Noise while the wheel turns also deserves attention. Shimano’s wheel user manual includes smooth rotation and unusual wheel noise among its regular pre-ride checks and advises contacting the place of purchase or a dealer when a problem is found.
Identify the bearing system before adjustment
Road hubs commonly use:
- cup-and-cone bearings, whose cone and locknut set bearing clearance;
- cartridge bearings, often combined with press-fit or threaded end caps and model-specific preload systems;
- proprietary axle assemblies, which may resemble either but need special tools and sequences.
Do not assume visible flats are adjustment nuts. They may retain the axle, freehub, end cap, or bearing. Search the model code on the hub shell and obtain the exploded diagram and service manual.
Cup-and-cone adjustment needs correct cone wrenches and enough knowledge to account for how quick-release clamping changes preload. Cartridge systems may require bearing presses, drifts, axle supports, or replacement parts. Tightening until play disappears can preload and damage bearings.
Decide whether to ride, service, or stop
Stop and arrange service when:
- the wheel cannot be secured correctly;
- the axle, dropout, or hub shell is damaged;
- there is repeatable play at the hub after correct installation;
- rotation binds or grinds;
- a bearing seal, end cap, or axle part is missing;
- the model cannot be identified well enough to use the right procedure.
Continue diagnosis without adjustment when the apparent movement is clearly at the tyre, brake pads, or headset. Fix that system by its own manual.
A tiny amount of play specified during an uninstalled service procedure may disappear under the maker’s stated clamping method, but that is model-specific. Do not invent an acceptable amount for the fully installed wheel.
Record useful information for the mechanic
Write down whether the movement happens with the wheel installed, which axle system is used, whether it changes after correct reseating, and whether rotation is rough or noisy. Photograph the hub model, end caps, axle, and dropouts. Mention recent transport, wheel removal, impact, washing, or bearing service.
This evidence is more useful than “the wheel feels weird” and reduces unnecessary part replacement.
Your next step
Confirm wheel retention, perform the gentle installed-wheel check, and watch the axle interface. If the hub moves, stop riding and find the exact wheel or hub manual before any wrench touches the bearings. If the hub is firm but the rim wobbles while spinning, use the wheel-or-tyre wobble guide instead.
Sources and further reading
- Shimano wheel user manual: pre-ride security, smoothness, damage, and noise checks
- Park Tool: hub overhaul and adjustment
- r/bikewrench reader context: current question about installed hub play and removable end caps
Reddit was used to identify the diagnostic confusion, not to generalise one old hub’s construction to other wheels. No username or personal story is reproduced here.