Grease or anti-seize on a metal bike seatpost? Check the frame manual
Prevent a metal seatpost seizing without causing clamp slip by identifying both materials, following the bike maker, and using only a thin approved film.
 Field guide / grease-or-anti-seize-metal-seatpost
For many metal seatpost and metal frame combinations, the correct treatment is a very thin film of the grease specified by the bike maker. Anti-seize may be approved in some applications, but it is not a universal upgrade. Carbon parts change the answer, so identify both materials and read the exact manual before opening a tub.
The short answer: do not choose between grease and anti-seize by forum vote. Follow the frame or bike instructions for that material pairing, clean the surfaces, use the smallest even film required, respect minimum insertion, and tighten the clamp only to the stated torque.
First identify both sides of the joint
“Metal post” is only half the description. Record:
- seatpost material and exact model;
- frame material and model year;
- post diameter and required insertion;
- clamp type and torque;
- any manufacturer-specified grease, paste, or dry assembly instruction.
An aluminium post in a steel frame is not automatically governed by the same instruction as an aluminium post in an aluminium frame. Surface finishes, sleeves, wedges, and proprietary clamps also matter.
If either clamping surface is carbon, pause. Trek’s lubricant guidance says to avoid grease on clamping interfaces involving carbon, including a seatpost in a frame, and to assemble clean and dry unless the product instructions specify an approved carbon preparation. That is why a generic “grease every post” rule is unsafe.
Why a metal seatpost needs an assembly plan
The post must do two conflicting-looking jobs: move during adjustment, then remain fixed while riding. Moisture and dissimilar materials can encourage corrosion over time, while the wrong treatment or too much product can contribute to slipping.
The solution is not extra clamp torque. Correct surface preparation and the specified treatment let the clamp work at its designed torque. Overtightening can damage the clamp, frame, post, or fastener without curing an incorrect fit.
Grease and anti-seize are not interchangeable labels
General bicycle grease lubricates and helps exclude moisture. Anti-seize contains solids intended to reduce galling and make future disassembly easier under demanding conditions. Formulations vary, and some contain metals or other additives that a frame maker may not approve.
Use this order of authority:
- exact frame or bicycle manual;
- exact seatpost and clamp instructions;
- written manufacturer support for the pairing;
- qualified mechanic familiar with that frame.
Do not substitute copper, nickel, ceramic, marine, or automotive anti-seize because a label says “all metals.” Bicycle clamps use small parts, finishes, and torque assumptions that the generic label does not resolve.
Install a metal post without creating slip
- Mark the current saddle height before removal.
- Remove the post and clamp only as the manual describes.
- Inspect the post, frame opening, clamp, wedge, and fastener for cracks, distortion, corrosion, and deep scoring.
- Clean the post and accessible seat tube with the approved cleaner and lint-free cloth.
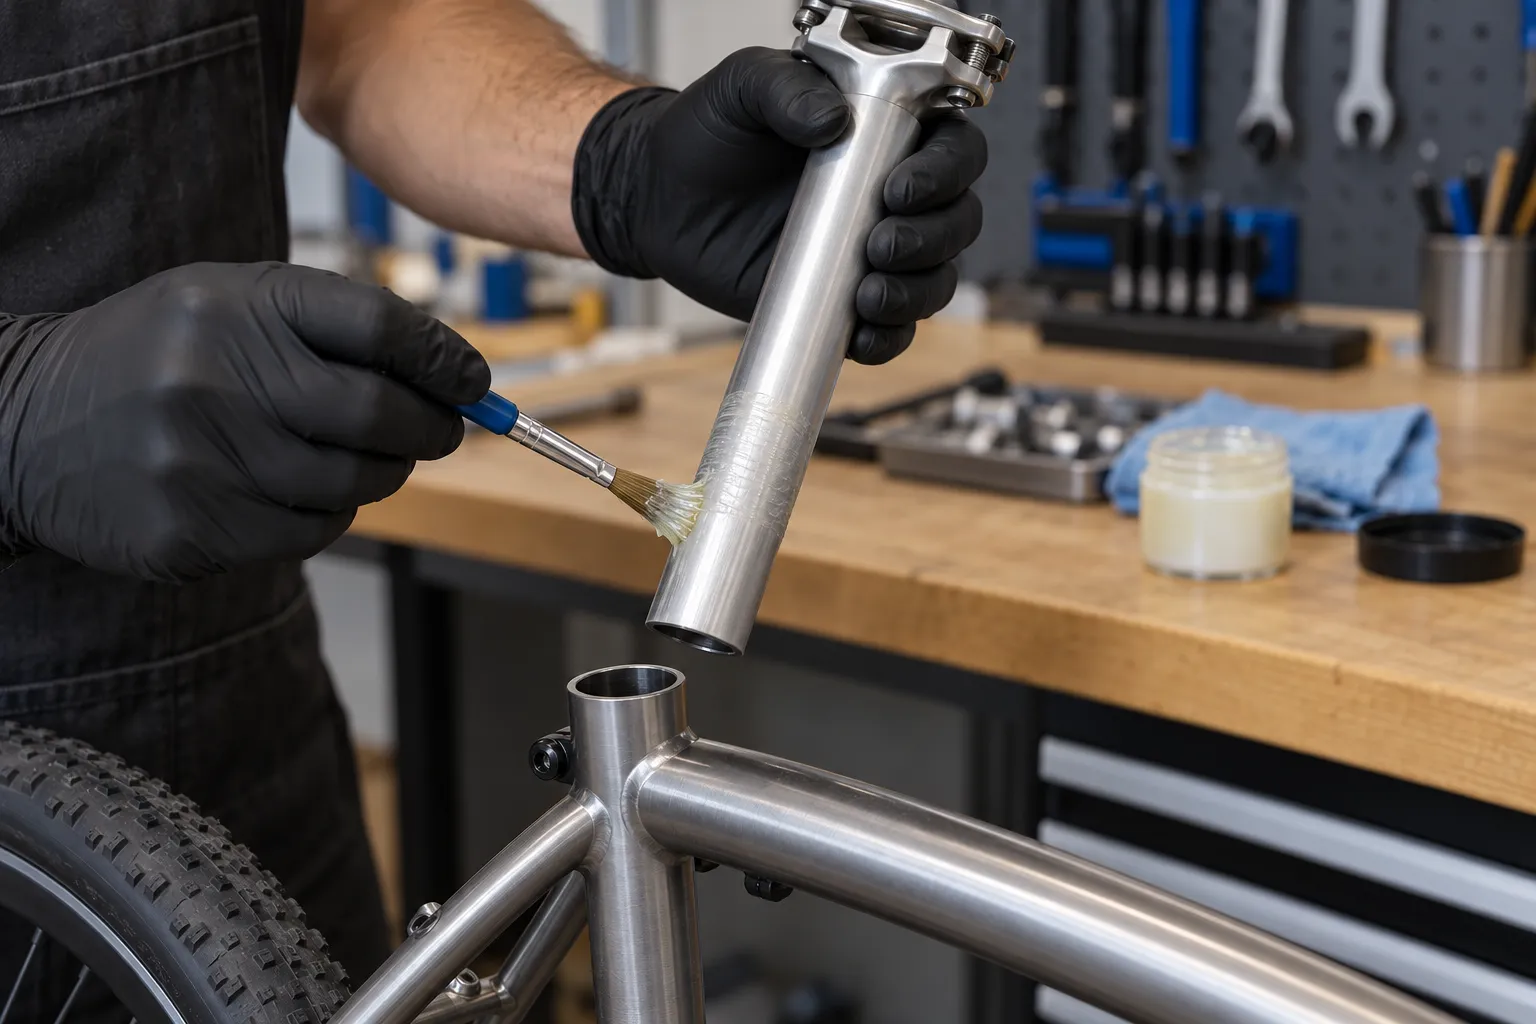
- Apply a thin, even film of the specified treatment to the instructed area. Do not fill the tube.
- Insert beyond every applicable minimum-insertion requirement.
- Align the saddle without twisting against a partly tightened clamp.
- Tighten the correct fastener gradually to the stated torque with the threads prepared as instructed.
- Wipe off squeezed-out product and mark the post at the frame for a slip check.
Read seatpost minimum insertion before changing height. Both the post and frame may impose limits.
If the seatpost still slips
Do not simply add gritty paste or exceed torque. Check:
- incorrect post diameter;
- a mismatched or damaged clamp;
- paint, burrs, contamination, or excess lubricant;
- a cracked post or frame;
- insufficient insertion;
- an incorrectly assembled proprietary wedge;
- a torque wrench, bit, or fastener problem.
Use the slipping seatpost diagnosis and stop riding until the joint holds securely at the specified torque.
Make future removal part of maintenance
Where the manufacturer calls for lubrication, periodically removing, inspecting, cleaning, and retreating the post can prevent a small corrosion problem becoming a seized-post project. The interval depends on weather, sweat, indoor training, storage, and the maker’s schedule.
Do not rotate a stubborn post with a huge lever. A seized post can damage a thin frame; use the stuck-seatpost guide and seek a specialist before destructive methods.
Your next step
Find the frame manual and write down the post material, frame material, approved treatment, insertion limit, and clamp torque. If the manual does not answer the pairing, ask the manufacturer in writing before applying an anti-seize product.
Sources and further reading
- Trek owner guidance: use a thin film where instructed and avoid grease on carbon clamping surfaces
- r/bikewrench reader context: grease-versus-anti-seize discussion for a seatpost — used only as a signal that riders need a material- and manual-specific answer.