What to do when a bike seatpost is stuck
Identify the seatpost, clamp, frame material, and corrosion risk, then escalate a stuck-post removal without damaging a valuable frame.
 Field guide / what-to-do-stuck-bike-seatpost
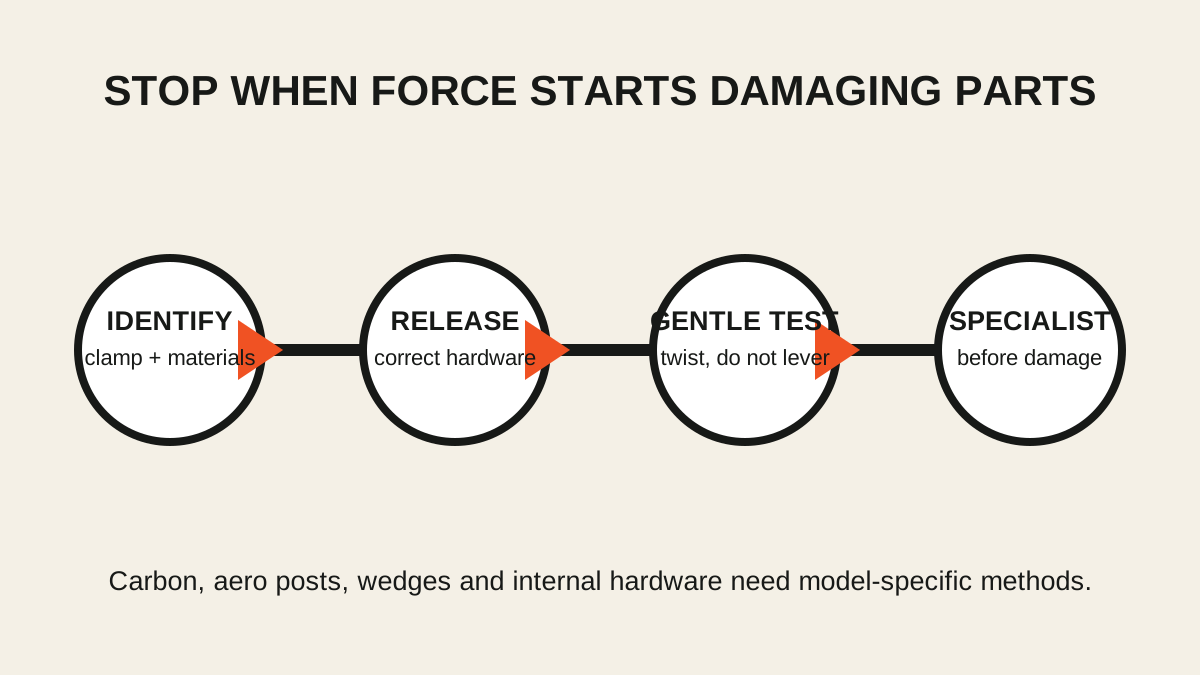
A stuck seatpost is not solved by maximum force. First identify what is actually clamping it, which materials meet inside the frame, and whether the bike uses a hidden wedge or proprietary aero post. Try only a controlled, material-safe release; escalate before the frame becomes the sacrificial part.
The short answer: remove or release the correct clamp hardware completely enough to free the post, confirm there is no second fastener, then try gentle twisting by the post or saddle only if the maker permits it. If it does not move, stop and give a specialist the frame/post material pair and insertion depth.
Why seatposts seize
A recent repair question described a steel post fixed inside a steel frame. Even matching metals can rust together. Other combinations can seize through corrosion, dried contamination, distorted clamps, incorrect assembly products, an oversized post, or years without removal.
The visible symptom is the same—no movement—but the safe remedy is not. Aluminium in steel, aluminium in carbon, carbon in carbon, titanium, steel, and painted or bonded structures respond differently to penetrants, heat, cutting, and force.
Record the system before touching it
Find and photograph:
- frame make, model, year, size, and material;
- seatpost make, model, diameter, shape, and material;
- external collar, binder bolt, internal wedge, or mast-topper design;
- every visible fastener and its current position;
- insertion depth, if a matching post or old setup photo reveals it;
- signs of rust, white aluminium corrosion, cracks, swelling, or distorted slots;
- cables, batteries, dropper hardware, or electronic junctions inside the post.
An aero seatpost may look twistable but be keyed to the frame. An internal wedge can remain engaged after its bolt loosens. A hidden battery or wire can be torn by an apparently small movement.
Release the clamp correctly
Use the exact frame instructions. Depending on the design, that may mean opening a quick release, loosening a binder bolt, removing an external collar, or backing off and freeing an internal wedge.
Do not simply keep unscrewing a recessed wedge bolt until hardware drops into the frame. Do not spread a carbon seat-tube slot with a screwdriver. Confirm whether the saddle clamp at the top of the post is unrelated to the frame clamp at the bottom.
If a fastener is rounded, corroded, or seized, that is now a fastener-extraction job as well as a seatpost job. Stop before damaging the frame’s clamp area.
Try only a controlled first movement
For a conventional round rigid post, Park Tool’s normal removal method is to release the clamp, then pull and, if needed, twist the post. With a genuinely seized post, keep the first test modest:
- Support the bicycle so it cannot fall.
- Remove bags, lights, batteries, and anything that can snag.
- Verify the clamp is free.
- Hold the post or saddle securely without using the saddle as a long destructive lever.
- Apply a small alternating twist, then a small upward pull.
- Stop if the frame moves, the post head flexes, saddle rails distort, or the clamp slot changes shape.
Twisting is not appropriate for every shaped, carbon, mast, wedge, or internally wired design. If documentation does not approve it, skip this step.
Be cautious with penetrants
A penetrant can help some metal-on-metal corrosion, but it is not universally safe. It may affect paint, adhesives, carbon interfaces, bushings, internal foam, or assembly compounds, and it may not reach the seized zone from the top.
Before applying any chemical, confirm:
- both frame and post materials;
- paint and clear-coat compatibility;
- whether the frame has bonded inserts or liners;
- whether fluid can reach a brake, bearing, tyre, or electronic component;
- how it will be contained and cleaned;
- what the frame or post maker permits.
Do not mix chemicals. Do not use an open flame or uncontrolled heat on a bicycle frame. Heat can damage paint, adhesives, carbon resin, heat treatment, seals, and nearby components.
Know when specialist removal is cheaper
Stop home escalation when:
- carbon is involved on either side;
- the post is aero, integrated, internally wired, or proprietary;
- a wedge or bolt is stuck;
- the post will not move after correct clamp release and a gentle approved test;
- corrosion has expanded or split material;
- the frame is valuable, thin-walled, historic, or irreplaceable;
- removal would require a vice, saw, reamer, slide hammer, chemical dissolution, or significant heat.
A specialist can choose holding fixtures and an extraction method around the material pair. Some advanced methods intentionally destroy the seatpost to preserve the frame. That trade is far better made before the frame is cracked.
Ask for an estimate and discuss the frame’s value. A severely corroded inexpensive frame can cost more to rescue than replace, but the conclusion should follow inspection rather than an improvised last attempt.
After the post comes out
Do not immediately reinstall it. Inspect:
- the complete seat tube and clamp slot;
- the post for deep scoring, necking, cracks, corrosion, or wrong diameter;
- wedge faces, collar, fasteners, and threads;
- minimum-insertion requirements;
- drainage or water-entry causes;
- the frame maker’s specified grease, anti-seize, carbon assembly compound, or dry interface.
Measure a round post with calipers and confirm the frame specification. Park Tool notes that a post forced into an undersized seat tube can become stuck; “almost the same” diameter is not compatible.
Set the saddle height without exposing the minimum-insertion mark. Tighten only by the model-specific method and torque. If the old problem was a slipping post rather than seizure, use the separate seatpost slipping diagnosis.
Prevent the next seizure
- Remove, inspect, clean, and reprepare a conventional post at a sensible interval for the climate and use.
- Keep water out during washing and wet storage.
- Use the exact assembly product specified for the material pair.
- Do not exceed clamp torque to solve slipping.
- Record insertion depth so removal progress can be judged later.
- Check adjustability before buying an older used bike.
The used-bike test-ride guide treats a non-adjustable post as a meaningful purchase risk, not a cosmetic inconvenience.
Your next step
Photograph the clamp and markings, identify both materials, and download the frame and seatpost instructions. Release only the documented hardware and try one gentle approved movement. If it remains fixed, stop while the frame is still undamaged and contact a shop that specifically handles seized posts.