First road bike for a shorter rider: check more than frame size
Check standover, reach, brake access, cockpit dimensions, crank length, and toe clearance before buying a small road-bike frame.
 Field guide / first-road-bike-fit-checklist-short-riders
Before you view or pay
Check fit, condition, and starter gear first
Use the buying checklist to choose the right path: used-bike viewing, first-bike fit and type, hidden repair costs, or starter gear.
A small label on the frame does not guarantee a good bike for a shorter rider. The complete bike must let you start, stop, steer, pedal, and reach both brake levers without stretching or improvising. Wheel size, frame shape, handlebar width and reach, crank length, and the controls all affect that result.
The short answer: use the brand’s height chart only to find likely sizes. Then test standover and mounting, brake access from the hoods and drops, sustainable reach, low-speed toe clearance, saddle-height range, and the supplied cockpit. Reject a bargain if several expensive parts must change before you can control it.
Why this question keeps appearing
Recent beginner discussions include a 5 ft 4 in rider seeking a complete road or gravel bike and a 5 ft 6 in rider whose small frame still raised fit questions. The useful signal is not that either rider needs a particular size. It is that a height label alone leaves important control points unanswered.
Two riders of the same height can have different leg, torso, arm, shoulder, hand, and mobility proportions. Brands also measure and label sizes differently. An XS from one range is not a universal object.
Start with the exact geometry chart
Record the model, model year, and size—not just the brand. Compare:
- stack and reach: a starting description of how tall and long the frame is;
- standover: useful for mounting confidence, but not proof of riding fit;
- seat-tube angle and saddle range: these affect where the saddle can actually go;
- top-tube and head-tube shape: important for real clearance and handling;
- wheelbase and front-centre: clues to low-speed room and toe overlap;
- wheel size: some small frames use 650B or 650C wheels, while many use 700C.
Use the geometry-chart comparison guide rather than comparing nominal centimetre labels. If you sit between two sizes, use the between-sizes decision guide before assuming smaller or larger is always right.
Test six functions on the complete bike
1. Mount, start, and stop
Wear the shoes you expect to ride in. Straddle the bike, mount normally, start without a desperate lunge, and practise a controlled stop. You do not need to sit on the saddle with both feet flat on the ground; use the step-down stopping method.
2. Reach the brakes from both useful positions
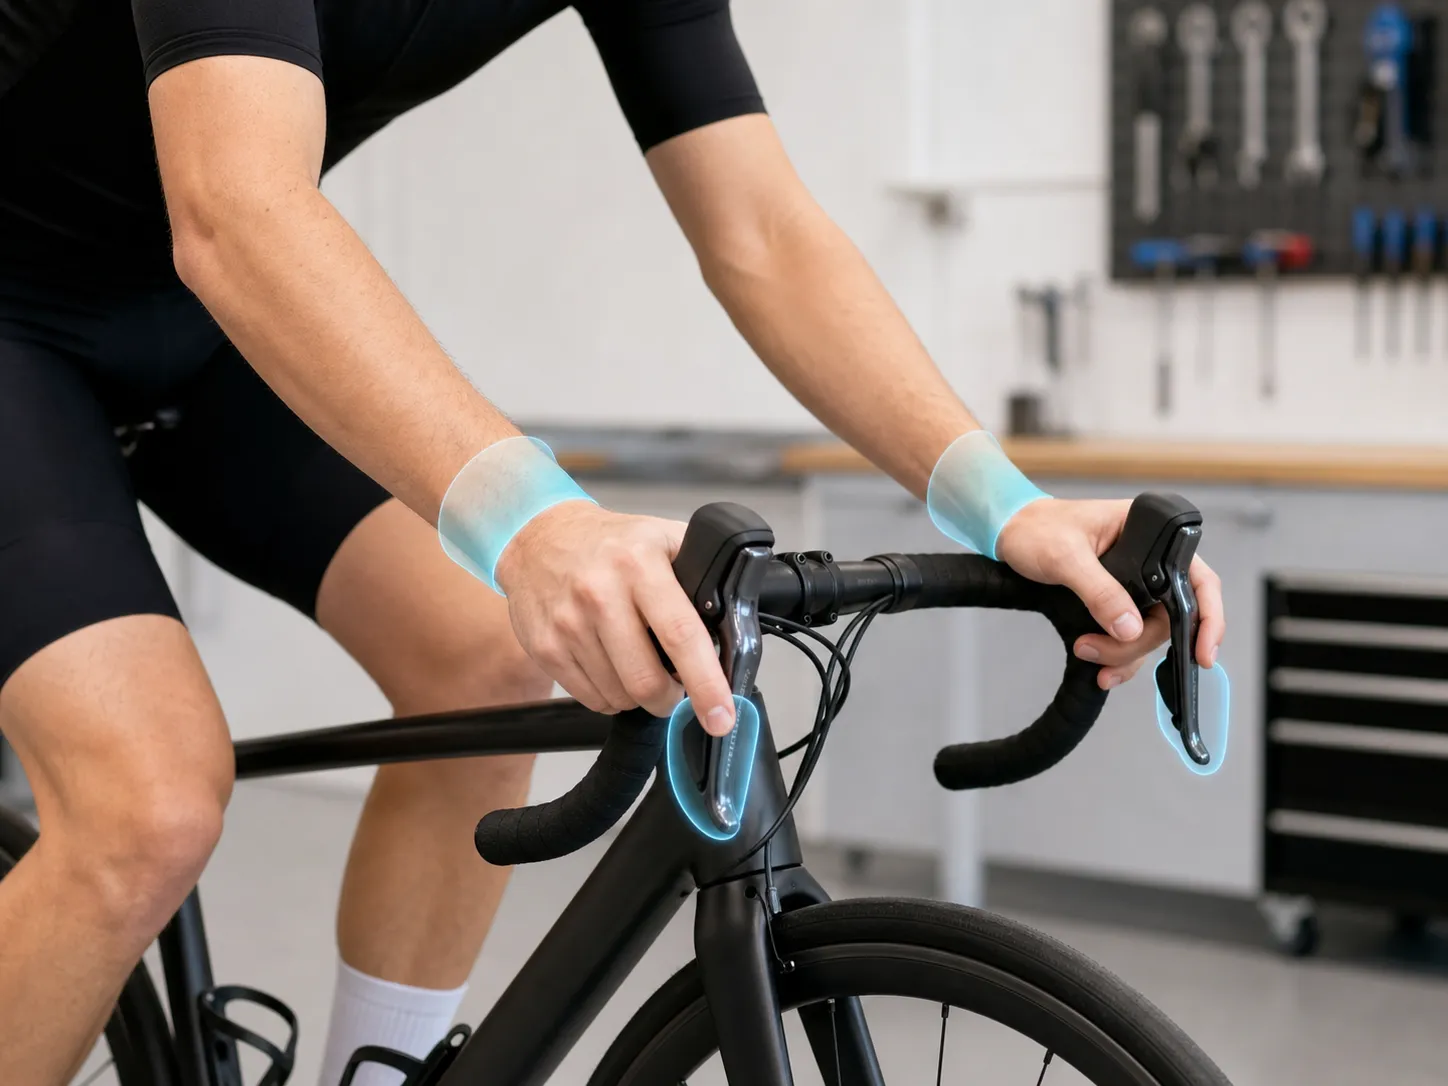
Put your hands on the brake hoods, then in the drops. Can you wrap your fingers around each lever and brake firmly without rotating your wrist, sliding to the end of the bar, or releasing your grip?
Some controls provide reach adjustment. SRAM’s current road manuals, for example, document model-specific reach adjusters. That does not mean every lever has the same screw, range, or direction. Ask the shop to adjust the exact lever, then verify that braking and shifting still work correctly.
3. Hold the hoods without locked elbows
Ride on level ground at an ordinary pace. You should be able to keep a soft elbow bend, see ahead, steer without shoulder strain, and use the hoods rather than retreating behind them. A very short test cannot certify all-day comfort, but obvious overreach is not something to “grow into.”
4. Turn slowly without a surprise
At walking pace in a safe open space, make gentle turns in both directions. Check whether your shoe contacts the front tyre or mudguard when the inside pedal is forward. Toe overlap can occur on small road frames and does not automatically make a bike unusable, but you need to know it exists and be able to manage pedal position during tight turns.
5. Check the saddle adjustment range
The saddle should reach a plausible starting height while the seatpost remains within its minimum-insertion and maximum-extension limits. Also inspect whether the clamp and post offer enough fore-aft range without pushing the saddle beyond its rail markings.
6. Inspect the supplied contact points
Handlebars that are much wider than your comfortable hand position, very long-reach bars, thick hoods, or long cranks can make an otherwise plausible frame feel wrong. These parts may be replaceable, but count the real cost. Integrated cockpits can make changes slower and more expensive.
Separate easy adjustments from a wrong bike
Reasonable finishing work can include saddle height and angle, lever reach where supported, hood position, a compatible stem, or a suitable handlebar. Warning signs include:
- you cannot brake securely even after approved adjustment;
- the saddle cannot reach a safe position within component limits;
- several major cockpit parts need immediate replacement;
- you feel perched, trapped, or unable to steer naturally;
- the seller cannot identify the exact frame or components;
- the only argument for the bike is that the size chart says yes.
A smaller rider should not pay a fit penalty for what looks like a good component deal. Fit and control come before groupset tier, frame material, or colour.
Use the test ride to compare, not to prove endurance
Ride two likely sizes or models with the same shoes and similar saddle setup. Use the same quiet route. Include starts, stops, a gentle climb, a slow turn, normal hood riding, and brief use of the drops. Write down brake access, hand pressure, steering, and any early discomfort immediately.
Do not chase a racing pose in the shop. The first goal is a position you can control and refine. If a symptom appears only later, use the staged fit-test guide before making several changes at once.
Your next step
Take this six-function check to a shop and test at least two plausible complete bikes. Once one passes, run it through the road-bike buying checklist for gearing, tyre clearance, service support, starter gear, and total cost.