How long should you ride before deciding a road-bike fit is right?
Test a road-bike fit in stages, record when symptoms begin, and judge control and recovery instead of waiting for one magic distance.
 Field guide / how-long-to-test-road-bike-fit
Before you view or pay
Check fit, condition, and starter gear first
Use the buying checklist to choose the right path: used-bike viewing, first-bike fit and type, hidden repair costs, or starter gear.
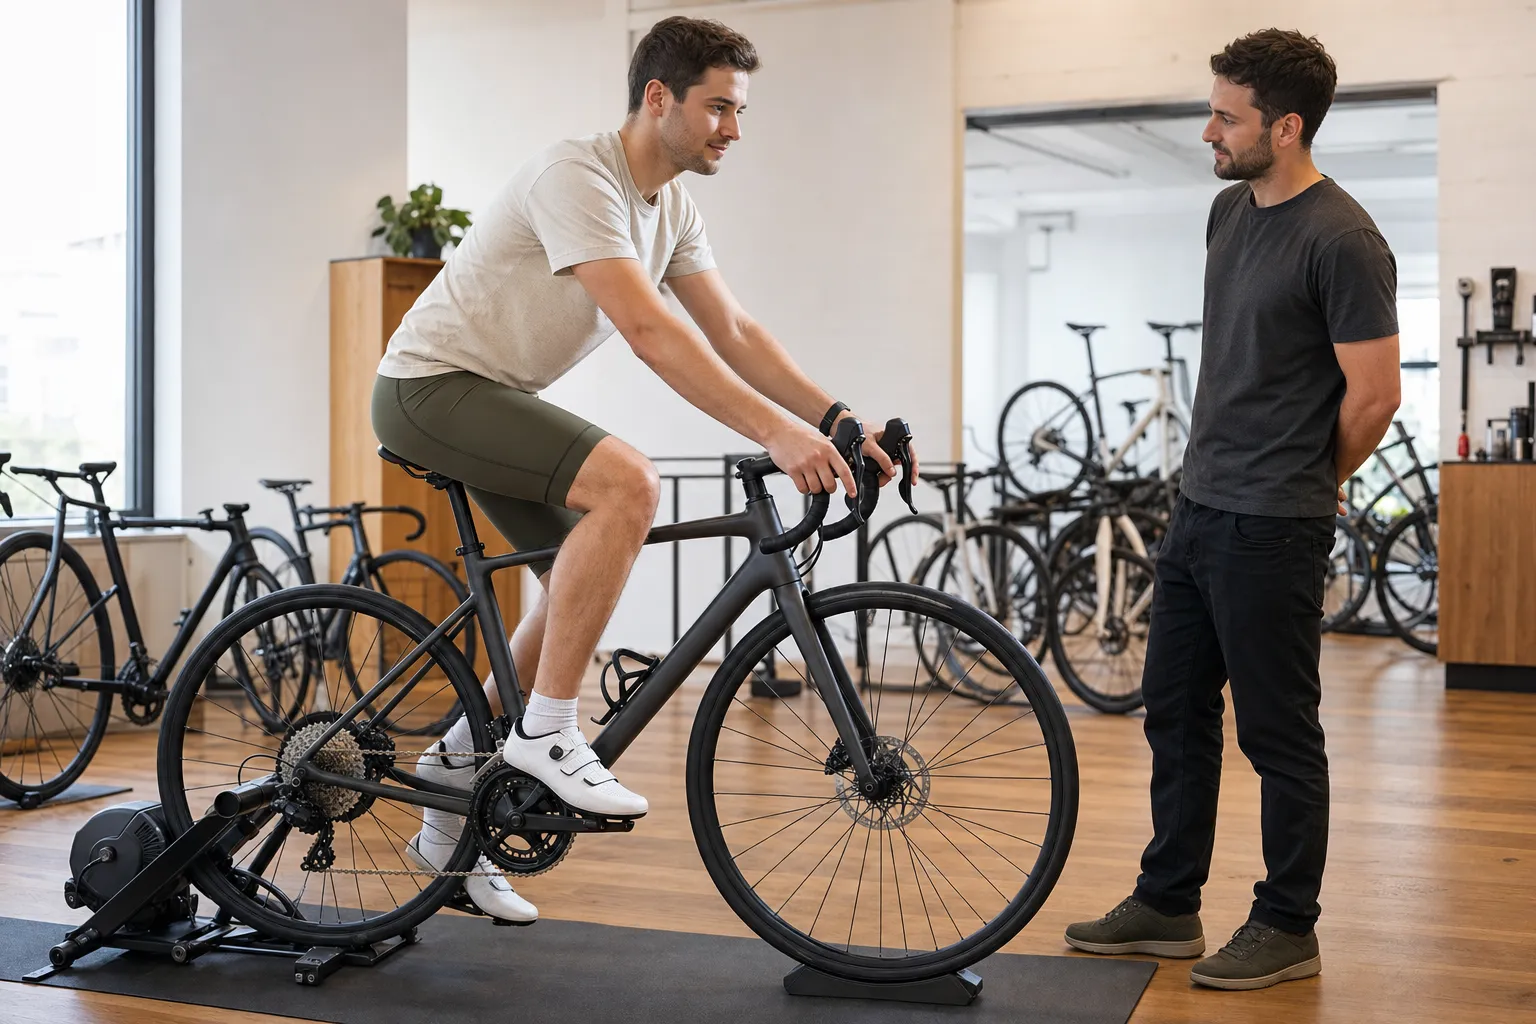
There is no kilometre at which a road-bike fit becomes officially “correct.” A useful test is progressive: confirm stationary control first, then a short easy ride, then repeat the same route for longer. Judge when symptoms start, whether you can operate the bike naturally, and how you feel later—not whether you survived one arbitrary distance.
The short answer: begin with 20–30 quiet minutes after a small fit change. If control is normal and no warning symptom appears, repeat the setup on rides of roughly 45–60 minutes, then on the duration and terrain you actually intend to ride. Stop early for numbness, sharp pain, weakness, or compromised control. A pain-free 12 km ride is encouraging, not proof that the position will work for three hours.
Why a short ride can miss a real problem
A current Reddit question asked how far a beginner should ride before deciding a new gravel-bike fit was acceptable. The rider had completed 12 km without pain. That is a good first result, but the underlying question recurs because some problems appear only after fatigue changes posture or sustained pressure irritates a contact point.
A short ride can confirm that you can:
- reach and operate both brake levers;
- steer, stop, look behind, and start again;
- pedal without obvious obstruction;
- use the hoods and another hand position; and
- identify an immediately unsuitable setup.
It cannot reproduce every long climb, rough road, fast descent, hard effort, or multi-hour contact-point load. That is why one fit verdict based only on distance is weak evidence.
Use a four-stage test
1. Stationary control check
Before riding, verify that the saddle, seatpost, stem, handlebar, controls, wheels, and pedals are secure to their documented requirements. With the bike supported safely, confirm that you can reach both brake levers from the intended hand positions and turn the bars without hoses or cables pulling tight.
Do not use a fit test to investigate a loose cockpit, slipping seatpost, wheel fault, or crash damage. Those are mechanical problems first.
2. Twenty to thirty easy minutes
Choose a flat, familiar, traffic-free or low-risk route with an easy return. Stay below hard training effort. Include starts, stops, gentle turns, normal braking, a short rise, and time on the hoods.
Ask:
- Are shoulders and hands able to relax?
- Can every control be reached without shifting the whole body?
- Do you repeatedly slide on the saddle?
- Does one knee, foot, hip, or hand feel different from the other?
- Is steering predictable while seated and standing?
This stage is for rejecting obvious failures, not chasing millimetres because the position feels unfamiliar.
3. Repeat at forty-five to sixty minutes
Keep the same setup for another ride unless the first test produced a warning sign. Use similar terrain and effort so the comparison means something. Record the time to onset of any symptom, its location, and whether changing hand position or standing briefly alters it.
Ordinary muscular tiredness after a new activity is not the same as local numbness, joint pain, loss of strength, or inability to control the bike. If you cannot tell which you have, stop the provoking ride and seek appropriate advice.
4. Test the real job
A position for 40-minute commuting does not need the same evidence as one for a 160 km event. Gradually test the expected duration, hills, surfaces, clothing, shoes, bottles, and hand positions. Do not make the first long test a remote ride with no easy bailout.
Score functions, not a pose
A road-bike fit does not need to resemble a professional racing photograph. A useful fit lets you:
- brake firmly from your normal hand position;
- keep elbows available to absorb movement rather than locked;
- pedal without repeatedly rocking or reaching;
- move between hoods, tops, and drops when those positions are part of your riding;
- look ahead and behind without losing control;
- climb and descend predictably; and
- finish with only the expected fatigue for that ride.
Photographs and video can help document movement, but an online bike-fit video is observation evidence, not a diagnosis.
Keep a useful fit log
For every test, record:
- Date, route, duration, surface, and approximate effort.
- Exact saddle height, tilt, and fore-aft reference points.
- Stem, spacer, handlebar, hood, shoe, and cleat setup.
- Symptom location, quality, onset time, and whether it settled after stopping.
- Control tasks that felt easy or difficult.
- How you felt later that day and the next morning.
Do not change saddle height, saddle tilt, cleats, stem, and tyre pressure together. Follow the one-change-at-a-time fit method so you can connect the result to the adjustment.
When the test should end immediately
End the ride and reassess for:
- genital, hand, or foot numbness that persists or worsens;
- sharp, escalating, or one-sided joint pain;
- weakness, altered coordination, or loss of brake access;
- dizziness, chest pain, or unusual shortness of breath;
- a slipping contact point or loose component; or
- steering or braking that feels unsafe.
A fit test is not an endurance challenge. Riding farther through a warning symptom does not make the result more valid.
Your next step
Set one unchanged baseline and plan a 20–30 minute loop with an easy exit. Record control, comfort, and symptom onset, then repeat it before extending duration. If a previous fit caused new symptoms, use what to do when a bike fit makes pain worse instead of continuing the progression.
Sources and further reading
- International Bike Fitting Institute: fitter standards and directory
- r/cycling reader context: how long a ride should be before judging fit — used as an editorial question signal; individual advice was not treated as clinical evidence.