Grease or threadlocker on bike bolts? The manual decides
Grease, anti-seize, threadlocker, assembly paste, and dry threads are not interchangeable. Identify the exact fastener and follow its documented preparation and torque.
 Field guide / grease-or-threadlocker-bike-bolts
There is no universal rule that bike bolts should be greased, threadlocked, or installed dry. The correct preparation belongs to the exact fastener, materials, and assembly design. Find the bike or component maker’s current manual, identify the bolt precisely, use the specified compound, and apply the specified torque and sequence.
The short answer: grease changes friction and helps protect many metal threads; anti-seize is used for some corrosion-prone material combinations; removable threadlocker helps retain certain fasteners; carbon assembly paste increases friction at selected clamping surfaces; and some interfaces are specified dry. They solve different problems and are not substitutes.
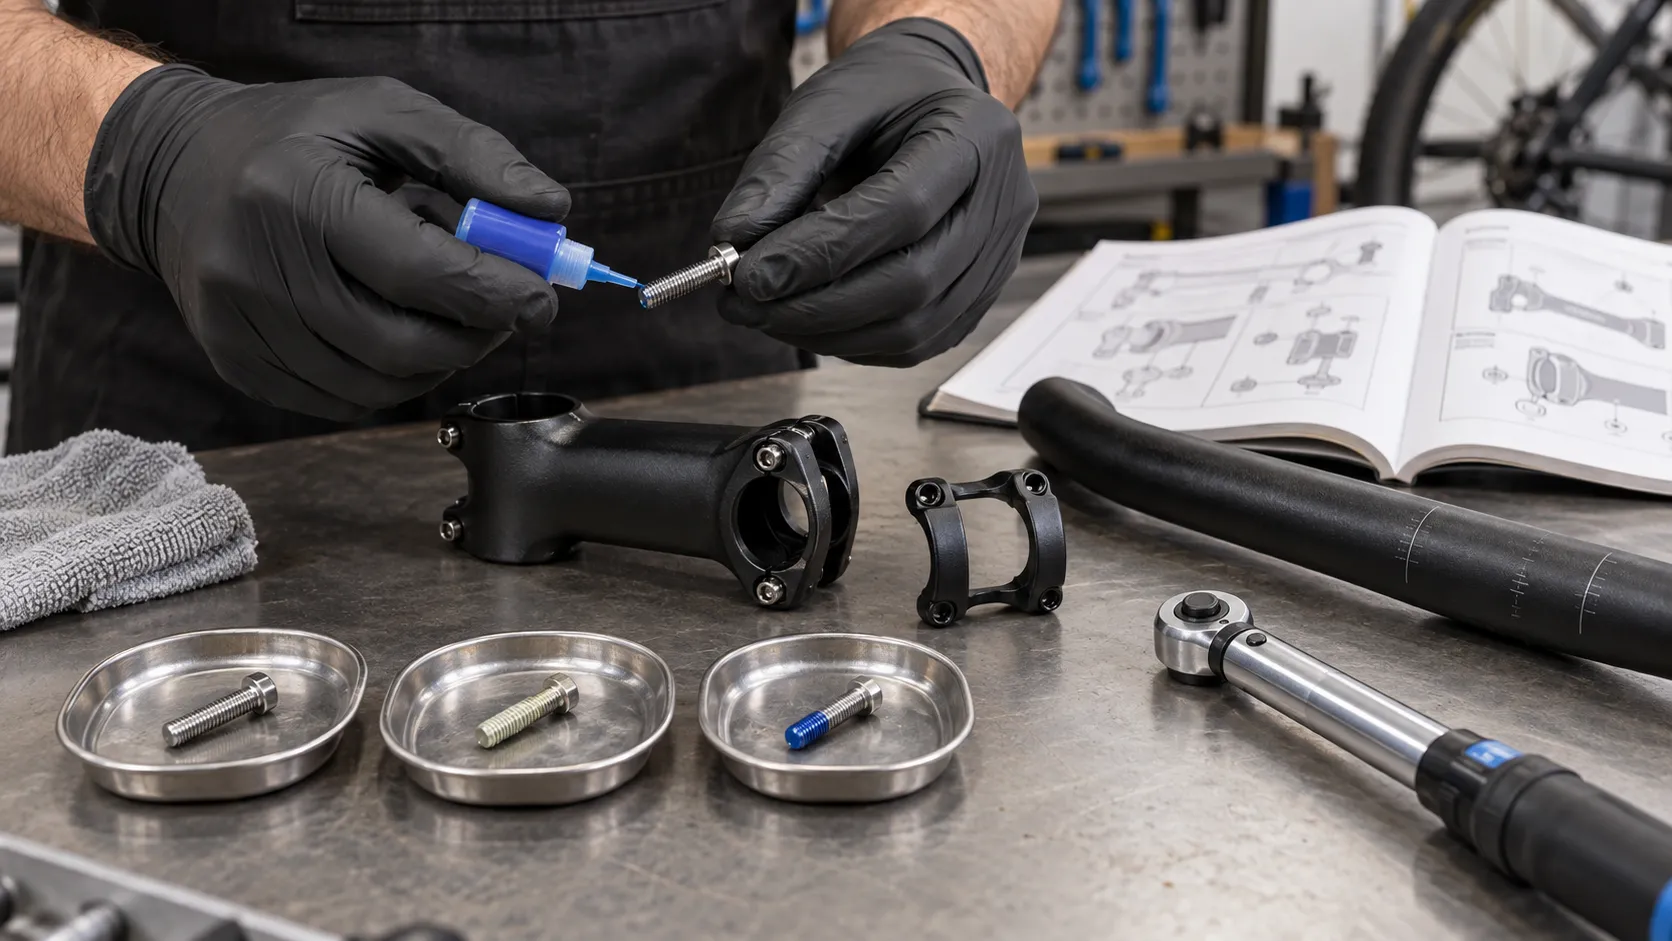
Why generic answers are risky
A current r/bikewrench question asked whether stem and cockpit bolts needed grease or threadlocker after a fit adjustment. The component manual reportedly specified threadlocker, while the removed bolts looked lubricated.
That apparent contradiction is common because one assembly can use several preparations in adjacent places. Cervélo’s HB19 instructions, for example, specify threadlocker on particular fixing screws and light grease on separate fork and spacer surfaces. Copying the treatment from the surface beside a bolt can therefore be wrong.
What each product actually does
| Preparation | Typical purpose | It does not mean |
|---|---|---|
| Grease | Lubricates threads, discourages corrosion and seizure, aids consistent tightening where specified | “Add extra torque” or use on every clamp surface |
| Anti-seize | Helps prevent galling or corrosion in selected material combinations | Generic bearing grease or universal thread treatment |
| Removable threadlocker | Helps a clean threaded fastener resist loosening where specified | Permanent glue or permission to ignore torque and cure time |
| Carbon assembly compound | Adds controlled friction at selected clamped carbon interfaces | Lubricant for bolt threads unless the manual separately says so |
| Dry/clean installation | Provides the friction condition assumed by some specifications | Safer merely because no chemical is present |
Product colour alone is not a reliable specification across brands. Use the exact product type, strength, compatibility, and cure instructions named by the manufacturer.
Why torque depends on thread preparation
A torque wrench measures turning resistance, not bolt tension directly. Thread friction and friction beneath the bolt head consume much of that torque. Grease, threadlocker, coatings, washers, and reused hardware can change the relationship.
That is why “I always grease bolts, then torque to the printed number” is not a safe universal policy. The printed torque may assume grease, a pre-applied locking patch, liquid threadlocker, or dry threads. Use the specification as a complete system.
Never compensate with extra torque because a fastener feels loose, and never loosen a critical bolt by an arbitrary fraction after torquing it. If a bolt reaches torque before parts seat correctly, stop and investigate the hardware, alignment, thread engagement, and sequence.
A safe decision process
1. Identify the exact assembly
Record the bike year, model, size, component model, and bolt location. Integrated cockpits and proprietary seatposts may use instructions that differ from visually similar parts.
2. Find the current primary document
Use the bike or component maker’s manual or service page. A torque chart without the accompanying assembly steps may omit compound, washers, new-hardware requirements, or tightening sequence.
3. Inspect the fastener
Stop for stripped sockets, flattened or stretched threads, cracks, corrosion, damaged washers, missing locking patches, or the wrong length or material. Some manufacturers require new bolts after removal or specify a mounting-hardware kit.
4. Clean only as directed
Threadlocker commonly needs clean threads, while a pre-applied patch may have its own reuse rule. Solvents can damage paint, plastics, bearings, seals, or carbon finishes. Keep every compound away from braking surfaces.
5. Apply the specified product sparingly
More is not better. Excess threadlocker can migrate, make later service difficult, or affect nearby materials. Excess grease can contaminate brake parts or clamping faces. Apply it only to the named surface.
6. Tighten with the right tool and sequence
Use an appropriate, in-calibration torque wrench within its working range and the correct undamaged bit. Tighten multi-bolt clamps gradually and in the maker’s order. Observe equal-gap instructions where provided.
7. Respect cure and recheck instructions
Some threadlockers require assembly, fixture, and full-cure time. Some components require a second torque check after adjacent parts are installed. Do not ride before the documented process is complete.
Common mistakes to avoid
- using high-strength or permanent threadlocker because “stronger is safer”;
- applying grease and threadlocker to the same threads without an explicit instruction;
- putting grease between a handlebar and stem clamp;
- treating carbon paste as grease;
- reusing damaged or single-use hardware;
- mixing bolts from a previous-generation cockpit;
- trusting a forum torque value without matching the exact model and year; or
- tightening a slipping component beyond its maximum torque.
If a seatpost still moves at correct torque, follow our slipping-seatpost diagnosis rather than adding torque. If a headset remains loose, use the loose-headset safety guide and stop riding until the cause is resolved.
Your next step
Before turning the wrench, write one line: exact bolt, exact preparation, exact torque, exact sequence, and source manual. If any field is blank, pause. For steering, braking, or carbon hardware, hand the job to a qualified mechanic rather than filling the gap with a generic rule.