Why does disc-brake rub keep coming back after you align the caliper?
Diagnose recurring bicycle disc-brake rub by its pattern before moving the caliper again: wheel seating, rotor runout, hub play, pistons, pads, and mounts.
 Field guide / disc-brake-rub-keeps-coming-back
Disc-brake rub that returns after caliper alignment usually means the caliper was not the root cause. Re-seat and secure the wheel first, then classify the rub: constant, once per revolution, after braking, or only under load. That pattern points toward wheel seating, rotor runout, hub play, piston return, cable return, pad hardware, or the mounting faces.
The short answer: stop repeating the squeeze-the-lever alignment trick until the wheel, axle, rotor, hub, pads, and pistons have passed inspection. Alignment can hide another fault for a few lever pulls; it cannot repair it.
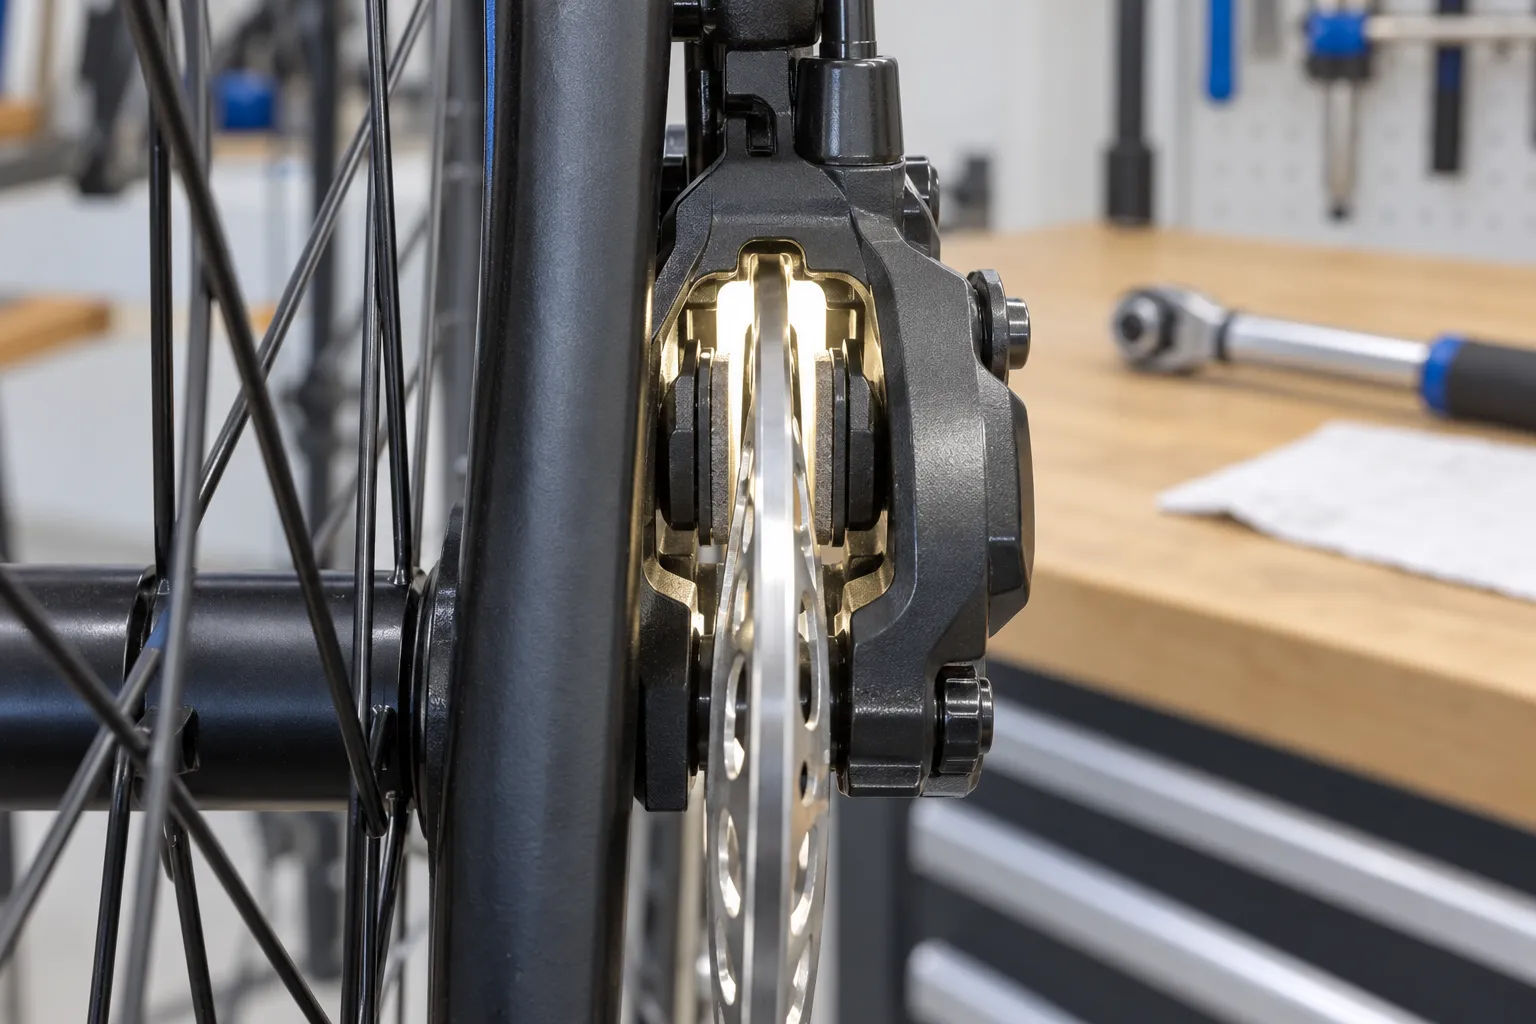
Read the rub pattern before adjusting anything
Recent repair threads describe a caliper that could not move far enough after a wheel was reinstalled, hydraulic rub that survived repeated centring attempts, and a question about rub appearing after tyre inflation. These are demand signals, not remote diagnoses.
Spin the wheel by hand and look through the caliper with a light or white paper behind it:
- Constant contact on one side: wheel seating, caliper position, unequal piston or pad position, cable setup, or mount alignment.
- A brief scrape once per revolution: rotor lateral runout, a loose rotor, or hub play.
- Rub only after squeezing the lever: sticky piston, mechanical arm or cable not returning, pad spring trouble, or too little clearance.
- Rub after a long descent, then fades: temporary heat expansion or rotor distortion may be involved; braking technique and system condition still need review.
- Rub during hard pedalling or cornering only: wheel, hub, axle, fork, or frame flex may move the rotor relative to the caliper.
Do not bend a rotor merely because you hear a tick. First prove which surface moves.
Start at the wheel, not the caliper
A rotor is attached to the hub. If the wheel sits differently, the rotor sits differently even when the rim looks straight.
- Follow the bicycle and axle instructions to remove and reinstall the wheel.
- Check that both axle interfaces are clean and fully seated.
- Secure the quick release or thru-axle exactly as specified.
- Spin the wheel and recheck the gap.
- Rock the rim sideways to feel for hub-bearing play.
If re-seating changes the rub, solve the wheel installation problem before touching the brake. For a quick-release wheel, use the safe quick-release installation guide. For a thru-axle, use the model-specific tightening process.
Check the rotor as part of the hub system
Watch a fixed point on the rotor pass through the pads. If the gap changes at the same place each revolution, inspect for:
- lateral runout;
- loose six-bolt fasteners or centre-lock lockring;
- dirt or a burr between rotor and hub interface;
- hub-bearing play;
- impact, heat damage, cracking, or service-limit wear.
Rotor truing is a controlled task with a clean dedicated tool and the maker’s limits. The rotor edge can be sharp, and contamination ruins braking. If you cannot distinguish a loose rotor, worn hub, and bent rotor, stop and use a mechanic.
Check pad and piston return
For a hydraulic brake, remove the wheel only after inserting the specified pad spacer if the lever could be pressed. Never pull the lever with no rotor or spacer in place. With the wheel installed, watch both pads while an assistant gently applies and releases the lever.
One pad remaining close to the rotor can indicate a dirty or sticky piston. It does not automatically mean the system needs a bleed. Use the exact brake maker’s piston-cleaning procedure; different systems use different fluids and seals. Never spray general lubricant into a caliper.
For a mechanical brake, confirm the lever arm returns fully, the cable slides freely, housing ends are seated, and model-specific inner and outer pad adjusters are set correctly. A caliper can be centred while one pad remains too close.
Inspect the pad spring and retaining hardware. Replace pads below the maker’s service limit or with contamination, glazing, cracking, or uneven wear. The disc-pad wear guide covers the measurement step.
Align the caliper only after the checks pass
Use the procedure for the exact brake. A common hydraulic sequence is to loosen the caliper just enough to move, apply the brake, snug the mounting bolts progressively, release, inspect, and then torque to specification. Park Tool notes that the self-centring method may still require fine adjustment.
Tighten the two mounting bolts in small alternating steps. A bolt tightened fully on one side can twist the caliper away from the position you just set. Do not copy a generic torque number when the frame, adapter, caliper, or fastener instructions state another value.
If the caliper moves sideways as the bolts tighten, inspect the washers, adapter orientation, bolt length, hose or housing force, and mounting faces. Do not add washers that the brake was not designed to use. Facing misaligned frame or fork mounts is a specialist cutting operation.
Know when the sound is not the main problem
A faint intermittent whisper with free wheel rotation is different from a rotor clamped hard enough to stop the wheel. Judge function as well as noise:
- Does the wheel rotate freely enough for normal riding?
- Is braking power strong, progressive, and repeatable?
- Does the lever feel normal and remain away from the handlebar?
- Are all fasteners secure at their specified torque?
- Does the brake remain aligned after several firm applications?
Do not chase silence by opening hydraulic systems, sanding pads, bending rotors, or loosening safety-critical hardware without the correct procedure.
Your next step
Write down when the rub appears, then run the checks in order: wheel seating, axle security, hub play, rotor security and runout, pad condition, piston or cable return, and only then caliper alignment. If the alignment cannot stay put after those checks, take the complete bike—not only the wheel—to a qualified mechanic.
Sources and further reading
- Park Tool: hydraulic disc-brake alignment and causes of rub
- Park Tool: mechanical disc-brake alignment
- Park Tool: disc-brake rotor diagnosis and truing cautions
- Shimano: disc-brake caliper alignment dealer guidance
- r/bikewrench reader context: severe rub after reinstalling a wheel
- r/bikewrench reader context: rub after repeated hydraulic-caliper alignment