How to choose puncture-resistant road-bike tyres without ruining the ride
Match road-tyre protection to debris, distance, clearance, and maintenance while preserving reasonable grip, comfort, rolling feel, and repairability.
 Field guide / choose-puncture-resistant-road-bike-tyres
Before you buy
Check the starter kit first
Print the one-page buying brief for helmet, lights, water, phone, and repair compatibility before comparing upgrades.
Choose a puncture-resistant road tyre by the hazards you actually encounter, not by finding the heaviest tyre or the boldest “flat-proof” claim. For debris-heavy commuting, prioritize a durable casing and substantial under-tread protection. For cleaner recreational roads, a lighter protected road tyre may preserve more of the speed and feel you bought the road bike for.
The short answer: confirm fit first, choose one protection step above your current tyre, run an appropriate measured pressure, inspect for embedded debris, and carry a repair. Maximum protection brings trade-offs in mass, suppleness, installation, and sometimes grip or rolling feel.
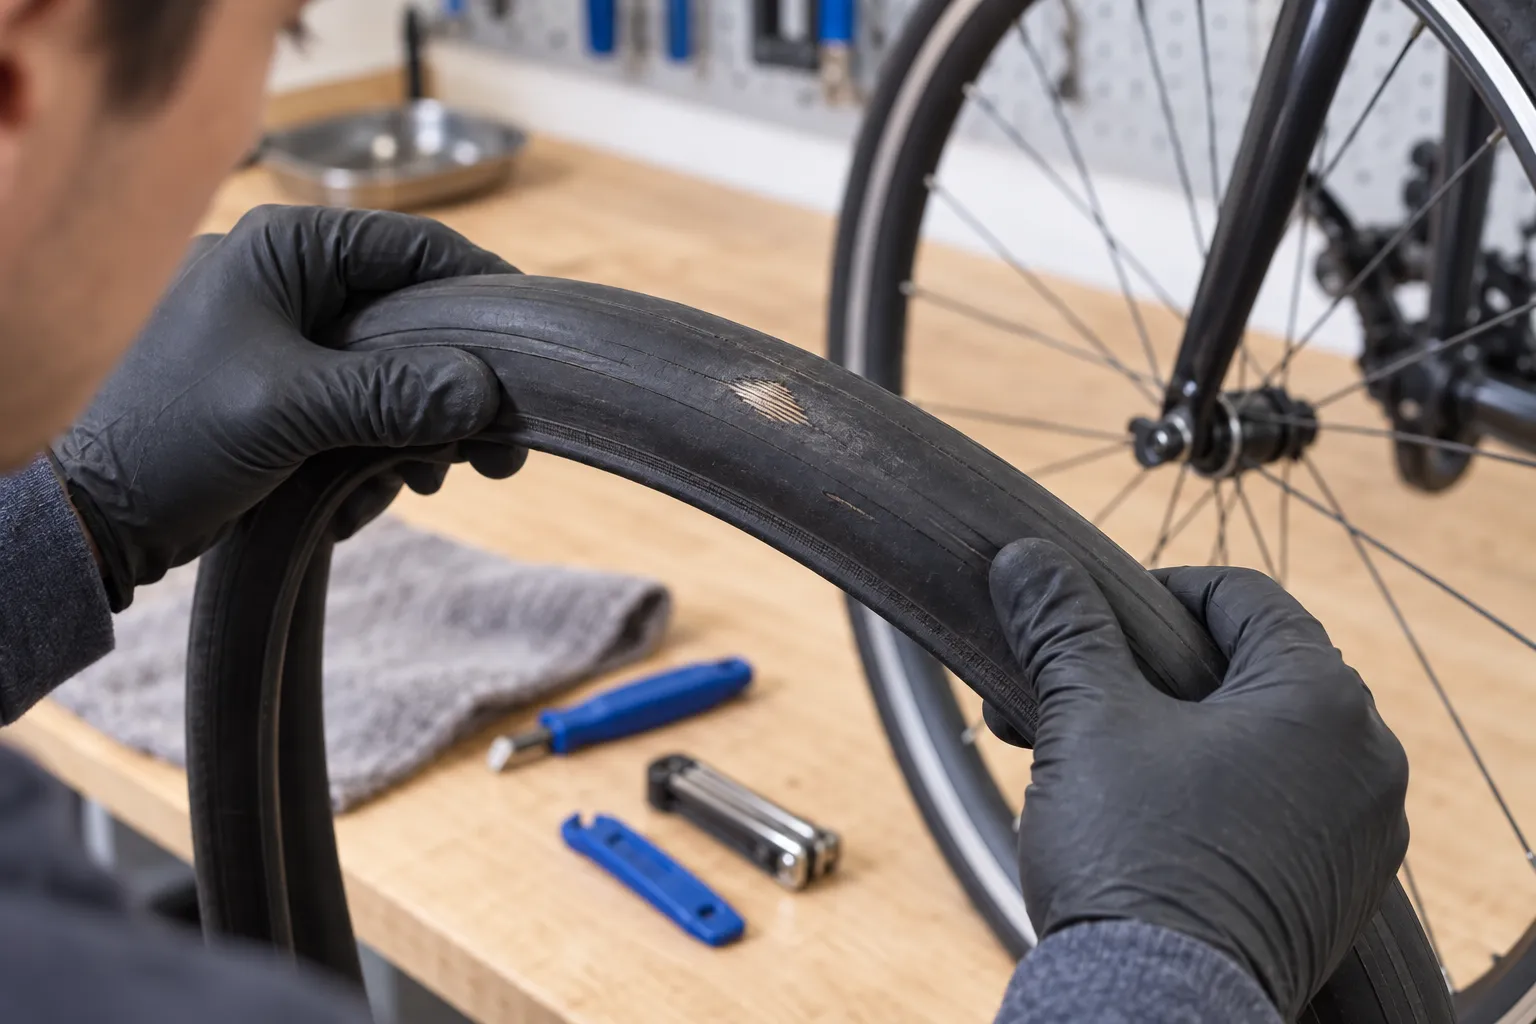
Start with the cause of your flats
A recent London cycling thread asked for road tyres that reduce punctures without giving up too much speed after a rider moved from heavily protected touring tyres to a road bike.
That trade-off is real, but first identify the failure:
- Glass, wire, or thorns through the tread: more under-tread protection may help.
- Two parallel cuts or a pinch near the rim: check pressure, impact, load, and tyre volume.
- Hole on the rim side of the tube: inspect rim tape, spoke holes, burrs, and valve area.
- Repeated hole in one location: find the object still embedded in the tyre or a rim problem.
- Sidewall cuts: wider tyres, more clearance from kerbs, and a tougher casing may matter more than a centre belt.
- Tubeless seal failures: review sealant condition, hole size, pressure, and tyre/rim compatibility.
Use the same-spot puncture diagnosis before blaming the tyre model.
Choose a protection tier, not a miracle tyre
Light protected road tyre
Best for mostly clean roads, faster group rides, and riders willing to inspect tyres and repair an occasional flat. These usually use a relatively supple casing with a light puncture layer.
Reinforced all-round road or commuter tyre
A sensible middle ground for daily use, mixed road quality, and riders who value reliability but still want road-bike handling. Look for explicit casing and protection construction from the manufacturer rather than a vague “durable” label.
Maximum-protection touring tyre
Useful on glass-strewn urban routes, utility bikes, and trips where delay matters more than lively acceleration. Thick protection can add rotating mass and make some tyres harder to mount. It reduces risk; it does not eliminate flats.
Continental’s technical explanation makes the use-case distinction directly: commuters exposed to glass and metal need different protection from racers seeking lower mass and rolling resistance. Schwalbe similarly describes thick rubber belts and lighter woven-fibre systems as different compromises.
Confirm the tyre will fit
Match the bead-seat diameter exactly—the three-digit ETRTO number such as 622 is more dependable than a loose “700c” label. Then check:
- frame, fork, brake, and mudguard clearance;
- rim internal width and the rim maker’s permitted tyre range;
- the tyre maker’s rim compatibility;
- measured width, which can differ from the sidewall label;
- whether the rim and tyre are approved for tubeless use if relevant.
Do not buy the widest size the frame can theoretically touch. Leave the clearance required by the bicycle maker for flex, debris, and manufacturing variation. See how much tyre clearance a first road bike needs.
Pressure is part of puncture protection
Too little pressure can allow bottoming and pinch damage; too much can reduce comfort and grip and increase harsh impact loading. The correct pressure depends on combined load, tyre size, actual measured width, rim, surface, and system.
Use a gauge and a reputable calculator or the tyre/rim maker’s instructions. The sidewall maximum is a limit, not a target. Recheck pressure regularly; a quick squeeze cannot reliably quantify it.
Tubes or tubeless?
Tubeless sealant can close many small tread punctures while riding and allows lower pressure without tube pinch flats. It also adds maintenance: sealant dries, valves clog, and larger cuts still require plugs, a tube, or a tyre boot.
For a short urban commute, a robust tyre and butyl tube may be the calmer choice. For longer rides on rough roads or thorn-heavy routes, tubeless may be worth the upkeep. Compare the complete trade-off in tubes vs TPU vs tubeless.
Prevent the avoidable flats
- Inspect both tyres weekly for embedded glass, wire, cuts, and exposed casing.
- Measure pressure before important rides and after long gaps.
- Replace damaged rim tape with the correct width and type.
- Keep brake pads from touching a rim-brake tyre sidewall.
- Avoid riding through gutters where debris accumulates when a safe line is available.
- Carry a compatible tube, tyre levers, inflation, and a boot even with tubeless tyres.
External loose puncture strips can create their own abrasion points if poorly installed. An integrated protection layer from a known tyre design is usually easier to evaluate.
Your next step
Inspect the failed tube and tyre, write down the exact tyre and rim sizes, and classify the puncture cause. Move up one protection tier that addresses that cause, then test pressure and ride quality before assuming you need the heaviest available tyre.