What to do when a bike chain is stuck behind the cassette
Free a chain jammed between the cassette and spokes without forcing it, then inspect the derailleur, hanger, wheel, chain, and low-limit setup.
 Field guide / chain-stuck-behind-cassette
Before you buy
Check the starter kit first
Print the one-page buying brief for helmet, lights, water, phone, and repair compatibility before comparing upgrades.
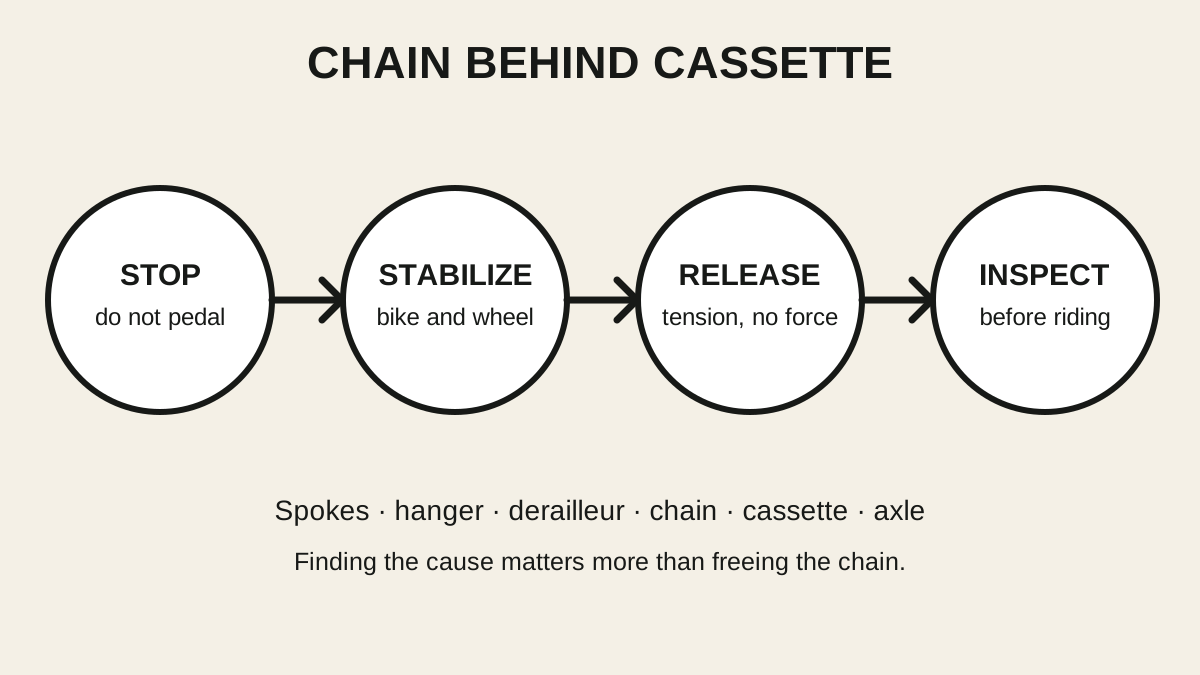
Stop pedalling the moment the chain falls between the largest cassette sprocket and the spokes. Do not shift again, pull the derailleur, or yank the wheel. First stabilize the bike and release chain tension; after the chain is free, find why the derailleur travelled too far inward and inspect everything the chain touched.
The short answer: a gentle jam may release when tension is removed, but a deeply wedged chain often requires opening the chain, removing the derailleur, or removing the cassette with the correct tools. If force is needed or any spoke, hanger, chain, or derailleur is damaged, stop and use a bike shop.
Why continued pedalling makes it worse
The rear derailleur places the chain under spring tension. Pedalling can pull a loose loop deeper behind the cassette, bend spokes, twist the derailleur cage, damage the hanger, or drag the derailleur into the wheel. A carbon frame or wheel can also be damaged by concentrated contact.
Current Reddit repair questions include both a freshly jammed chain and a derailleur pulled toward the cassette after a chain failure. Those discussions are useful warnings, not remote inspections. A comment cannot certify the wheel or hanger afterward.
Stabilize the bike before touching the jam
Move out of traffic and unclip or step away safely. If a stand is not available, rest the bike with the drivetrain facing up, protecting shifters and saddle as practical. Do not balance it where a released wheel or sprung derailleur can fall on you.
Let the system settle, then inspect with a light:
- Is the chain merely lying behind the largest sprocket or tightly buried?
- Has the derailleur cage entered or touched the spokes?
- Are spokes bent, loose, gouged, or broken?
- Is the hanger visibly twisted?
- Is the cassette loose or unusually close to the frame?
- Is the wheel fully seated and the axle secure?
- Is the chain broken, kinked, or twisted?
If the derailleur is in the spokes, the wheel is displaced, or a spoke is damaged, arrange transport. Do not rotate the wheel to “see what happens.”
Release tension, not parts by force
Wear gloves and keep fingers away from sharp sprocket teeth and loaded derailleur pivots.
For a light, accessible jam
Without turning the cranks, move the lower derailleur cage forward slightly to create chain slack. With the other hand, lift only the slack section of chain outward and onto the largest sprocket. Stop if it does not move easily.
Do not lever against spokes with a screwdriver, pry bar, tyre lever, or chain tool. A tiny spoke bend or notch can become a wheel failure.
If the chain is deeply wedged
The safer next step may be to disconnect a reusable quick link, separate the chain with the correct chain tool, remove the derailleur from the hanger, or remove the cassette. Each requires exact procedures and can release stored spring tension.
Opening a quick link is useful only when the link is accessible and approved for reuse. Read the quick-link guide before assuming it can go back into service.
Removing the rear wheel is not automatically the first move. A trapped chain can tether the wheel to the derailleur and make pulling the wheel out more destructive. If you cannot see a no-force path, stop and take the complete bike to a mechanic.
Inspect every part in the damage path
Once free, do not immediately pedal through the gears. Clean the area and check:
Chain
Look for twisted plates, stiff links, raised pins, a damaged quick link, gouges, and uneven articulation. Replace a structurally damaged chain. A roadside chain repair may get a sound system home, but it does not make damaged spokes or a bent hanger safe.
Spokes and wheel
Inspect both sides of every contacted spoke. Check for cuts, flat spots, bends, lost tension, and wheel trueness. A spoke can be weakened without breaking immediately. Ask a wheel builder or mechanic when contact left any mark or the wheel no longer runs true.
Derailleur and hanger
Check the cage, pulleys, pivots, mounting bolt, and hanger. A hanger can bend enough to change shifting while looking nearly straight. Accurate confirmation uses a hanger-alignment gauge; sighting from behind is only a screening check. Follow the bent-hanger diagnosis.
Cassette, freehub, axle, and frame
Check for loose sprockets, damaged lockring or splines, abnormal freehub play, missing hub end caps, axle security, and contact marks on the frame. A cassette sitting too far inward or a loose wheel can change clearances. Use the loose-cassette guide if the sprocket stack moves.
Find why the chain travelled too far inward
The rear derailleur’s low-limit control exists to stop inward travel near the largest sprocket. Shimano’s model-specific manuals align the guide pulley with the largest sprocket while setting that limit. SRAM procedures likewise set the low limit only after the derailleur position and system setup are correct.
A bad low-limit setting is common, but not the only cause:
- a bent derailleur hanger;
- impact or a loose derailleur mounting;
- wheel installed incorrectly or axle not secure;
- loose cassette, wrong spacer stack, or incorrect hub end cap;
- incompatible cassette, derailleur, or wheel parts;
- electronic micro-adjustment or cable indexing far from correct;
- excessive play in derailleur or freehub components;
- damage created by the original jam.
Do not tighten the screw marked “L” at random. Limit direction and procedure vary, labels can be hard to see, and excessive restriction can prevent access to the largest sprocket. Identify the derailleur model and follow its manual from the beginning.
Test without risking another wheel
After damaged parts are replaced and the cause is corrected:
- confirm the wheel and axle are secure;
- rotate the cranks slowly in a stand;
- shift one click at a time toward the largest sprocket;
- watch the guide pulley and chain from behind while staying clear of the wheel;
- verify the chain reaches the largest sprocket without trying to pass it;
- shift across the full cassette and back;
- apply only modest load on a short traffic-free test ride.
Stop for noise at the spokes, hesitation near the largest sprocket, derailleur movement toward the wheel, wheel wobble, or any renewed overshift.
The clear plastic spoke protector found on some wheels may reduce the chance of a chain falling deeply into the spokes, but it is not a substitute for correct limits, a straight hanger, and a secure compatible wheel.
Your next step
If the chain is still wedged, release only visible chain tension and avoid force. Photograph the jam from the rear and side, record the derailleur and wheel models, and take the complete bike to a shop if it does not lift free gently. If it is already free, do the spoke–hanger–chain–cassette–axle inspection before adjusting anything.
Sources and further reading
- Shimano rear-derailleur dealer manual: model-specific low-limit alignment
- SRAM eTap AXS manual: set derailleur position and low limit in the documented sequence
- Park Tool: the purpose of rear-derailleur limit screws
- r/bikewrench reader context: a chain wedged between cassette and spoke protector
- r/bikewrench reader context: a current chain failure that pulled the derailleur toward the cassette
Reddit discussions were used to identify the failure mode and reader uncertainty, not to certify a repair. No usernames or personal stories are reproduced here.