How to aim a bike light without dazzling other riders
Set and test a bicycle headlight for useful pavement illumination without direct glare, then respond safely when an oncoming light ruins your vision.
 Field guide / aim-bike-light-without-dazzling
A bicycle headlight should put useful light on the surface ahead without sending its brightest part into oncoming eyes. Mount it securely, start with the lamp level or slightly down according to its beam design, and test the real beam from another person’s eye height. Brightness alone does not make a setup safe.
The short answer: use a road-appropriate light with a controlled beam where available, aim and tighten it according to the manufacturer, choose a lower mode around people, and recheck it after bumps or handlebar changes. If an oncoming light dazzles you, look toward the safe path edge, reduce speed smoothly, communicate briefly, and stop if you cannot see.
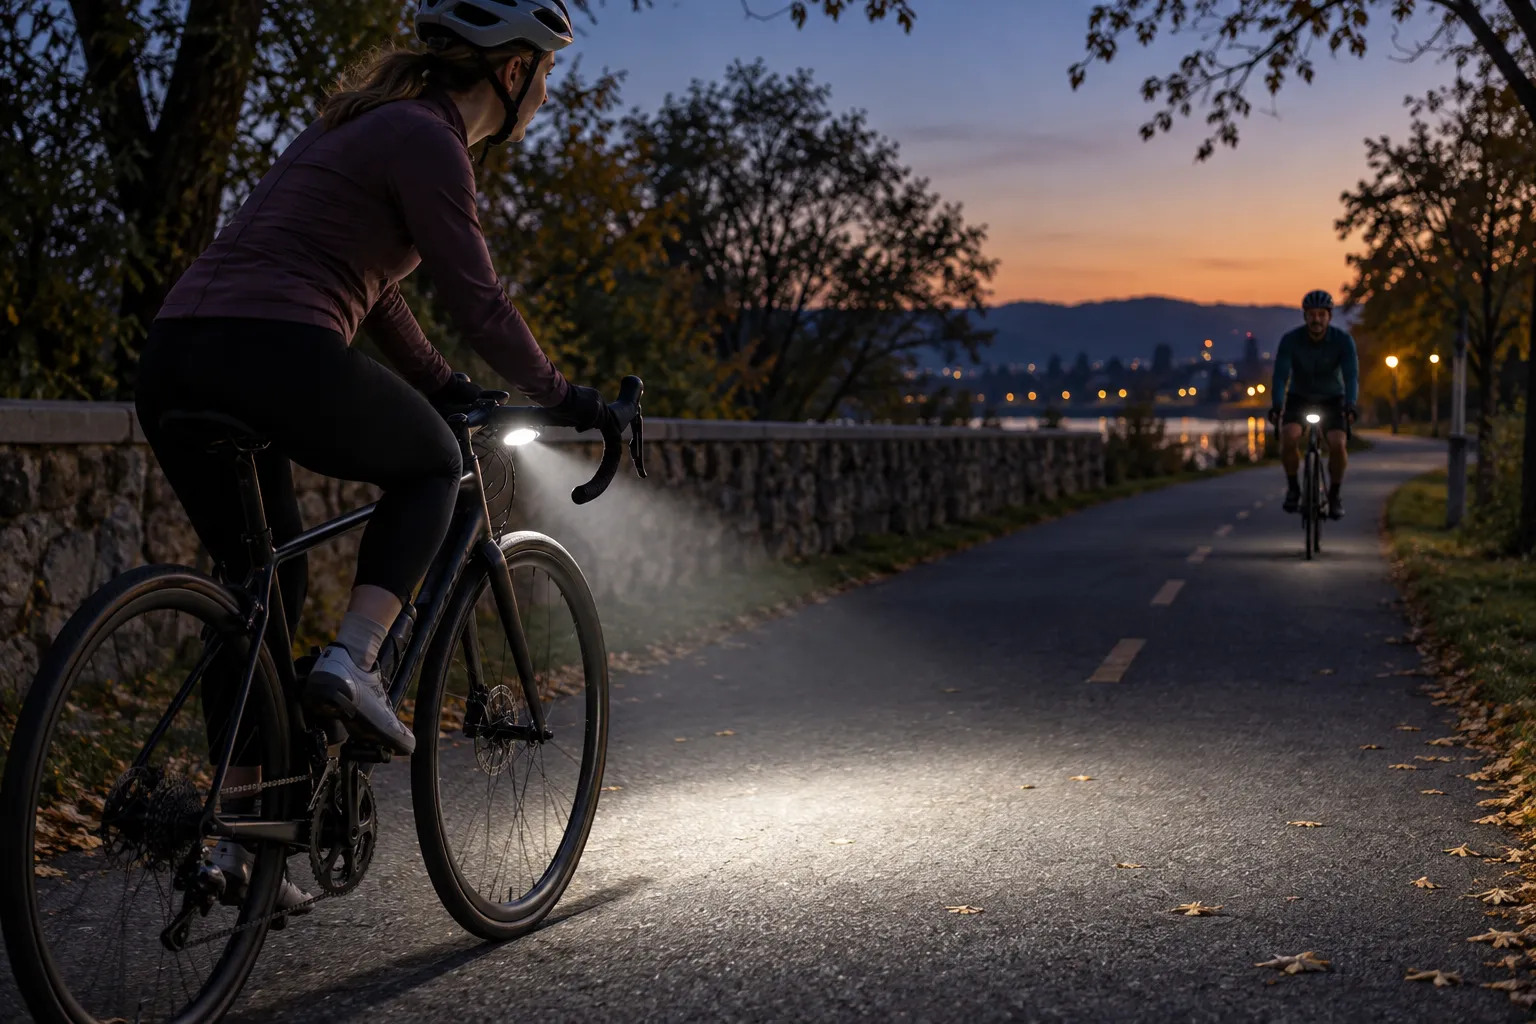
Why a bright light can make the path less safe
A current r/cycling thread asked how riders cope with an oncoming bicycle light that is too bright. That question recurs because two separate jobs are often confused:
- a be-seen light helps other road users notice the bicycle;
- a see-the-road light illuminates hazards ahead.
A high-output lamp with a round, uncontrolled beam may work on an empty trail but cause severe glare on a two-way path. Mounting height, beam shape, pitch, brightness mode, surface reflectivity, rain, mist, and the rider’s posture all change the effect.
UK official cycle-lighting guidance says an optional lamp must not dazzle other road users. The wider Highway Code also tells road users not to use lights in a way that causes dazzle or discomfort and to slow down—and stop if necessary—when dazzled. Check your own jurisdiction because equipment rules differ.
Aim the light with a real-world test
1. Secure the mount
Use the correct bracket, shims, and torque from the manufacturer. The lamp must not rotate over rough pavement, interfere with cables, or be hidden by a bag. A light that droops can leave you blind; one that tilts upward can blind everyone else.
2. Identify the beam type
Some road lights have a shaped beam or sharp upper cutoff and must be installed in a defined orientation. Others cast a round flood. Look for a top marking and read the manual before guessing.
Do not rotate a cutoff lamp upside down. Do not cover vents or lens areas with homemade tape unless the manufacturer approves it.
3. Start against a wall
On level ground, point the bike toward a wall and mark the lamp’s height. Move back while keeping the bike upright. The brightest portion of a conventional beam should not climb above the lamp’s height; a cutoff design should remain oriented as its manual shows.
There is no universal “X centimetres at Y metres” rule that fits every optic and jurisdiction. Use the maker’s specification and treat the wall as a repeatable starting check.
4. View it from oncoming eye height
Have another adult hold the bike while you walk 10–30 metres ahead and approach from the opposite direction at cyclist eye height. Test the normal speed mode, not only the lowest mode. Then swap roles.
Ask three questions:
- Can I see the rider without looking away?
- Is the brightest part on the ground or in my eyes?
- Does a small handlebar movement send a flash into eye level?
If the answer is uncomfortable, lower the output, adjust the angle, or use a better-controlled light.
5. Test while riding slowly
Run a short traffic-free test. The beam should reveal surface changes far enough ahead for your actual speed. If aiming low enough to protect others leaves you unable to see, the answer may be a different light, slower speed, or different route—not tilting the lamp back into people’s faces.
Use modes for the place, not your ego
Use the amount of light the conditions require.
- Lit shared path: lower steady mode is often easier for others to interpret.
- Unlit road: use a compliant steady beam that reaches far enough for your speed.
- Fast dark descent: slow down if your legal, considerate beam does not reveal enough stopping distance.
- Rain, fog, or wet pavement: expect more reflected glare and reduce speed.
- Stopped beside others: cover or switch down the front lamp instead of shining it into faces.
Flashing rules differ. The UK Highway Code permits flashing cycle lights but recommends a steady front lamp where street lighting is poor. A flash that is legal can still be unpleasant or make distance harder to judge, so use judgement around people.
What to do when someone else’s light dazzles you
Do not answer glare with your own high beam.
- Keep both hands ready for braking and hold a predictable line.
- Look toward the safe edge or lane marker instead of staring at the lamp.
- Reduce speed smoothly; warn anyone following.
- Say “please dip your light” once, early and calmly if there is time.
- Stop in a visible safe place if you cannot identify the path, pedestrians, animals, or edge.
After the rider passes, give your vision time to recover before accelerating. On a shared path, passing and meeting other users safely matters more than preserving average speed.
Add the check to every low-light ride
Run the light through the five-minute pre-ride check: charge, mount, mode, angle, rear visibility, and any legal reflectors. Recheck aim after transport, a pothole, bar rotation, a new bag, or a crash.
For complete equipment and route planning, continue with how to ride a road bike after dark and bike lights: be seen versus see the road.
Your next step
Take your bike, normal riding light mode, and one helper to a dark wall. Set the beam, walk toward it at rider eye height, then do a slow two-way path test. Fix the angle before the next night ride.
Sources and further reading
- UK government: pedal-cycle lighting requirements and dazzle
- UK Highway Code Rules 113–115: avoid dazzle and slow down when dazzled
- UK Highway Code Rule 60: cycle lights at night
- r/cycling reader context: coping with an excessively bright oncoming cycle light — used as an editorial question signal, not legal advice.