Why does a road bike feel twitchy—and when is it a fault?
Learn why a drop-bar road bike may feel unusually quick to steer, which setup faults to rule out, and how to build stable control in a traffic-free practice session.
 Field guide / why-road-bike-feels-twitchy
A road bike often feels quicker to steer than a mountain bike, hybrid, or city bike because the rider uses narrower bars, a different posture, and a more responsive chassis. That unfamiliar feeling should improve with a mechanically sound bike and calm practice. Play, binding, shimmy, or steering that remains frightening is not something to “just get used to.”
The short answer: first rule out fit and mechanical faults. Then practise looking ahead, relaxing your grip, keeping light pedal pressure, and making smaller steering inputs in a traffic-free area. Normal responsiveness becomes predictable; a fault remains inconsistent or produces movement the rider did not command.
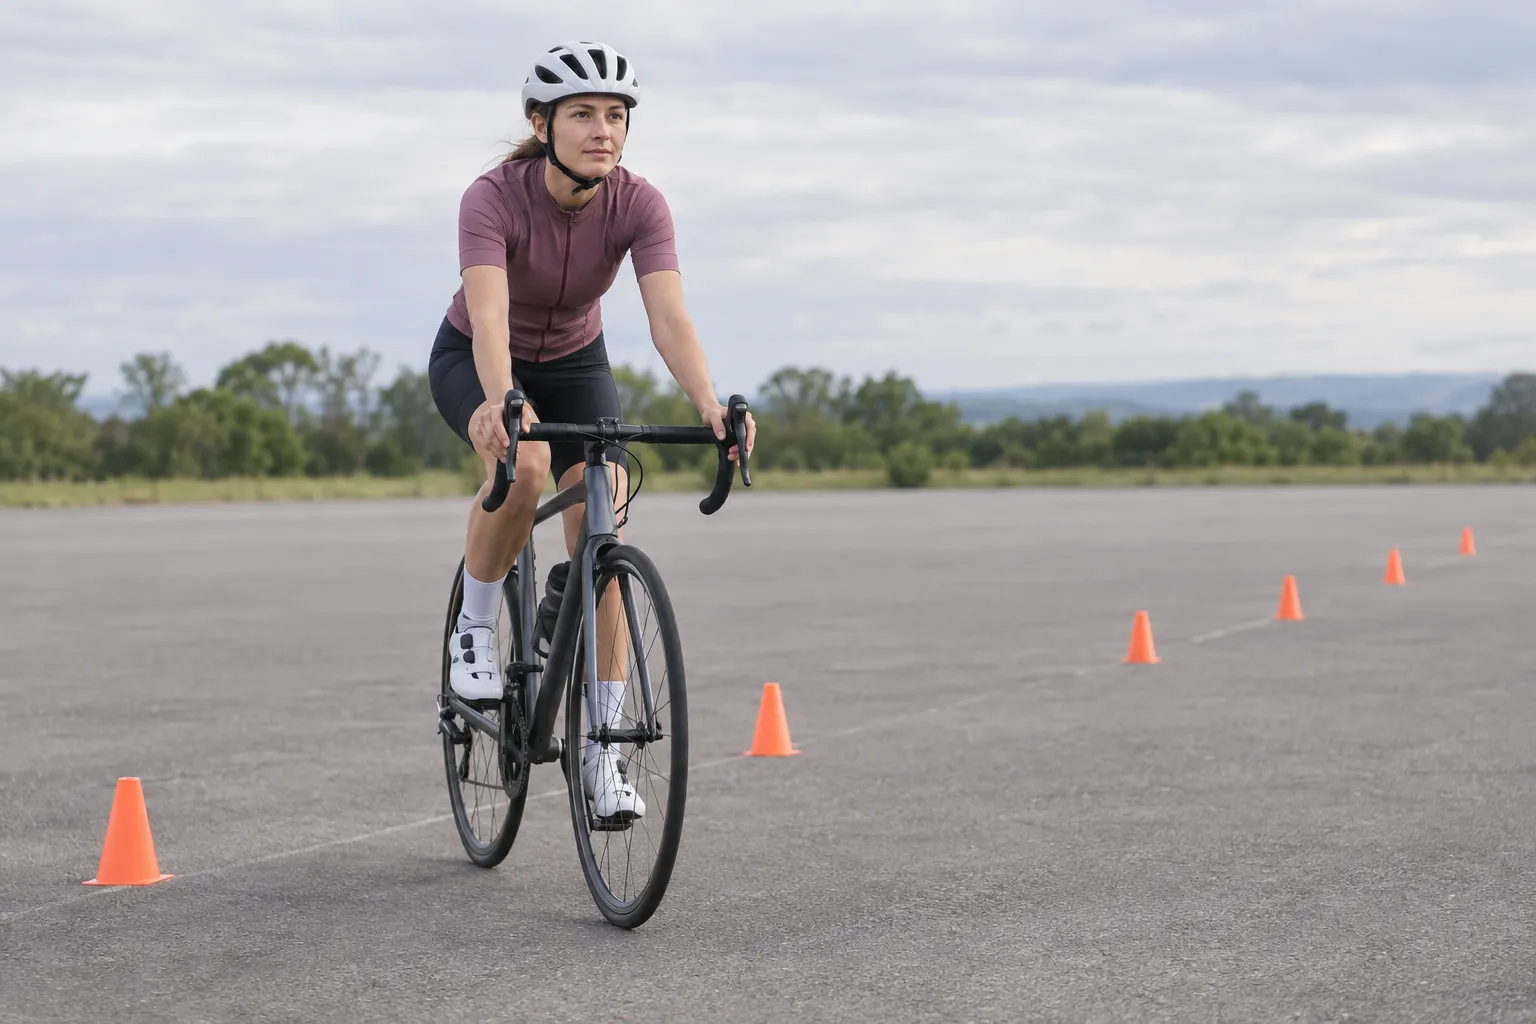
Why the first road-bike ride feels so different
A widely discussed rider question asked whether road bikes really are that twitchy after switching from a mountain bike. The replies describe a real adaptation, but they also mix in speculative component changes. A longer stem, wider tyre, or different frame is not the first answer to an unfamiliar bike.
Several differences arrive at once:
- drop bars are usually narrower than mountain-bike bars;
- hands sit farther forward and closer together;
- tyres may be narrower or firmer;
- the bike may have a shorter wheelbase or quicker steering geometry;
- brake hoods and drops provide unfamiliar control positions;
- a rider who feels nervous often locks elbows and grips too hard.
The last point matters. A rigid upper body transfers every small shoulder movement into the handlebar, making a responsive bike feel more nervous.
Separate responsiveness from a fault
Do these checks before a skills session.
Wheel and tyre
Confirm both wheels are installed and secured using the bike’s axle instructions. Check tyre condition, correct seating, and a sensible pressure for the tyre, rim, system, rider, and surface. Excessively high pressure can make rough pavement feel skittish, but do not drop below the tyre and rim maker’s limits. Start with the beginner tyre-pressure guide.
Headset and stem
Apply the front brake and gently rock the bike while feeling across the headset junction. Check that the stem cannot rotate separately from the wheel and that steering turns smoothly without a notch or bind. Use the loose-headset diagnosis if you feel play.
Fork and crash history
An incorrectly installed fork, damaged steerer, bent part, or impact damage can affect control. If the bike is used, newly assembled, or recently crashed, have the front end inspected. A fork that appears backward or has unusual clearance needs model-specific confirmation before riding.
Fit and control access
You should be able to ride on the hoods with wrists reasonably neutral, elbows soft, and fingers able to reach the brakes. A bike that is far too small or large, an extreme stem, or unreachable levers can make every steering correction tense. Check whether the road bike is too big or too small.
Red flags that are not normal adaptation
Stop riding and get the bike checked for:
- a knock, looseness, or visible movement at the headset;
- bars or stem turning independently of the wheel;
- steering that binds or falls into a notch;
- a wheel or tyre visibly out of line;
- a wobble that grows at speed or repeats without a deliberate input;
- sudden steering change after a crash, pothole strike, transport, or service;
- cracked, bent, or displaced parts;
- brake or shift housing pulling the bars to one side;
- inability to reach both brake levers reliably.
Do not diagnose a speed wobble by repeatedly reproducing it. Stop safely and have the complete bike inspected.
Use the stable-body reset
On a verified sound bike in a clear area:
- Place hands on the brake hoods with one or two fingers ready to brake.
- Lower your shoulders away from your ears.
- Keep elbows slightly bent rather than locked.
- Hold the bars lightly enough that your fingers are not whitening.
- Look far ahead, not down at the front tyre.
- Keep gentle, even pedal pressure in an easy gear.
- Let the saddle support you rather than pushing your body through your hands.
If relaxing the hands feels impossible, stop and revisit fit. Do not remove your hands to prove that you are stable.
A 20-minute traffic-free practice
NHTSA recommends practising riding skills in an empty parking lot or another place without traffic before going onto the road. Choose a legal, clean, open space with no moving cars, pedestrians, gravel, or wheel traps.
Minutes 1–5: easy starts and stops
Ride a wide straight line. Brake progressively with both brakes while upright, stop, put one foot down, and restart. Keep every repetition slow and tidy.
Minutes 6–10: eyes-up corridor
Set two rows of markers several metres apart to make a generous lane. Look beyond the far end. Ride through without staring at the markers. If you drift, make one small correction and relax again.
Minutes 11–15: broad curves
Use four markers to create a large oval. Reduce speed before each turn, look through it, and follow a smooth curve. This is not a slalom and not a cornering-limit drill.
Minutes 16–20: hand-position transitions
On a straight section, move one hand at a time between hoods and tops while maintaining the same line. Use the drop-bar hand-position guide and return to the hoods before braking.
Finish while calm. Five short practice sessions teach more than one exhausted, frightened hour.
Three habits that make a responsive bike calmer
Look where you want to go
Staring at a pothole, kerb, or painted line often directs tension and corrections toward it. Scan ahead, choose a safe path early, and keep the target farther away.
Steer less
A road bike needs smaller inputs than a wide-bar mountain bike. Let normal balance corrections happen. Do not saw at the bars or counter every centimetre of drift.
Keep speed appropriate, not near zero
Very slow riding requires more balance correction. Use a quiet easy gear and enough momentum to roll smoothly, but stay slow enough to stop well inside the clear space you can see.
Do not buy your way out before checking basics
A wider tyre, different bar, longer stem, or endurance frame can change handling, but each also affects fit, clearance, leverage, and component compatibility. Do not make a geometry change from a comment-thread diagnosis.
If the bike is sound but still feels unsuitable after several practice rides, compare it with a correctly sized endurance bike on a shop test ride. The endurance-versus-race guide explains what the category labels can and cannot tell you.
Your next step
Before the next road ride, complete the wheel, tyre, headset, stem, fork, and brake-access checks. If they pass, schedule one 20-minute traffic-free practice and stop while it still feels easy. If the bike produces unexplained movement or remains unmanageable, park it for a qualified inspection rather than pushing into traffic.