Why do new disc brake pads rub after replacement?
New pads expose lost clearance: reseat the wheel, verify the pads, reset pistons correctly, centre the caliper, and inspect the rotor before riding.
 Field guide / why-new-disc-brake-pads-rub
New disc brake pads often rub because they are thicker than the worn pads they replaced, exposing a piston, wheel-seating, caliper-alignment, or rotor problem that the old clearance hid. Mild intermittent sound is not the same as strong continuous drag. Diagnose the cause before trying to “wear the pads down.”
The short answer: verify the wheel is fully seated, confirm the pads and spring are correct, reset and clean the pistons exactly as the brake maker specifies, then centre the caliper around a sound rotor. Do not sand new pads merely to create clearance and do not touch the braking surfaces with oily hands or products.
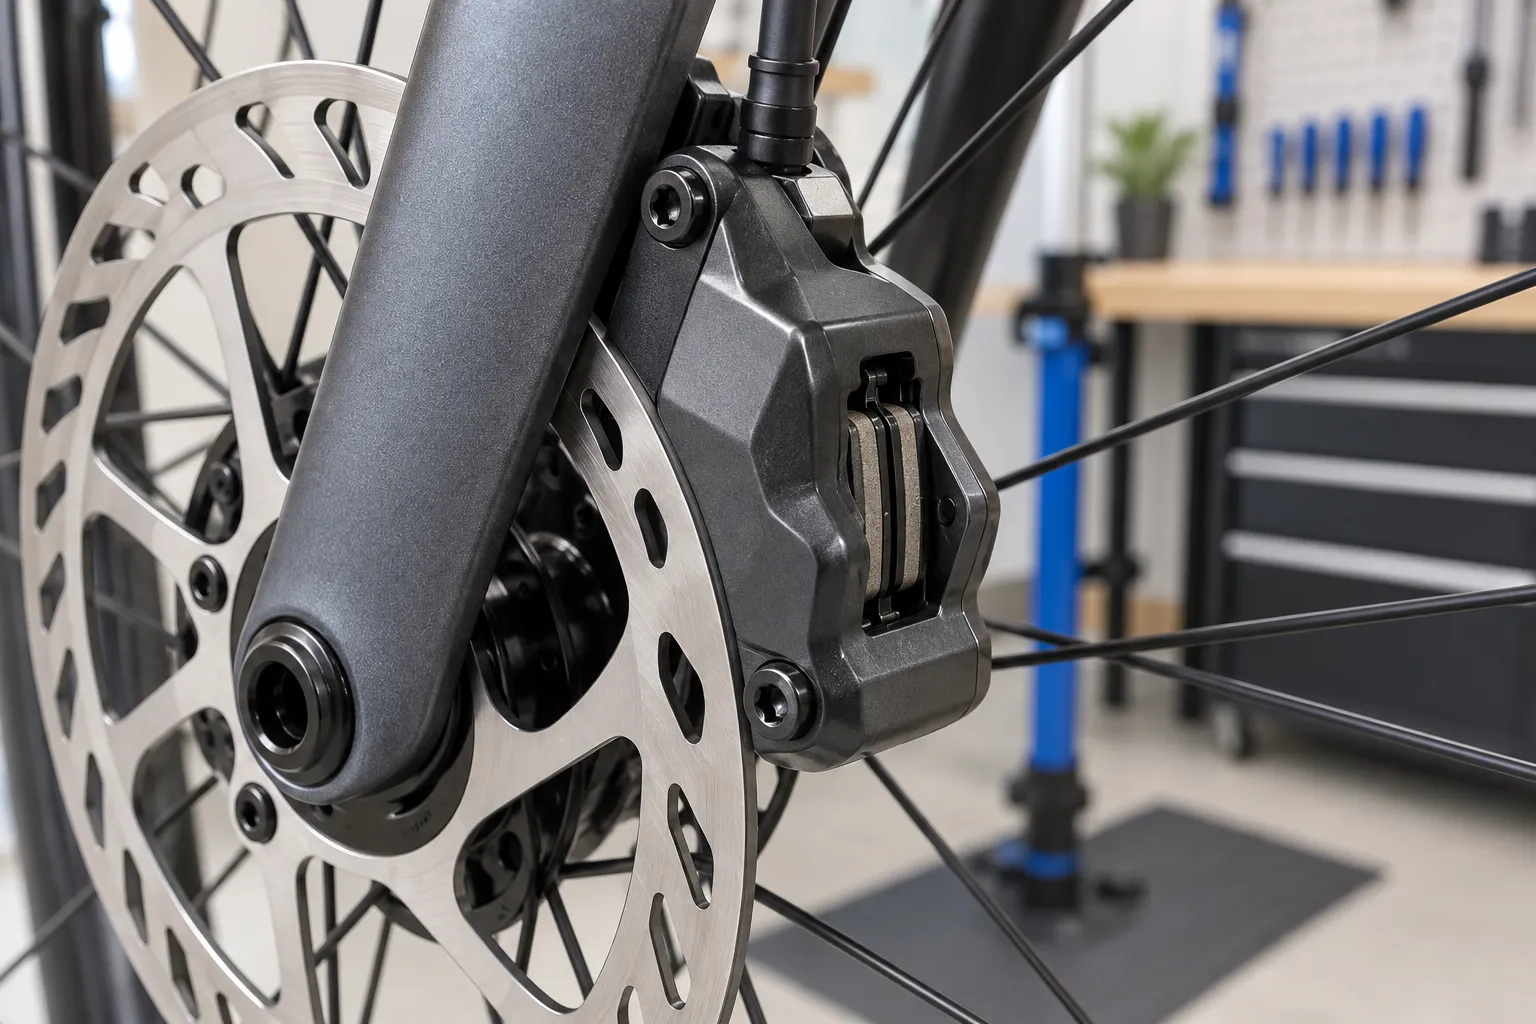
Decide whether it is sound or drag
Lift the wheel safely and spin it by hand without placing fingers near the rotor.
- A light rhythmic whisper at one point per revolution suggests rotor runout or wheel seating.
- A constant light scrape on one side suggests caliper alignment or an uneven piston.
- Heavy resistance that stops the wheel quickly suggests insufficient piston clearance, incorrect assembly, or a more serious fault.
- A soft lever, fluid at a hose or caliper, or changing bite point suggests a hydraulic problem—not a centring problem.
Rotor temperature is not a safe diagnostic immediately after braking. Let the system cool before inspection.
Start with the simple external checks
1. Confirm the wheel is seated
The axle must pass through the wheel and frame correctly and be tightened using the bicycle or axle maker’s method. A slightly mis-seated wheel shifts the rotor sideways in the caliper. If the brake rubbed only after the wheel was removed, follow disc brake rub after wheel removal first.
2. Confirm the exact pad assembly
Check the brake model and pad compatibility in the manufacturer manual. Verify:
- both pads face the rotor correctly;
- the pad spring or presser spring is installed in the correct orientation;
- left/right finned pads are on their specified sides, if marked;
- the retaining pin, bolt, clip, and snap ring are present;
- no transport spacer remains in the caliper;
- no pad backing plate, spring, or retaining part touches the rotor.
Never substitute “it fits in the slot” for model compatibility.
Reset hydraulic pistons properly
Hydraulic systems compensate for pad wear by allowing pistons to sit farther out as the old pads become thinner. Shimano’s road disc manual explicitly says the pistons need to be pushed back when pads are replaced.
Use the exact maker procedure. A typical high-level sequence is:
- remove the wheel and old pads;
- inspect and clean the piston area with the approved method;
- use the specified flat tool or spacer to push the pistons straight back;
- avoid twisting, scratching, or levering one fragile piston edge;
- install compatible new pads and every retaining part;
- use the pad spacer while checking lever operation as directed;
- reinstall the wheel and test.
Do not pull the brake lever with the wheel and spacer removed. Do not open a hydraulic system casually to “release pressure”: fluid handling, reservoir position, bleeding, and overflow risk are model-specific.
If one piston will not retract, advances much farther than the other, or shows fluid, stop. It may need cleaning or service beyond a normal pad change.
Centre the caliper around the rotor
First look through the caliper in good light. If the rotor sits visibly closer to one pad along its whole rotation, the caliper may need lateral adjustment.
Many flat-mount systems allow limited movement at the caliper mounting bolts. The common lever-and-tighten method—loosening the bolts slightly, holding the brake, then tightening—can provide a starting point, but it is not guaranteed to produce perfect alignment. Hose tension, sticky pistons, uneven bolt tightening, and a bent rotor can pull the caliper off centre.
Use the exact bolt sequence and torque in the brake or frame manual. Make small visual corrections until the rotor has clearance on both sides. Never loosen structural brake hardware unless you know which bolts are the mounting bolts and have the correct torque specification.
Inspect the rotor instead of blaming pad thickness
Watch the gap while rotating the wheel slowly. If the rotor moves side to side, determine whether:
- the wheel is seated incorrectly;
- the rotor mounting bolts or lockring are loose;
- dirt is trapped at a mounting interface;
- the rotor is bent, cracked, overheated, or below its wear limit.
Do not bend a cracked, severely deformed, or worn rotor back into service. Follow the rotor maker’s replacement criteria. Our guide to when disc brake rotors need replacement explains the safe decision.
Do not confuse bedding-in with fixing drag
New pads need a controlled bed-in process to transfer material and establish consistent braking. Bedding-in does not replace correct clearance. Riding hard with a dragging brake creates heat and can glaze or contaminate components.
Once the wheel turns freely, the lever is firm, and the system passes the maker’s checks, follow how to bed in road-bike disc brakes in a safe traffic-free area.
Do not sand new pads merely because they are new and thick. Sanding can make them uneven, remove usable material, spread contaminated dust, and hide the actual piston or alignment fault. Replace contaminated pads according to the maker rather than trying improvised chemicals or heat.
Know when the job has become a service
Stop and use a qualified mechanic when:
- pistons do not move or retract evenly;
- fluid appears anywhere;
- the lever pulls close to the handlebar or feels spongy;
- the reservoir may be overfilled;
- the rotor is cracked, badly warped, or below its limit;
- the caliper cannot be centred within its adjustment;
- mounting threads or bolts are damaged;
- braking remains weak, noisy, or hot after correct installation and bed-in.
Your next step
Do not start by riding the pads thinner. Reseat the wheel, identify the exact brake and pad models, and download the service manual. Work through pad assembly, piston reset, caliper centring, and rotor inspection in that order. If the wheel still has strong continuous drag, stop and book a brake service.
Sources and further reading
- Shimano road disc brake dealer manual: piston reset, pad installation, and interference check
- r/cycling reader context: new pads rubbing after replacement
- r/bikewrench reader context: recurring post-replacement pad-rub questions
Reddit was used to identify the recurring problem. The repair sequence and safety limits must come from the exact brake manufacturer’s instructions.