When should you replace road-bike cables and housing?
Diagnose heavy, delayed, or inconsistent cable-operated shifting and braking, inspect for fraying or corrosion, and decide whether adjustment or replacement is due.
 Field guide / when-replace-road-bike-cables-housing
Replace a road-bike inner cable or its housing when inspection finds damage, corrosion, fraying, crushed or split housing, or when correct adjustment cannot restore light and consistent operation. There is no honest universal mileage interval: weather, sweat, routing, storage, lever design, housing quality, and maintenance change cable life dramatically.
The short answer: adjust only after checking condition. If the control feels heavy, returns slowly, changes with handlebar position, repeatedly loses adjustment, or exposes broken strands, diagnose the entire cable path. Never use a barrel adjuster to disguise a failing brake cable.
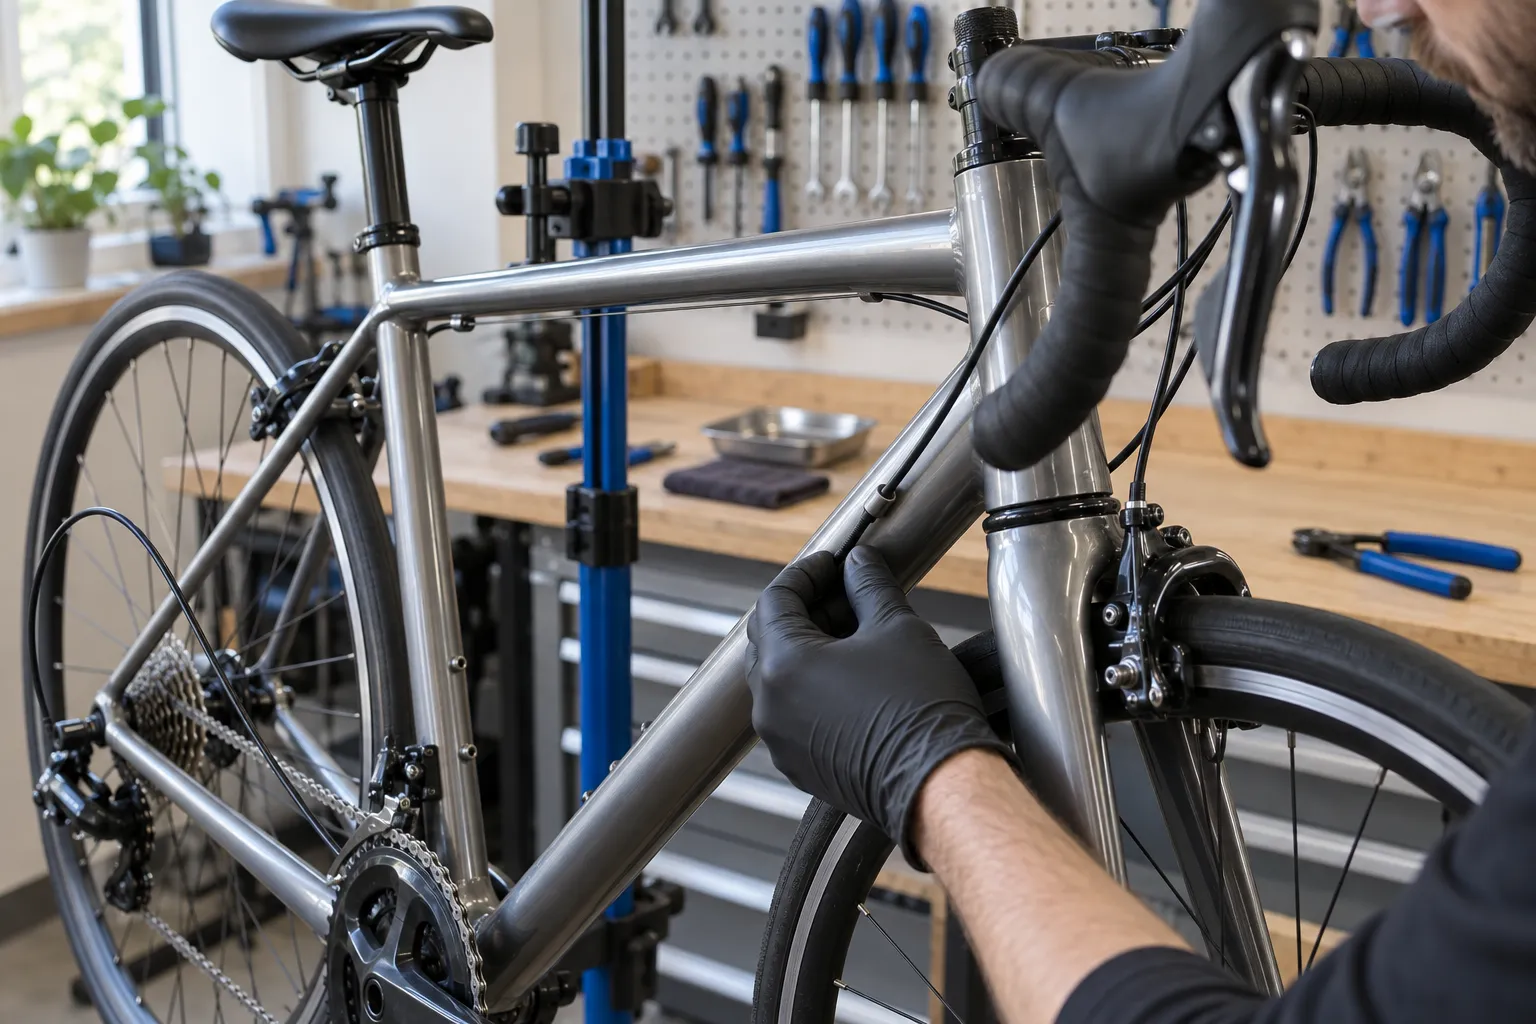
Why “just add another housing section” is risky advice
A recent r/bikewrench question asks whether an exposed cable run should be covered by adding another segment of housing. The thread reveals a common confusion: exposed inner cable, lined frame guides, interrupted housing stops, and full-length housing are different designs.
Do not redesign the route from a photograph or forum reply. Housing supports compressive load; frame stops, liners, ferrules, cable guides, and seals each have a specific role. Added housing can sit incorrectly, alter effective length, interfere with steering, rattle, or fail to seat at a stop. Follow the frame and component maker’s intended routing.
First separate shifting symptoms from braking symptoms
Cable-operated shifting commonly needs attention when:
- the lever becomes unusually heavy;
- the derailleur moves reluctantly in one direction;
- shifts are delayed, inconsistent, or change as the bars turn;
- indexing is correct on some sprockets but drifts repeatedly;
- the cable is frayed at the lever, anchor, or any exposed point;
- housing is cracked, crushed, kinked, rusty, or pulling out of a ferrule.
Cable-operated brakes need immediate inspection when:
- lever effort rises or return becomes slow;
- the lever pulls closer to the bar;
- braking changes as the handlebars turn;
- an inner cable has broken strands, corrosion, a kink, or a flattened anchor area;
- housing splits, compresses visibly, moves at a stop, or exposes its reinforcing wire;
- the cable slips at the anchor bolt.
Weak braking can also come from worn pads, contamination, poor pad alignment, damaged rims or rotors, or incorrect brake setup. Treat the system as a whole.
Inspect the places that hide failures
Use the exact service instructions to release tension safely, then check:
- Inside and beside the control lever. Some road shift cables bend tightly at the head and can fray where they are hard to see.
- Under handlebar tape. Sweat and sharp bends can damage housing or corrode hardware.
- Where housing enters a frame stop. A missing, cracked, or wrong ferrule can make the housing seat poorly.
- Exposed cable runs and guides. Look for abrasion, rust, dirt, and a liner that has moved.
- The rear-derailleur loop. A loop that is too short, kinked, contaminated, or badly routed increases friction.
- Brake arms, calipers, and anchor bolts. Check for broken strands and correct cable seating.
- The full steering range. The bars must turn both ways without pulling a brake, changing a gear, or stretching the housing tight.
Any broken strand is replacement evidence, not a reason to trim the loose end and continue.
Why adjustment sometimes works only briefly
A barrel adjuster changes effective cable tension. It can correct ordinary indexing drift, but it cannot repair:
- fraying at the lever;
- contamination inside housing;
- a crushed or split housing section;
- a bent derailleur hanger;
- a worn chain or cassette;
- a loose wheel or cable anchor;
- incorrect cable routing;
- a failing lever or derailleur return spring.
If repeated small adjustments move the problem around rather than solve it, stop turning and diagnose. Begin with rear-derailleur indexing and the bent-hanger checks.
Replace the inner cable, housing, or both?
Replace both when housing is damaged, contaminated, corroded internally, incorrectly sized, or has taken a permanent kink. A fresh inner cable inside failing housing is still a high-friction system.
An inner-cable-only replacement may be reasonable when the housing is recent, undamaged, correctly routed, and explicitly suitable for reuse. That judgment requires seeing the entire run and knowing why the old cable failed. Fraying caused by a rough housing end or lever fault will recur unless the cause is corrected.
Brake and shift housing are not interchangeable by assumption. Systems also differ in cable head, diameter, liner, ferrule, compression behaviour, and compatibility. Buy for the exact component family rather than matching colour.
Cutting and routing are part of performance
Shimano’s road shifting instructions specify enough housing length for full handlebar movement, a purpose-made cutter, a round reopened liner after cutting, and full seating against the ferrule. Those details prevent friction and steering interference.
A sound installation requires:
- copying or verifying the intended route before removal;
- cutting the correct housing squarely without crushing it;
- reopening the liner as directed;
- fitting the specified ferrules and seals;
- leaving enough length for unrestricted steering without excessive loops;
- anchoring the cable by the exact method and torque;
- trimming and capping only after final adjustment;
- checking operation through every gear or full brake travel.
Internal routing can turn a small job into a cockpit, liner, or frame-routing project. Stop before pulling out the only guide that allows the replacement cable to pass through the frame.
Make brake replacement a pass-or-fail test
After cable-brake work, check on level ground:
- Operate each lever repeatedly and confirm firm, consistent return.
- Turn the handlebars fully left and right; brake position and lever feel must not change.
- Push the bike and test each brake separately.
- Confirm cable anchors, pinch points, pads, housing stops, ferrules, wheel security, and required fastener torque.
- Perform walking-speed stops in a traffic-free area.
- Increase speed gradually only after every check passes.
If the lever approaches the bar, the cable slips, braking changes, or you are unsure about the anchor, do not ride.
Your next step
Trace one cable end to end under bright light and turn the bars through their full range. Write down whether the problem is visible damage, friction, incorrect routing, or an adjustment issue. For shifting, replace parts only after ruling out hanger and drivetrain faults. For braking, treat any doubt as a mechanic job rather than a test ride.