How to fix a stiff bike-chain link without making it worse
Find the tight link, identify why it stopped articulating, and choose a safe clean, flex, connector, or replacement fix without blindly forcing a chain tool.
 Field guide / stiff-bike-chain-link
Before you buy
Check the starter kit first
Print the one-page buying brief for helmet, lights, water, phone, and repair compatibility before comparing upgrades.
A stiff chain link needs diagnosis before force. First find the link that will not hinge freely. If it is merely dry or dirty, clean, lubricate, and work it gently. If it became tight immediately after joining the chain, follow the exact chain-tool and connector instructions. If a plate, roller, rivet, or quick link is damaged or uncertain, replace the affected connection or chain.
The short answer: do not keep turning a chain tool harder because the link feels tight. A chain tool drives a rivet; it does not automatically loosen every stiff link. Mark the link, inspect its parts, try the least invasive fix, and stop if the connector is not one the chain maker says can be adjusted or reused.
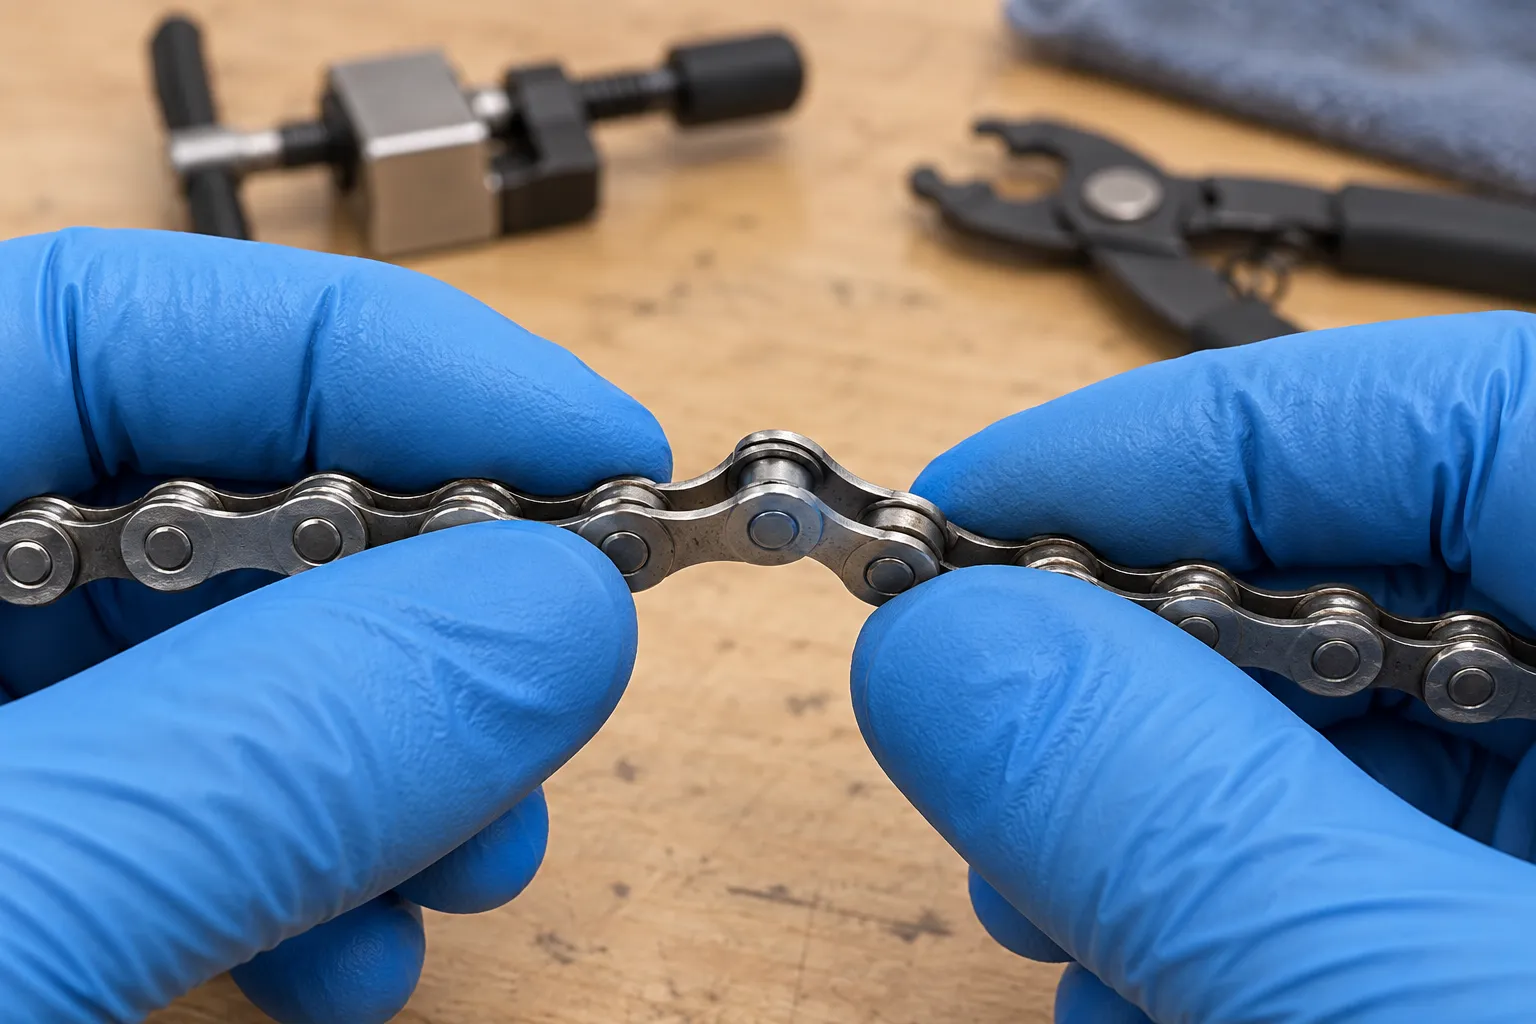
Confirm that one link is actually stiff
A same-day r/bikewrench question described a new commuter bike with a stiff link that became tighter after chain-tool attempts. The useful signal is not the individual repair prescription; it is the beginner trap of treating every chain-tool cradle and every chain connector as interchangeable.
Put the bike in a stand or position it securely with the rear wheel off the ground. Keep fingers, hair, and clothing away from the moving drivetrain. Turn the cranks slowly by hand and watch the chain pass around the rear derailleur pulleys. A tight link often stays partly straight, lifts away from a pulley, or makes a regular click once per chain revolution.
Stop the drivetrain and mark that link. Then check it by hand. Compare its hinge movement with the links on either side. Also confirm the noise is not a bent derailleur cage, damaged pulley tooth, wrongly routed chain, or quick link installed in the wrong place.
Match the fix to the cause
Dry dirt or light corrosion
Wipe the link, apply one small drop of compatible bicycle-chain lubricant at each rivet, and articulate it repeatedly by hand. Wipe away excess lubricant. If the link becomes as free as its neighbours and inspection reveals no damage, reinstall or test the chain at low load before a normal ride.
Deep corrosion, swollen rust between plates, or a roller that will not turn is different. Lubricant can make movement feel easier without restoring lost metal or strength. Replace a structurally suspect chain.
Plates pinched during rivet installation
Some chain-tool instructions include a specific tight-link shelf or a light lateral-flex procedure for plates pinched while a connecting rivet was installed. Park Tool’s chain guidance demonstrates gentle lateral flexing and its chain-tool instructions identify a dedicated tight-link position.
Use that method only when it matches the tool and chain in front of you. Do not assume the first or second slot on an unfamiliar multi-tool has the same purpose. Supporting the chain in the wrong place while driving the tool can push a rivet farther, deform plates, or make the link tighter.
A stiff or uncertain quick link
A quick link should articulate like the surrounding chain once fully locked. Confirm that:
- both halves are the exact compatible model and speed;
- any directional arrow follows the maker’s instructions;
- both pins are fully seated in their locking slots;
- the plates are parallel and not bowed;
- the maker permits reuse if the link has already been opened.
Shimano’s current chain dealer guidance, for example, tells installers to use the specified QUICK-LINK rather than a conventional connecting pin on the covered chains. Other brands and generations differ. If identity or reuse status is uncertain, install a new compatible connector instead of improvising.
Bent or damaged chain parts
Replace rather than flex when you find:
- a plate bent out of plane;
- a rivet sitting visibly farther in or out than its neighbours;
- a cracked, spreading, or gouged plate;
- a missing or damaged roller;
- a connector that will not lock positively;
- several stiff links after rust, impact, or a drivetrain jam.
A chain can look almost normal on the workbench and fail only when you stand on the pedals. Visual uncertainty is enough reason not to load it.
Do not turn a modern chain into a rivet experiment
Modern derailleur chains use model-specific joining systems. A factory rivet is not automatically a reusable joining pin, and a connecting pin for one chain may be wrong for another. Before pressing anything:
- Read the model marking on the chain or quick link.
- Find the maker’s installation document for that exact family.
- Confirm the approved connector and whether it is reusable.
- Confirm the tool supports the chain width and joining method.
- Replace the chain if the previous attempt damaged the connection.
If you cannot identify the chain, the cheap and safe move is usually a shop inspection—not another quarter-turn.
Test the repair in stages
With the bike secure, rotate the drivetrain slowly through several complete chain revolutions. The repaired link should bend freely around both pulley wheels and every sprocket. Then shift one gear at a time under light hand-pedalling.
On the first ride, stay close to home, remain seated, and avoid a hard sprint or steep standing climb until the chain has operated quietly through its range. Stop for a recurring click, skip, jam, or visible connector movement.
If the chain skips under load after replacement or repair, do not keep forcing it. Use the chain-skipping diagnosis and check whether the cassette is worn. If the chain has broken before, follow the repeat chain-failure guide rather than treating the stiff link in isolation.
Your next step
Mark the problem link and identify the chain and connector before touching the chain tool again. If cleaning and gentle articulation do not make an intact link move like its neighbours—or if the joining method is uncertain—replace the approved connector or take the bike and tool to a mechanic.
Sources and further reading
- Park Tool: on-the-ride chain repair and tight-link identification
- Park Tool: derailleur-chain replacement and tight-link check
- Shimano: chain and QUICK-LINK installation guidance
- r/bikewrench reader context: a stiff link made worse with an unfamiliar chain tool
- r/bikewrench reader context: a stiff link after shortening a chain