How to choose a road bike with long legs and a short torso
Choose a road-bike size for long legs and a short torso by protecting cockpit reach, front-end height, saddle range, and safe component choices.
 Field guide / road-bike-fit-long-legs-short-torso
If you have long legs relative to your height and a shorter torso or reach, a height-only size chart can point you toward a bike that gives enough saddle height but stretches you too far to the bars. The answer is not automatically to size down. Compare the complete position each frame can support.
The short answer: prioritise a frame whose stack and reach let you place the handlebar comfortably without an extreme stem or spacer arrangement. Then confirm the frame and seatpost provide your saddle height and setback with safe insertion and rail limits. Test adjacent sizes when the chart puts you between them.
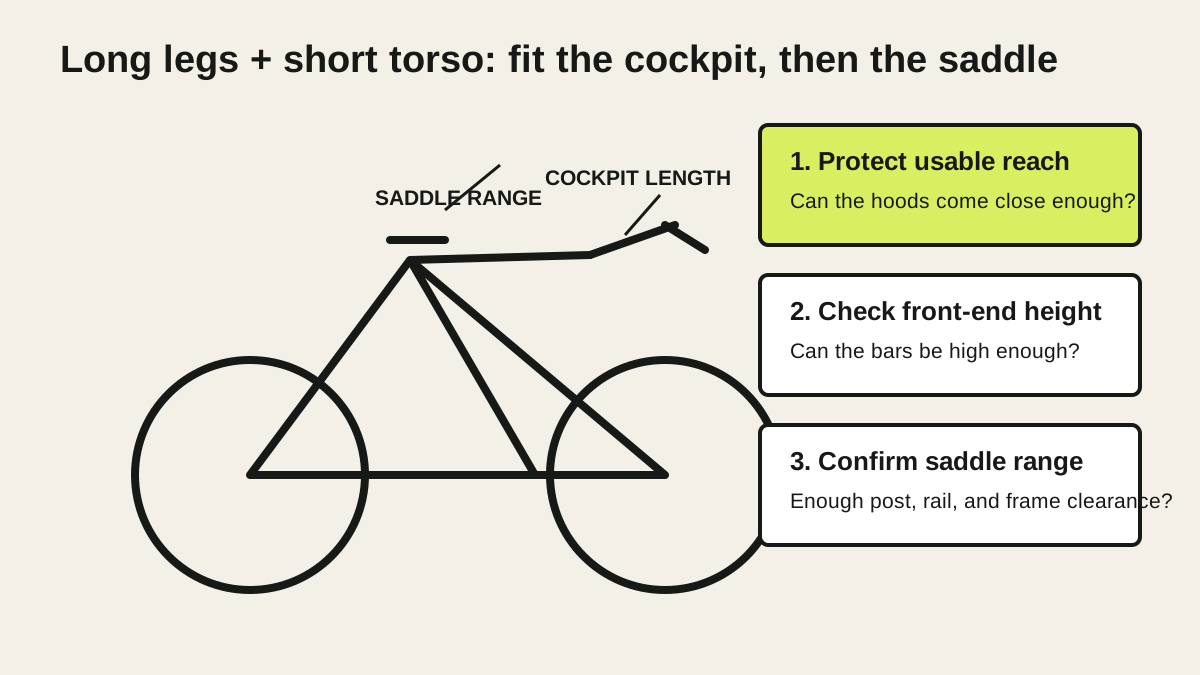
Why height and inseam do not choose the whole bike
A size recommendation is a starting range. Two riders can share height and inseam but differ in torso length, arm length, mobility, riding goals, and preferred posture. Two brands can also put the same size label on frames with different dimensions.
For proportionally long legs, the saddle may need to sit high while the bars need to be relatively close and high. A larger frame may provide the saddle and front-end height but too much length. A smaller frame may shorten the reach but create a large saddle-to-bar drop or expose too much seatpost. The correct choice is the better complete compromise—not the label that sounds right.
This is why comments based on a short side-view clip often disagree. Camera distortion, trainer levelling, posture, saddle position, and bar setup can make the same bike look both too large and too small. Use video as supporting evidence, not a substitute for measurements and a proper test ride.
Start with stack and reach
Frame stack is the vertical distance from the bottom bracket to the top of the head tube. Frame reach is the horizontal distance between those points. Manufacturers commonly publish both in geometry charts.
They do not describe the final hood position by themselves. Spacers, stem length and angle, handlebar reach, hood placement, headset parts, and any bar rise also matter. They are still the cleanest starting coordinates for comparing frames across brands.
For a long-leg, short-torso rider, look first for:
- enough stack to avoid forcing a large saddle-to-bar drop;
- moderate frame reach so the hoods can come close enough with an ordinary stem;
- an endurance or all-road geometry if a race frame is consistently too long or low;
- a size-specific cockpit that can be changed without replacing an expensive one-piece bar and stem.
Do not compare stack-to-reach ratio alone. A ratio can hide the actual millimetres that determine whether your target position is achievable. Compare real stack and reach, then model the components on top.
Work from a known position when possible
If you own a bike that is comfortable, measure it before shopping:
- Saddle height from the centre of the bottom bracket to the saddle top along the seat tube line.
- Saddle setback from the bottom bracket to a consistent saddle reference point.
- Horizontal and vertical distance from the bottom bracket to the centre of the handlebar clamp.
- Stem length and angle, spacer height, handlebar reach and rise, and hood position.
- Saddle-to-hood distance using the same landmarks each time.
These are not universal fit prescriptions. They are evidence about a position your body already tolerates. Compare the candidate bike’s geometry and parts with those coordinates or give them to a fitter before purchase.
If you do not have a known-good position, a pre-purchase bike fit can be cheaper than replacing a frame or integrated cockpit later.
Check the saddle range separately
Once a frame’s cockpit looks promising, confirm that the saddle can reach the required height and setback safely.
Check:
- maximum and minimum seatpost extension;
- the post’s minimum-insertion mark and any frame-specific maximum-extension rule;
- saddle-rail clamp limits;
- whether the stock post has zero or rearward offset;
- whether a proprietary seatpost has compatible alternatives;
- clearance between saddle bag, rear tyre, and frame at your height;
- standover and your preferred mounting method.
A lot of visible seatpost is not automatically unsafe. It is unsafe when the post or frame limit is exceeded. Read the seatpost minimum-insertion guide before evaluating a used bike or making a large height change.
Do not flip a setback post around unless its maker explicitly permits that orientation. Do not slide the saddle beyond its marked clamp zone to compensate for frame length. Both are signs to reconsider the frame or use an approved component solution.
Smaller or larger when you are between sizes?
There is no automatic “always size down” rule. Build both options on paper and, ideally, ride both.
The smaller frame is usually the stronger candidate when it can reach your saddle height safely, its front end can be raised within the manufacturer’s limits, and it accepts a normal stem that provides stable handling and the required reach.
The larger frame may be better when the smaller option creates an excessive bar drop, too much exposed seatpost, toe or tyre clearance problems, or a very long stem just to restore cockpit length. The larger frame still needs to come short enough at the hoods without a compromised stem or swept-back setup.
Compare complete builds, including the stock bar reach. A 10 mm change in frame reach can be offset or amplified by the handlebar and stem. Integrated cockpits make that change costlier, so confirm available dimensions and prices before buying.
A useful test-ride sequence
Ask the shop to set both candidate bikes to the same approximate saddle height and a realistic bar position. Then ride long enough to settle rather than circling the car park once.
Check whether you can:
- rest your hands on the hoods with soft elbows and relaxed shoulders;
- reach and operate both brake levers securely from the hoods and drops;
- look ahead without craning your neck;
- pedal without rocking to reach the bottom of the stroke;
- move between tops, hoods, and drops without sliding forward;
- brake firmly and steer at low speed without the cockpit feeling improvised;
- stand over or dismount using a technique that feels controlled.
A brief test cannot prove long-ride comfort, but it can reject a bike that already requires you to lock your elbows, perch on the nose, point your toes to reach the pedals, or strain for the brakes.
Components can fine-tune, not rescue
A shorter-reach handlebar, modest stem change, approved spacer arrangement, or different-offset seatpost can refine a correct frame. They should not be used to disguise a frame that misses the target by a large amount.
Be cautious when a proposed solution includes several extremes at once: the saddle at the front of its rails, a reversed post, the shortest available stem, every possible spacer, and rotated-up bars. Each change affects more than one contact point, and the result may still provide poor braking access or handling.
Before paying, ask the seller or shop to write down the exact parts needed, confirm compatibility, and price them. A “deal” is not a deal after an integrated cockpit, hoses, cables, labour, and a proprietary seatpost are added.
Your next step
Measure a comfortable bike if you have one. For each candidate, write down frame stack, frame reach, stock stem and bar reach, spacer allowance, seatpost limits, and the cost of any required cockpit change. Test the adjacent size rather than trusting height alone, then use the road-bike buying checklist before committing.
Sources and further reading
- Trek 2026 geometry chart: examples of published frame stack, reach, standover, and related dimensions
- r/bikefit discussion: a very tall rider with long legs, shorter torso and conflicting remote sizing advice — used as an editorial question signal, not as an individual fit diagnosis.