Road-bike chainline explained: when does it actually need fixing?
Understand front and rear chainline, identify real compatibility symptoms, and verify crank, frame, chainring, and cassette specifications before adding spacers.
 Field guide / road-bike-chainline-explained
Chainline is the sideways position of the front chainring or chainring set and the rear sprocket set relative to the bicycle’s centre plane. It does not mean the chain must look perfectly straight in every gear. A modern derailleur drivetrain is designed to run at angles; the job is to match the frame and component specification and preserve usable shifting across the intended gears.
The short answer: investigate chainline when a newly built or modified bike has documented incompatibility, chainring-to-frame contact, repeated chain drops, abnormal noise in several sensible gears, poor front shifting, or a visibly extreme offset confirmed by measurement. Do not “correct” a healthy stock drivetrain because the chain looks angled on the largest or smallest rear cog.
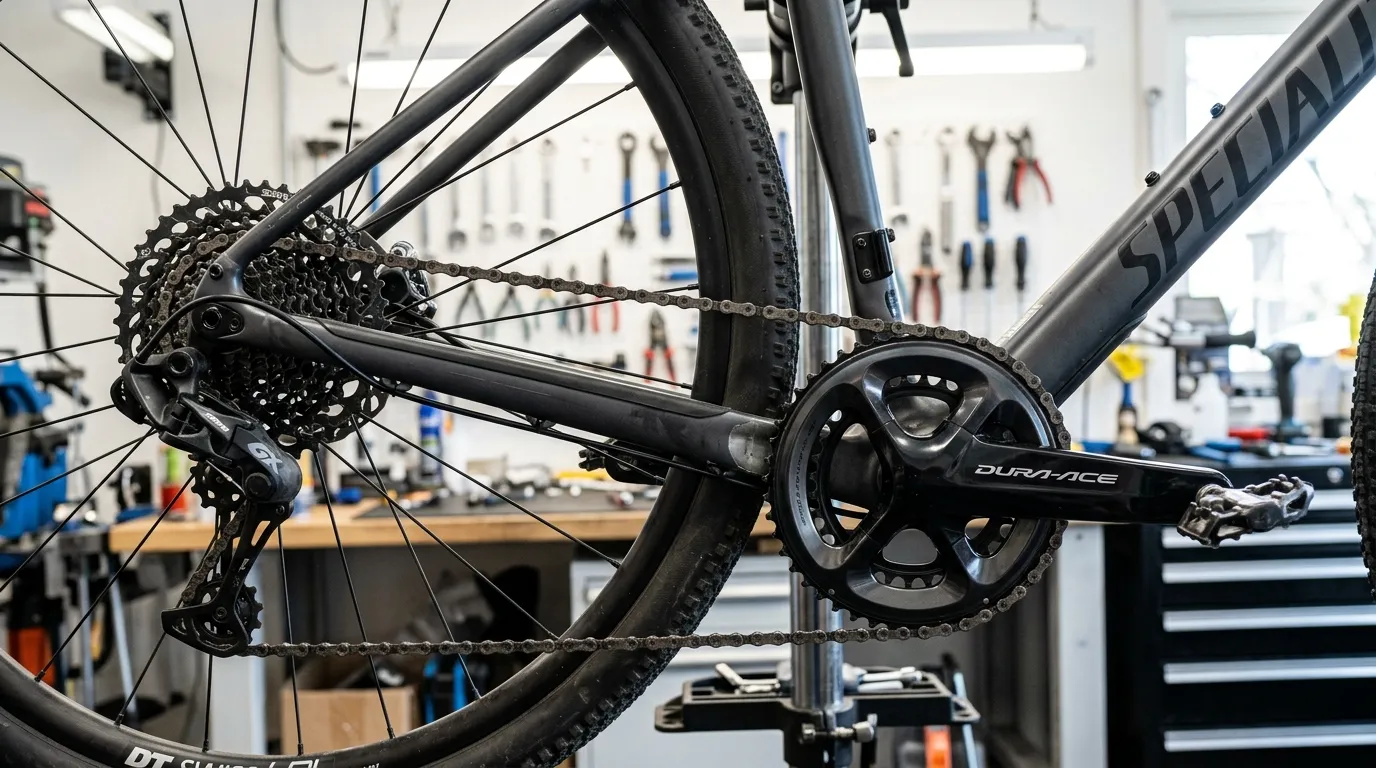
Two meanings hide inside one word
Park Tool distinguishes two related ideas:
- Component chainline: the distance from the bicycle centre plane to the centre of a front chainring set or rear sprocket set.
- Effective chainline: how the front and rear positions relate to one another.
Current Reddit build questions show why the distinction matters. Riders may compare a quoted front-chainline number with an estimated cassette centre and assume any difference is an error. But manufacturers do not always design front and rear centres to match exactly, and a chainline label applies only to the intended crank, spindle, chainring orientation, bottom bracket, frame, and rear standard.
SRAM, for example, lists 45 mm for some standard road systems and 47.5 mm for Road Wide systems. Those numbers describe specific product families—not universal targets for every road or gravel bike.
Start with compatibility, not a ruler
Before measuring, write down:
- Frame make, model, year, bottom-bracket shell, and required chainline.
- Crank and spindle model, including standard or Wide designation.
- Bottom bracket model and every specified spacer.
- Chainring model, size, mount, offset, and installed orientation.
- Front derailleur model if the bike is 2×.
- Rear hub spacing, freehub, cassette model, and cassette spacer arrangement.
A crank that physically passes through the bottom bracket is not automatically correct for the frame. “DUB,” “24 mm,” or “11-speed” describes only part of the system.
Normal chain angle versus a chainline fault
On a 2× road drivetrain, big chainring to biggest rear sprocket and small chainring to smallest rear sprocket create severe cross-chain angles. Noise or front-derailleur contact in those combinations is not strong evidence that the crank should move sideways. Use the overlapping middle gears instead.
Investigate further when:
- a documented compatible front derailleur cannot cover both rings after correct setup;
- the chain repeatedly falls inward or outward despite correct limits and an undamaged hanger;
- the chainring, crank, or chain contacts the frame;
- a 1× chain is conspicuously biased across most of the cassette;
- the drivetrain became noisy immediately after a crank, ring, bottom bracket, cassette, or wheel change;
- specified spacers are missing or appear on the wrong side; or
- a component model explicitly calls for a different chainline than the frame supports.
First rule out a bent rear-derailleur hanger, indexing, chain wear, chain length, and a loose cassette. Several faults can create the same noise.
How measurement works
The front number is measured from the bicycle centre plane to the centre of the single ring or the midpoint of a multi-ring set. Because direct access to the centre plane is difficult, mechanics take several calliper measurements from a centred frame tube or bottom-bracket shell and calculate the result.
The rear number depends on hub width, cassette width, and the gap between the cassette and hub contact face. A wheel that is not correctly centred or a frame that is not aligned undermines the calculation.
Treat a home measurement as diagnostic evidence, not permission to redesign the stack. Compare it with the exact component documents and allow for measurement error.
Why random spacers are risky
Moving the crank outward may create heel or frame clearance but reduce left-side engagement or violate the crank’s preload procedure. Moving a direct-mount ring inward may create chainstay contact. Moving a cassette affects derailleur limits, rotor alignment only indirectly through wheel changes, and lockring engagement. Reversing a chainring can put shaped teeth, ramps, or offsets in the wrong orientation.
The safe correction is the documented compatible configuration, which may require:
- the correct standard or Wide crank;
- the specified bottom-bracket spacers in their exact positions;
- the intended chainring offset and orientation;
- a matching front derailleur;
- the proper cassette/freehub combination; or
- a different component rather than another washer.
If the build uses parts from several product families, ask the frame and drivetrain manufacturers to confirm the combination in writing.
A useful workshop sequence
- Restore the documented spacer and part arrangement.
- Check crank installation, preload, and fastener torque by the exact manual.
- Confirm chainring-to-frame clearance through a full crank rotation under no load.
- Verify the rear wheel is centred and the cassette is securely installed.
- Set derailleur hanger alignment, limits, and indexing by the system manual.
- Test every intended gear in a stand, then under low load in a safe area.
- Measure chainline only if symptoms or specification mismatch remain.
Do not diagnose by backpedalling alone. Some derailleur drivetrains can move the chain across the cassette when backpedalled even though forward shifting is normal.
Your next step
Find the frame’s required chainline and the crank maker’s declared chainline before buying an offset ring or spacer. Photograph the complete spacer stack and component model numbers. If the numbers conflict, stop the build and resolve compatibility first. If the setup is documented and only extreme gear combinations are noisy, read cross-chaining explained before moving hardware.
Sources and further reading
- Park Tool: chainline concepts and measurement
- SRAM: 2024 road frame-fit specifications, including standard and Wide chainlines
- SRAM: Force 1 Wide crankset specifications
- r/bikewrench reader context: a current mixed-component chainline build
- r/bikewrench reader context: why chainring offset and spacers cannot be inferred from simple subtraction
Reddit was used to identify the terminology gap. Component compatibility and dimensions come from manufacturer documentation.