Road-bike bar-end plugs are not optional
Replace a missing or loose drop-bar end plug before riding, choose a compatible style, and finish new bar tape without leaving a sharp open tube.
 Field guide / road-bike-bar-end-plugs-not-optional
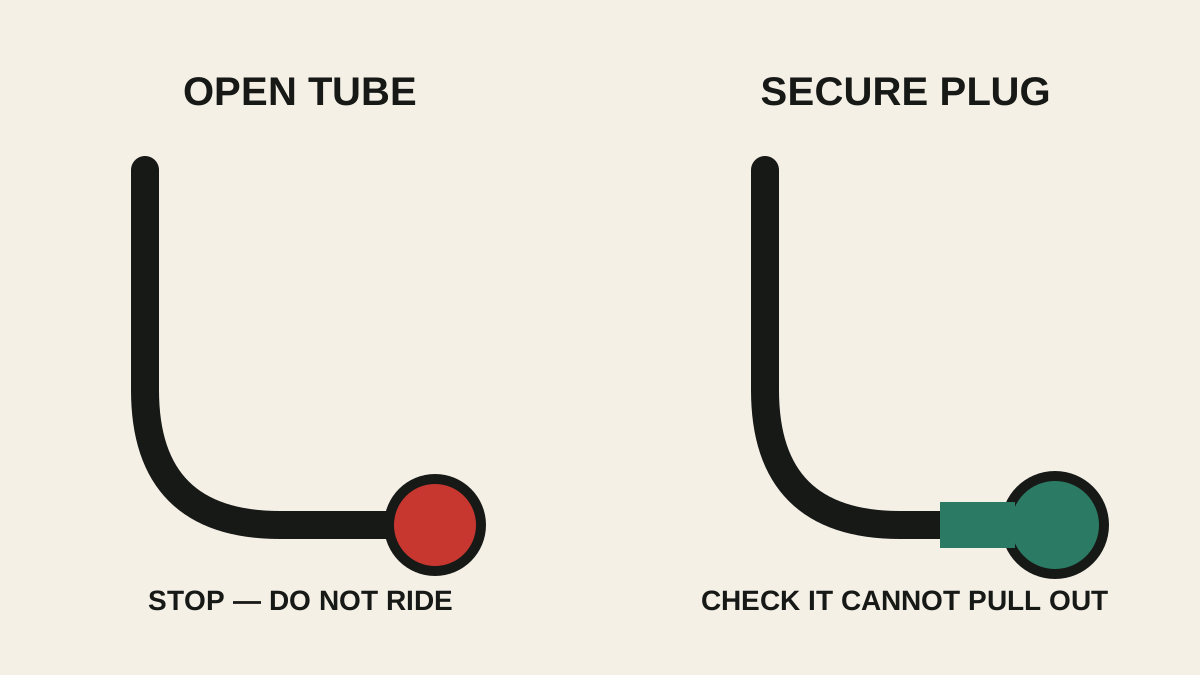
Every open end of a road-bike handlebar needs a securely fitted plug. It is not decoration and it is not only there to hold bar tape: the plug covers the hard tube edge so it cannot act like a cutter in a fall or collision.
The short answer: if a plug is missing, loose, cracked, or the tape underneath no longer supports it, stop riding and replace it. Use a plug compatible with the handlebar’s internal diameter and material, install it by its maker’s method, then verify that firm pulling and twisting cannot dislodge it.
Why a small plug is a safety part
An unplugged drop bar ends in a narrow metal or carbon tube. In an ordinary slide or group crash, that end can be driven into a rider. Trek’s current bicycle owner’s manual states that handlebar ends and extensions must remain plugged and warns that open ends can cut or impale someone even in a minor crash.
The question recurs in cycling communities because plugs are easy to mistake for trim. A highly discussed r/cycling thread asked why event marshals pay such close attention to them, while current DIY bar-tape discussions show many riders preparing their first rewrap. Use the community discussions as a question signal; the safety instruction comes from the bike and component makers.
Press-fit and expanding plugs
Press-fit plugs
A press-fit plug uses ribs or a tapered body to grip the inside of the bar. It is simple and often supplied with bar tape. It must be the correct diameter and tight enough that it cannot work loose.
Do not make an undersized plug “fit” with a precarious wad of loose material. Some tape makers show the tape folded into the bar before the supplied plug is inserted, but the exact wrapping method and plug design must agree.
Expanding plugs
An expanding plug tightens with a small bolt so an internal wedge or sleeve grips the handlebar. It can be more secure and reusable, but it still needs the correct internal-diameter range and installation torque. Overtightening can damage a lightweight handlebar or the plug; follow the plug and handlebar instructions.
Carbon handlebars can have shaped or reinforced ends that exclude some universal plugs. Integrated cable routing can also occupy space inside the bar. Never force a plug past a hose, wire, or internal structure.
Inspect the handlebar end before fitting the plug
Remove the old plug gently and look for:
- cracks, crushing, deep gouges, delamination, or a sharp deformed edge;
- corrosion on an aluminium bar;
- loose, torn, oil-soaked, or badly overlapped tape;
- brake hose or shift wire placed where the plug will crush it;
- an old plug fragment still lodged inside;
- an internal diameter or shape that does not match the new plug.
A plug does not make a damaged handlebar safe. If the bar was struck in a crash, has visible structural damage, or its end was crushed by a clamp or overtightened expander, stop and ask the bar manufacturer or a qualified mechanic.
Fit it as part of the bar-tape job
When rewrapping drop bars, finish the lower end according to the tape maker’s instructions. The tape should remain secure when the plug is installed and should not create so much bulk that the plug barely enters.
Use this completion test:
- Confirm left and right bar ends are undamaged and unobstructed.
- Confirm the plug’s stated size and material compatibility.
- Install the tape and plug in the specified order.
- For an expanding plug, tighten only to its stated value or method.
- Pull firmly outward and twist by hand. The plug should not move.
- Turn the bars fully and squeeze the brakes to confirm no hose, cable, or control was disturbed.
- Repeat the check after the first short ride and during the five-minute pre-ride check.
Our handlebar-tape wrapping guide covers overlap direction, hood sections, finishing tape, and the final control check.
What to do if a plug disappears mid-ride
Stop somewhere safe. Do not continue a group ride or fast descent with the tube exposed. A temporary cover that can fall off is not a dependable repair, especially near moving hands and brake controls.
Arrange a lift, walk the bike, or obtain the correct plug. If the plug repeatedly loosens, the likely problem is compatibility, installation, tape bulk, or bar-end damage—not a need to hit it harder. Replace the plug with a suitable expanding design if the handlebar maker permits it.
Do closed grips need a separate plug?
On flat bars, an intact closed-end grip may cover the tube, but the handlebar and event rules still decide what is acceptable. Inspect the grip for a torn or punched-through end. Bar-end extensions must also be plugged according to their maker’s instructions.
For drop bars, do not rely on bar tape alone. The hollow end requires the plug designed for that job.
Your next step
Grip each plug now and pull outward. If either one moves, remove it, identify the handlebar’s approved plug size, and correct the tape or plug before the next ride. Add two spare compatible plugs to the small-parts drawer rather than improvising after one goes missing.