How to remove a bike chain with no quick link
Identify a chain without a quick link, separate it with the correct chain tool, and reconnect it only with the manufacturer-approved pin or link.
 Field guide / remove-bike-chain-without-quick-link
Before you buy
Check the starter kit first
Print the one-page buying brief for helmet, lights, water, phone, and repair compatibility before comparing upgrades.
A derailleur-bike chain without a quick link does not slide off the frame as one closed loop. To remove it, separate one joint with a compatible chain tool. Reinstallation is a separate decision: use the exact chain maker’s approved connecting pin or compatible quick link, not the old rivet by default.
The short answer: confirm that there really is no quick link, identify the chain model and speed, shift to release tension, and drive out the correct rivet with a compatible tool. Before cutting, obtain the approved replacement connection. If you only want to clean light surface rust, removal and soaking may create more risk than careful on-bike cleaning.
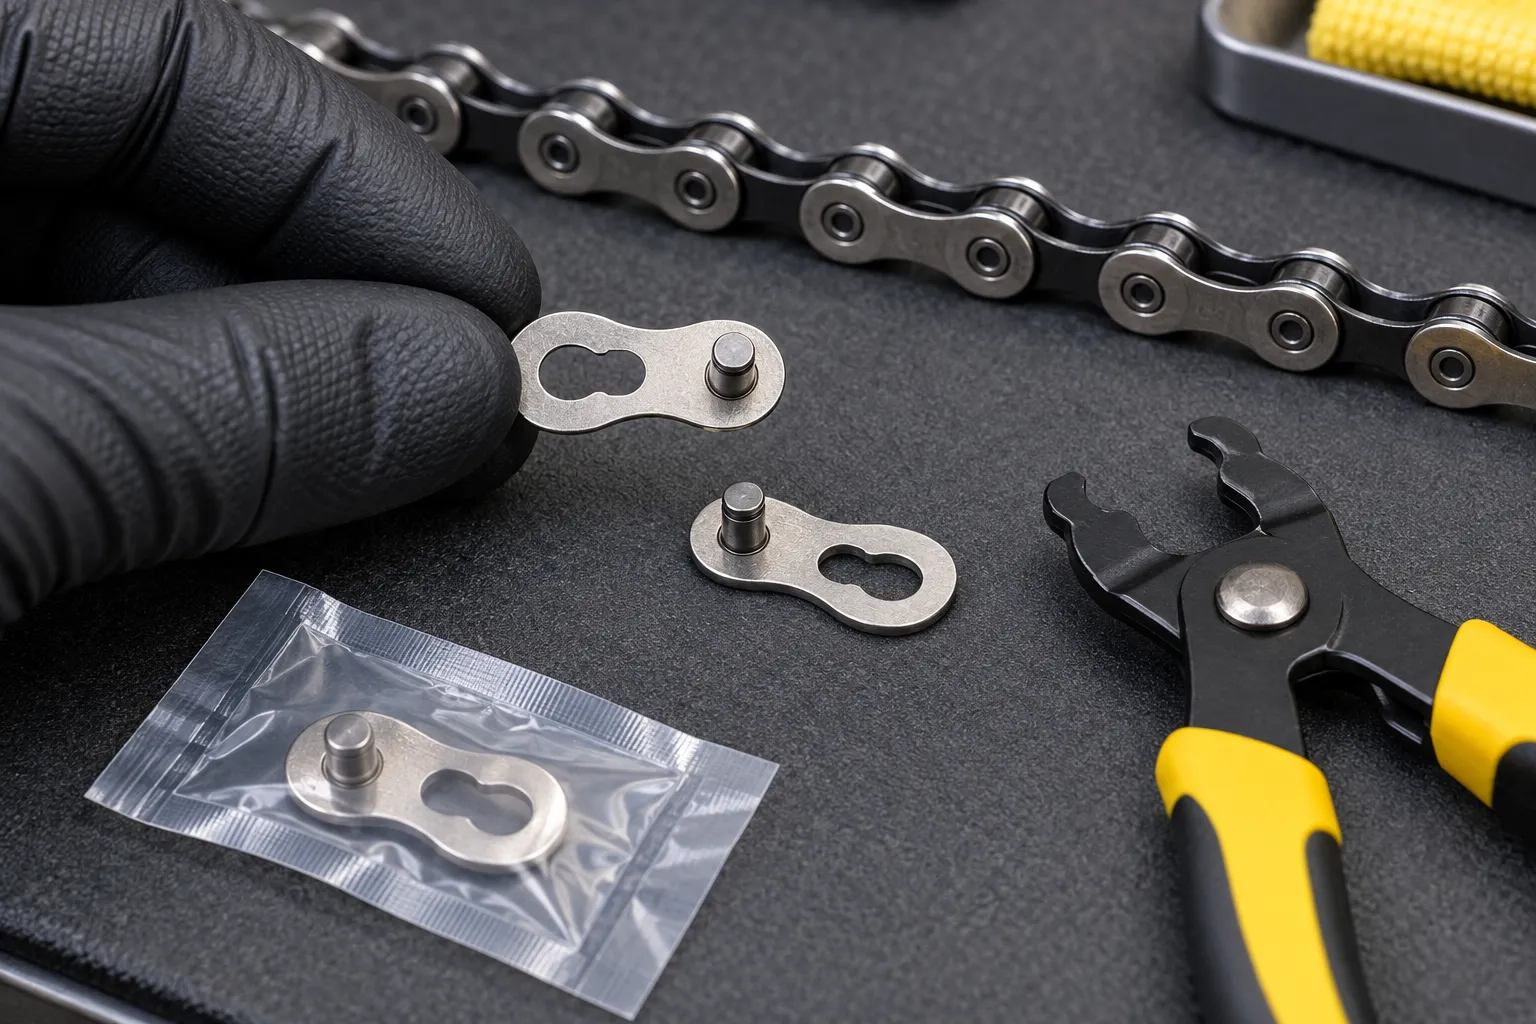
First decide whether the chain needs to come off
A recent, heavily discussed r/bikewrench thread asked how to remove a chain without a master link so it could be soaked in vinegar for rust. That combines two separate decisions: opening the chain and choosing a safe cleaning method.
Shimano warns against acid- or alkali-based rust cleaners because they can damage a chain or quick link and contribute to failure. Vinegar is acidic. Do not immerse a modern chain in it unless the exact chain manufacturer explicitly approves that process.
For light surface corrosion, inspect chain wear and movement first. Cleaning the lower run with an appropriate chain cleaner and brush, drying it, applying bicycle chain lubricant to each roller, and wiping the exterior may be enough. Replace a chain with stiff links that do not free up, deep corrosion, cracks, deformation, severe wear, or unexplained skipping.
Read the rusty-chain safety check before spending time restoring a part that should be replaced.
Confirm there is no quick link
Clean the side plates and rotate the cranks slowly while inspecting every joint. A quick link may have:
- elongated or keyhole-shaped slots;
- a different plate outline;
- a brand or model marking; or
- a different colour from neighboring links.
Some links are subtle. Check both sides. Do not mistake an old connecting pin for a quick link.
If you find one, consult its manufacturer’s instructions. Some quick links are single-use; others have stated reuse conditions. Difficulty opening it does not prove that it is reusable.
Identify the chain and approved connector
Find the model stamped on the side plates and count the cassette sprockets. The speed label helps narrow the system but does not by itself prove compatibility.
Before opening the chain, obtain:
- a chain tool approved for the chain’s width and design;
- the specified replacement connecting pin or quick link; and
- the installation instructions for both chain and connector.
Shimano’s chain manual lists different tools and connection parts for different chain families. It also warns that an unsuitable pin or tool can produce insufficient connection force and allow the chain to break or fall off.
If the model cannot be identified, a bike shop can often identify it quickly. Cutting first and shopping later can leave the bicycle unusable.
Remove tension from the chain
Shift to the smallest chainring and smallest rear sprocket where the drivetrain permits it. Support the bicycle securely and avoid turning it upside down if that could damage controls or accessories.
Removing the rear wheel can reduce chain tension and improve access. A simple bent spoke, dedicated chain hook, or clean wire can hold the two sides of the intended joint together, keeping spring tension away from the chain tool.
Keep fingers away from chainring teeth and do not operate an electronic shifter while hands are near the drivetrain.
Choose the joint carefully
Manufacturer instructions may prohibit cutting at an existing reinforced connecting pin, end pin, or previously joined location. Shimano specifically directs users to cut elsewhere on affected chains because cutting at that joined location damages the chain.
Choose an ordinary undamaged joint several links away from the old connection. Align its rivet with the chain tool’s driving pin. The tool must support the chain squarely; a crooked setup can bend plates or damage the tool.
Drive the rivet out with a chain tool
Turn the tool slowly until its pin contacts the centre of the chain rivet. Confirm alignment again, then continue pressing the rivet through.
For removal of a chain that will be joined with a new approved connector, drive the rivet fully out as directed by the chain-tool and chain instructions. Do not improvise by hammering the rivet or bending the chain sideways.
Once the plates separate, release the chain from the hook and pull it through the derailleur carefully. Photograph the route first. The chain passes around the upper guide pulley and lower tension pulley and on a specific side of the cage tab.
Do not casually push the old rivet back in
Many modern derailleur chains are not designed to be reopened and rejoined with the same ordinary rivet. Even if the rivet appears centred, the plate fit and retention may no longer meet the design requirement.
Use the specified method:
- an approved quick link of the exact chain family and speed;
- a manufacturer-specific replacement connecting pin; or
- a different documented procedure for the exact chain.
Do not combine a random “same-speed” link with an unidentified chain. Width, plate shape, and locking design matter.
Reinstall and inspect
Route the chain using your reference photo and the rear-derailleur routing guide. Check directional markings on chains that have an installation direction.
After installing the approved connector:
- Inspect both side plates from above and the side.
- Flex the joint gently and confirm it articulates like neighboring links.
- Turn the crank by hand through several complete revolutions.
- Shift one gear at a time under no load.
- Check that the connector remains seated.
- Begin the test ride with low pedal force in a safe area.
Stop for a stiff joint, clicking once per chain revolution, plate separation, skipping, or unexpected shifting.
A cheaper safe route may exist
If tools and connectors are the obstacle, ask a community workshop, bicycle cooperative, repair café, library tool-lending service, or shop whether they lend a chain tool or offer a small bench fee. Bring the bicycle or exact chain model so the connection part can be verified.
The safe budget choice is not always buying a full workshop kit. It is avoiding an uncertain chain joint.
Your next step
Rotate the chain once, find its model and any quick link, then download the maker’s current instructions before opening anything. If the goal is rust removal, start with the chain inspection and replacement decision rather than an acid soak.
Sources and further reading
- Shimano general operations manual: chain tools, connecting pins, quick links, and cleaning warnings
- Park Tool: chain removal and replacement on derailleur bikes
- r/bikewrench reader context: removing a chain without a master link
Reddit was used to identify the maintenance question. Cleaning recipes, reuse claims, and anecdotes in the discussion were not treated as technical evidence.