How to reinstall a road-bike front wheel safely
Seat a front wheel correctly, secure its axle, restore the brake, and run five checks before riding after transport or a puncture.
 Field guide / reinstall-road-bike-front-wheel-safely
Reinstalling a front wheel is not finished when the axle is merely through the fork. The hub must be fully seated, the quick release or thru-axle must be secured by its intended method, and the front brake must work before the bicycle moves.
The short answer: identify the axle system, seat the wheel squarely, tighten it to the maker’s instructions, restore any brake release, then check retention, centring, rotation, braking, and tyre clearance.
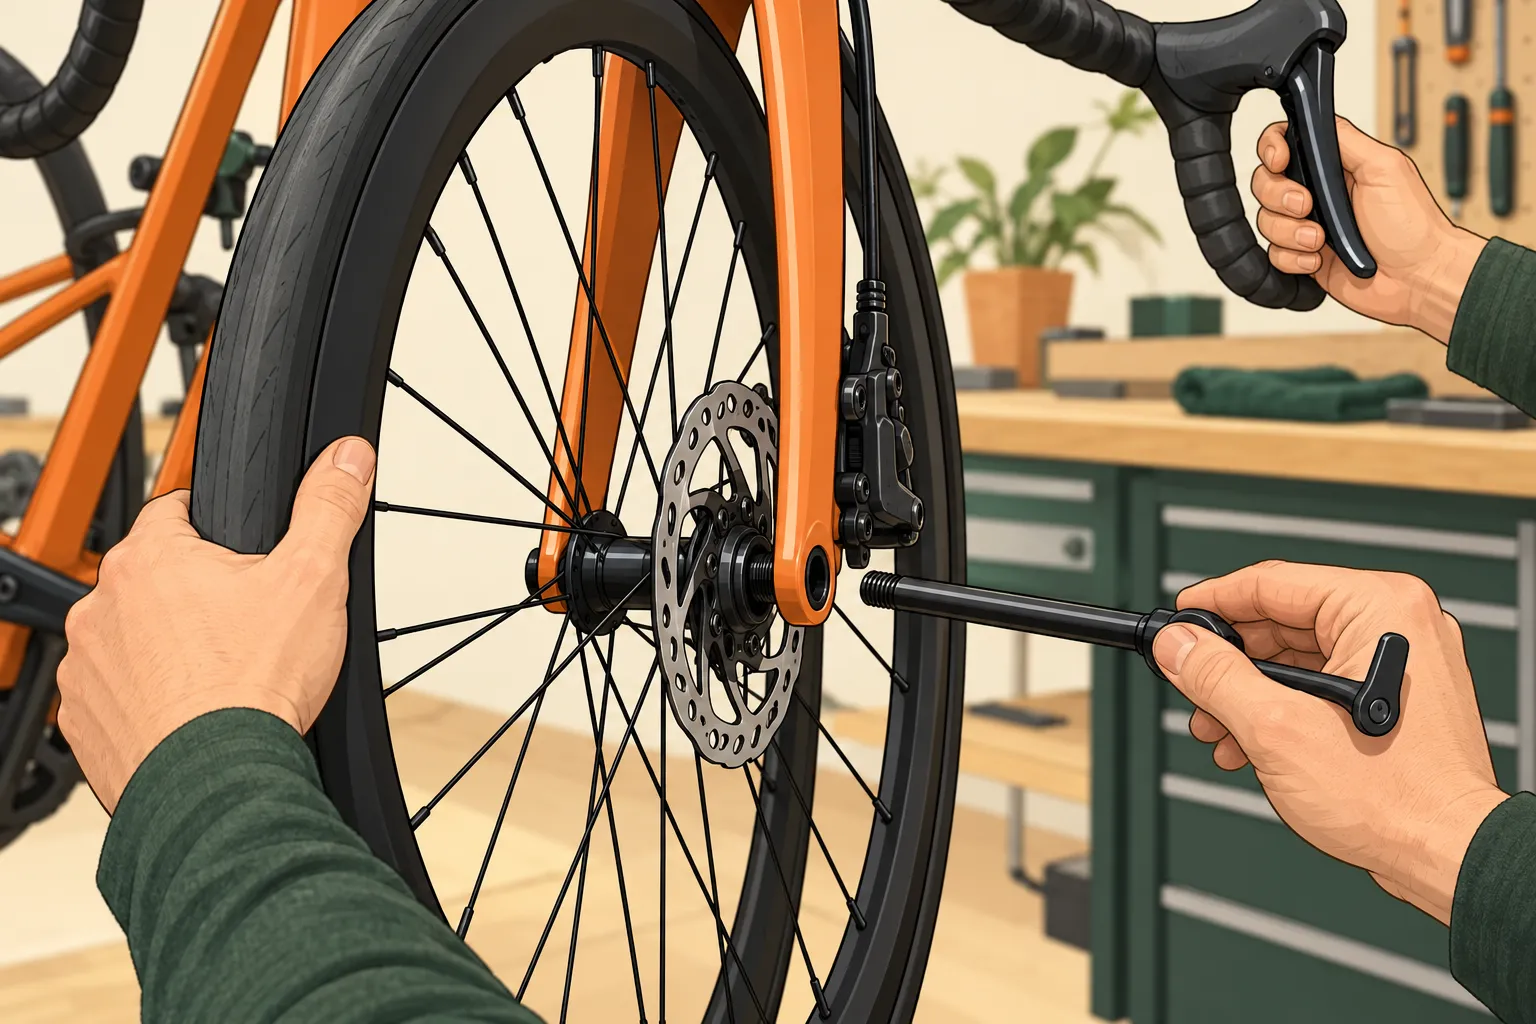
First identify what holds the wheel
Common road-bike front wheels use one of three systems:
- Thru-axle: a large removable axle passes through a closed hole in one fork leg, the hub, and the other fork leg.
- Quick-release skewer: a thin skewer passes through a hollow hub axle and uses a cam lever plus an adjusting nut.
- Axle nuts: nuts thread onto a solid axle on both sides.
Do not treat a quick-release lever as a wing nut. Its cam clamps when the lever moves from OPEN to CLOSE; spinning the lever alone does not secure the wheel. A thru-axle, by contrast, normally threads into the fork. Designs and torque requirements vary, so the bicycle, fork, hub, or axle manual wins over a generic number.
Seat the front wheel squarely
- Put the bicycle on level ground or support it securely.
- Check that both fork dropouts and axle contact surfaces are clean and undamaged.
- For a disc brake, guide the rotor carefully between the brake pads. Never force the rotor against a pad.
- For a rim brake, pass the rim between the pads with the brake release open if necessary.
- Push the hub fully into both dropouts. With an open-dropout fork, letting the bicycle’s weight settle onto the wheel can help seat it.
- Look from the front: the tyre should sit centrally between the fork legs.
If the wheel will not seat easily, stop. A closed hydraulic caliper, bent rotor, wrong end cap, misplaced skewer spring, damaged thread, or incompatible wheel needs diagnosis—not more force. If someone squeezed a hydraulic lever with the wheel removed, use the disc-brake pad spacer guide before proceeding.
Secure the correct axle system
Thru-axle
Insert the axle through the fork and hub without cross-threading it. Tighten it exactly as the bicycle or fork manufacturer specifies. If a removable handle or lever has a final storage position, set it as directed and make sure it cannot contact the rotor.
Quick release
With the lever open, adjust the nut so the lever develops firm resistance through its closing arc, then push it fully to CLOSE by hand. The lever should not point where it can catch an object or interfere with the fork or rotor. Follow the hub instructions for orientation and clamping force.
Axle nuts
Keep the wheel fully seated and centred while tightening both sides to the manufacturer’s torque. Do not guess at high force with a long wrench.
Restore and test the brake
Close any rim-brake quick release that was opened for wheel removal. Shimano’s rim-brake instructions explicitly call for returning the release to CLOSE and checking brake operation before riding.
Now perform these five checks:
- Retention: hold the bicycle steady and try to move the rim side to side. The axle should not shift in the fork.
- Centring: verify equal-looking clearance at the fork and brake. Reseat the wheel before adjusting the brake if it is crooked.
- Rotation: lift the front and spin it. A brief light disc sound can occur, but hard rubbing, wobble, or tyre contact needs correction.
- Brake: squeeze the front lever firmly several times. It must build normal resistance and stop the wheel.
- Tyre: confirm the tyre is seated evenly and clears the fork, brake, and mudguard.
Complete the five-minute pre-ride check after transport or roadside repair. Start with a walking-speed brake test somewhere traffic-free.
Do not “fix” a crooked wheel with brake adjustment first
A common mistake is centring the brake around a wheel that is not seated squarely. That hides the installation error and can make the brake wrong again after the wheel is reseated. Check axle seating first, then axle security, then brake alignment.
Similarly, do not dismiss a front brake that suddenly does nothing after wheel installation. A rim-brake release may still be open, a rotor may be outside the pads, or the wrong wheel orientation may have put components where they cannot function.
Your next step
Find the axle instructions for your exact bicycle or fork and practise one removal and installation at home. Repeat the five checks aloud until they become one routine: secure, centred, spins, brakes, clears.
Sources and further reading
- Shimano: quick-release user manual — retention, closing method, lever position, and pre-ride checks.
- Shimano: rim-brake quick-release operation — requires returning the brake release to CLOSE and checking operation.
- Park Tool: wheel removal and installation — practical guidance for axle types, seating, centring, and brakes.
- r/bikewrench safety discussion — used as an editorial signal after commenters identified a loose skewer and non-working front brake; no personal details or forum claims were reused as instructions.