Use a brake-pad spacer when a hydraulic-disc wheel is removed
Tell a transport pad spacer from a bleed block, fit the correct part before transport, and know what to do if the brake lever was squeezed without the rotor.
 Field guide / hydraulic-disc-brake-pad-spacer-wheel-removed
Install the correct brake-pad spacer between the pads whenever a wheel is removed from a hydraulic-disc bike for transport or storage. It occupies the rotor’s place and prevents an accidental lever pull from advancing the pistons too far. Remove it before reinstalling the wheel, then check axle security, rotor clearance, lever feel, and braking function.
The short answer: keep the model-correct transport spacer with your axle tool. Insert it between the installed pads as soon as the wheel comes out. A pad spacer is not automatically the same as a bleed block, which normally replaces the pads during hydraulic service. If the lever was squeezed without a rotor or spacer, do not force the wheel back in—follow the exact brake manual or use a qualified mechanic.
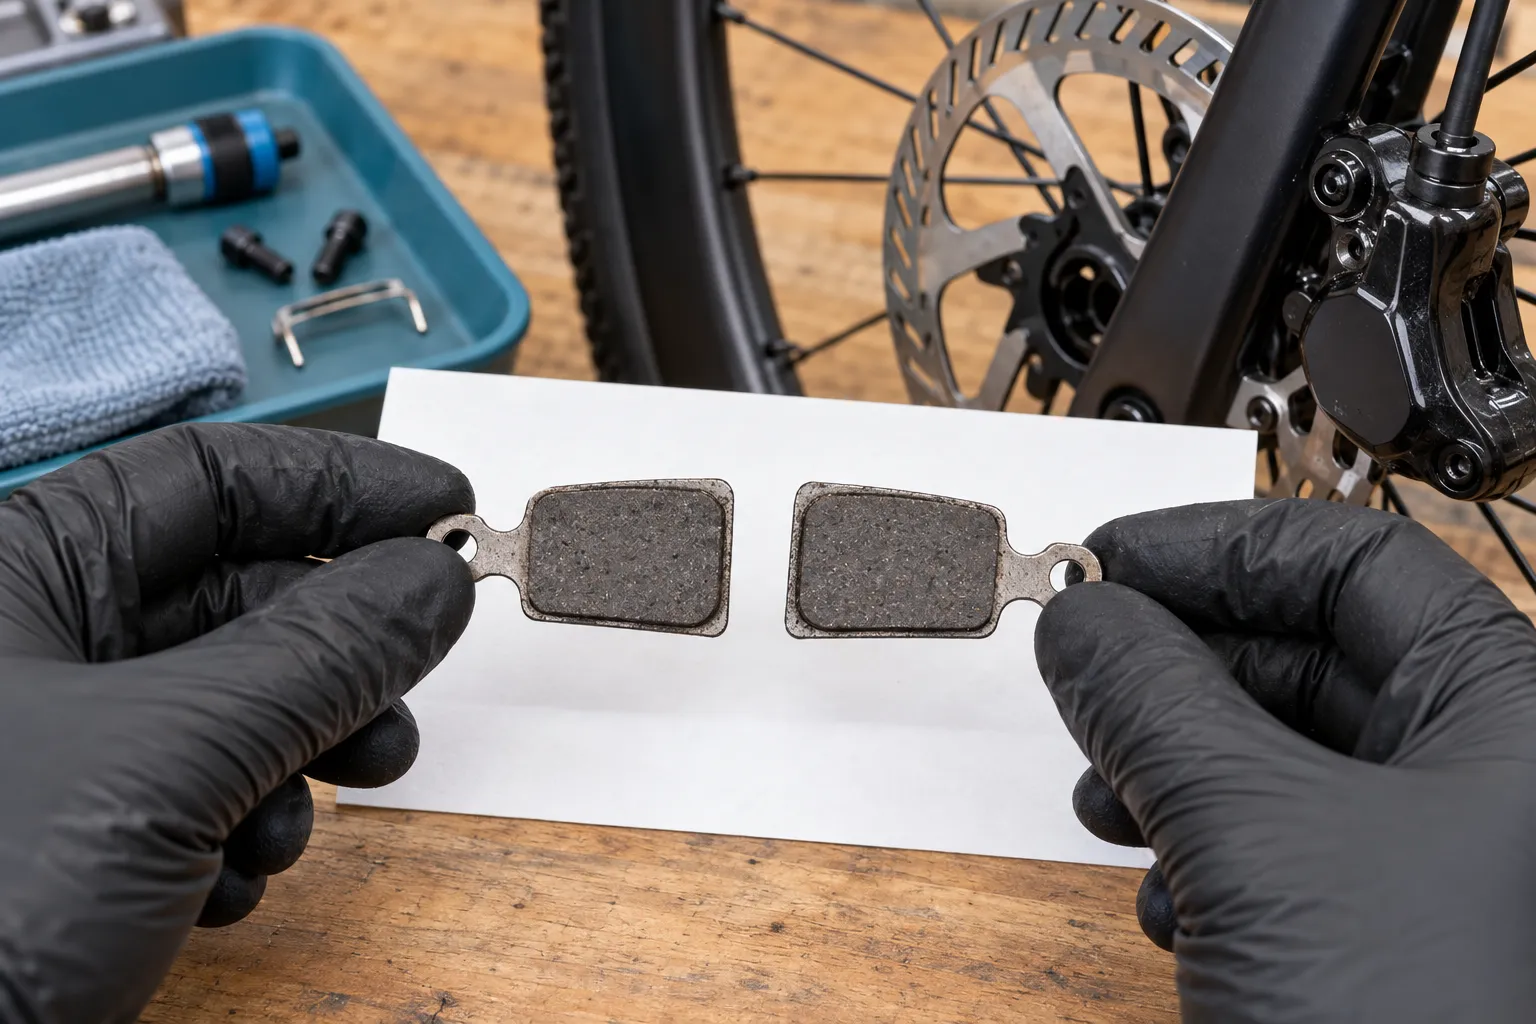
Why the gap closes
Hydraulic disc brakes automatically compensate as pads wear. The pistons move outward to keep the working gap useful. When the rotor is absent, squeezing the lever removes the normal stop, so the pads and pistons can advance farther than intended.
Shimano’s current guidance recommends installing pad spacers when a wheel is removed and warns against depressing the lever without them. Repeated Reddit questions about the small plastic part supplied with boxed bikes show two common gaps: owners discard it because it looks like packaging, or confuse it with a thicker bleed block.
Pad spacer, bleed block, and shipping block
Names vary, so match the part by purpose and brake model, not colour.
Pad or transport spacer
This fits between the installed brake pads. Use it while the wheel and rotor are absent. Some have two thicknesses or a wedge shape for manufacturer-defined pad-gap procedures.
Bleed block
This normally fits in the caliper after the pads have been removed. It holds the pistons in a specified position during a bleed or hose service and protects the pads from brake fluid. Its thickness and shape are part of the service procedure.
Packaging or caliper block
A new, uninstalled brake may arrive with a block between the pistons or pads. It may be the service part you need—or only packaging for that assembly. Confirm the part number in the exploded diagram.
Do not assume a spacer from another brake is close enough. A part that is too thin may not protect the pistons; one that is too thick can damage pads or become stuck.
The transport sequence
- Shift and position the bike for safe wheel removal.
- Clean your hands before touching anything near pads or rotors.
- Remove the axle and wheel using the bicycle manual.
- Keep the rotor away from grease, chain lubricant, skin oils, and luggage.
- Insert the correct pad spacer fully between the pads and secure it as designed.
- Protect the derailleur, rotor, axle threads, and fork or frame during transport.
- Keep the axle with the bike or reinstall it in the empty dropouts only if the frame maker permits.
- Before wheel installation, remove the pad spacer and inspect that both pads remain correctly located.
- Guide the rotor between the pads without bending it, then secure the axle correctly.
- Pull the lever gently until normal contact returns, spin the wheel, and perform a stationary brake check.
Do not hang luggage from brake hoses or rest the bike’s weight on a caliper, rotor, or derailleur.
If someone squeezed the lever
First, do not panic and do not wedge the rotor into the closed gap. Keep the brake clean and inspect how far the pads have advanced.
If the pads remain installed and the pistons have not leaked or protruded abnormally, the maker may specify pushing the pads back with a clean, flat, non-damaging tool while following a pressure-management procedure. Shimano’s manuals, for example, caution that pushing pistons back can affect fluid pressure and may require the oil funnel attached at the lever for specific systems.
Stop and use a qualified mechanic when:
- a piston is visibly far out, crooked, or leaking;
- the pads or rotor are contaminated;
- the lever pulls to the handlebar or feels different;
- you do not have the exact brake instructions;
- a metal tool has damaged a pad or piston;
- the rotor cannot enter after the documented reset; or
- braking remains weak or inconsistent.
Do not open a bleed port simply because a forum suggests it. Shimano mineral-oil and SRAM DOT-fluid systems use different fluids, parts, tools, and procedures. Mixing or contaminating them can damage the brake.
Mechanical disc brakes are different
Cable-operated disc brakes usually do not self-advance in the same hydraulic way when a lever is pulled with the wheel out. They may not require a transport spacer, but the exact brake manual still decides. A mechanical caliper can also be damaged, contaminated, or misadjusted, so “not hydraulic” does not remove the need for careful transport.
Build a no-forgetting kit
Keep these together in a labelled bag:
- front and rear pad spacers if they differ;
- thru-axles or quick-release parts;
- the correct axle tool;
- a clean rotor cover if the transport setup needs one;
- a photo showing spacer orientation; and
- links or PDFs for the wheel and brake manuals.
Attach a bright tag to each spacer saying REMOVE BEFORE WHEEL INSTALLATION. A spacer accidentally left in place prevents rotor installation and should never be forced.
Your next step
Identify the brake-caliper model and obtain its correct pad spacer before the next car trip or repair. Practise removing one wheel, inserting the spacer, and reinstalling the wheel at home. Then add the parts to the road-bike transport checklist.
Sources and further reading
- Shimano hydraulic-disc dealer manual: use of pad spacers with the wheel removed
- SRAM hydraulic road disc manual: model-specific bleed blocks and pad spacers
- r/bikewrench reader context: identifying a pad spacer supplied with a bike
- r/bikewrench reader context: transporting a hydraulic-disc bike with a wheel removed
Reddit was used to identify recurring beginner questions. Brake procedures come from manufacturer documentation.