Why does a new chain sit high on a new chainring?
Diagnose a bicycle chain that rides on top of chainring teeth by checking seating, routing, pitch, speed compatibility, tooth profiles, and installation.
 Field guide / new-chain-sits-high-on-chainring
A new chain should settle into the chainring as the rollers enter the tooth gaps. If it consistently rides high, bridges across teeth, tightens and releases, or only seats after force, stop. Confirm the chain is routed and joined correctly, then verify the exact chain, ring, crank, and drivetrain are approved to work together.
The short answer: “new” does not prove compatibility. High seating can come from incomplete engagement during a stationary check, an incompatible chain or tooth profile, incorrect ring installation, a stiff or damaged link, or a worn/misidentified part.
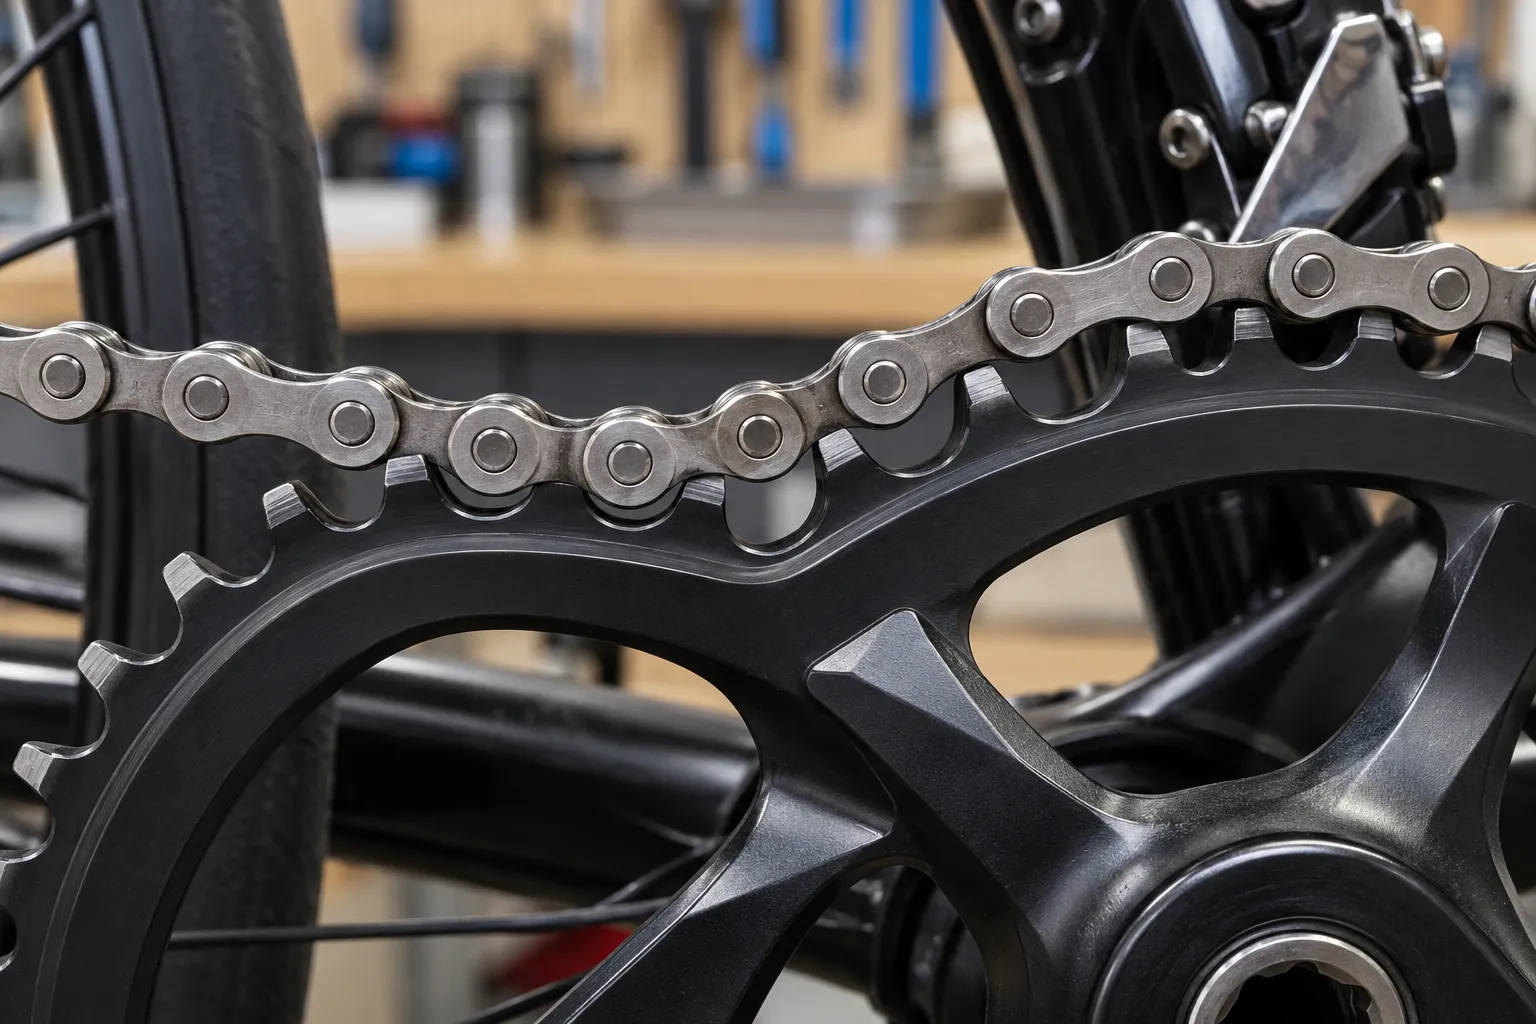
First confirm what you are seeing
Shift to a normal, low-tension gear and support the bicycle securely. Turn the crank slowly by hand from a safe position. Watch several complete ring rotations.
Distinguish among these symptoms:
- Momentary approach: a roller has not yet reached the tooth gap at the entry point but settles normally as the ring turns.
- Regular high seating: rollers remain lifted over repeated teeth.
- One tight point: the problem returns at the same chain link or chainring position.
- Lateral climbing: the chain tries to move toward the other ring or off the side.
- Release under load: it appears seated by hand but jumps when pedalled.
Photograph the same area at several crank positions. Modern shift ramps and shaped teeth are intentionally uneven, so tooth appearance alone is not a wear diagnosis.
Check routing and the joining link
Trace the complete chain path. It must pass correctly through both rear-derailleur pulley wheels and on the intended side of every cage tab. Confirm the directional markings when the maker specifies an orientation.
Inspect the connecting pin or quick link. A link that is not fully locked, is installed backward when direction matters, or has a stiff plate can create one repeating high point. Flex each suspect articulation gently by hand with the drivetrain still. Replace a damaged or incorrectly joined part using the chain maker’s procedure; do not pry side plates apart casually.
If you are unsure about the rear cage path, compare it with how to route a chain through the rear derailleur.
Verify exact compatibility
Record model codes rather than relying on “12-speed” or “road chain.” Check:
- chain make, model, speed, and directional requirement;
- chainring make, model, tooth count, and intended chain family;
- crank or spider model and mounting position;
- whether the system is 1× or 2×;
- cassette and rear-derailleur family;
- any manufacturer requirement for a specific quick link.
Some modern systems use chain and tooth profiles designed as a family. Shimano describes its Dynamic Chain Engagement+ single rings as specifically shaped around compatible 12-speed chains. SRAM’s road compatibility map also separates Road Flattop, Eagle, T-Type, 1×, and 2× combinations rather than treating every chain with the same speed count as interchangeable.
Use the current compatibility chart for the exact model year. Packaging claims and retailer filters can omit exceptions.
Check chainring position and hardware
A double chainring has an inner and outer position, plus orientation marks, shift features, and anti-drop pins. Shimano’s general dealer manual warns that incorrect ring installation prevents smooth shifting and shows model-specific orientation relative to the crank arm.
Confirm:
- the ring is on the intended side of the spider;
- its marked face and alignment feature match the manual;
- spacers, covers, and bolts are the specified parts;
- the ring sits flat without visible distortion;
- the fasteners were tightened in the stated sequence and to the exact specification.
Do not flip a shaped ring simply to improve chainline unless its manufacturer explicitly permits it.
Separate new-part mismatch from old-part wear
A genuinely new chain and ring can still be the wrong combination. Conversely, a “new-looking” ring may be old stock, used, or only one part of a worn system.
Clean the components enough to inspect them. Look for hooked, thinned, chipped, bent, or damaged teeth; a bent ring; burrs; corrosion; and a chain damaged during shortening. Measure chain wear with an appropriate tool if the chain’s history is uncertain. The chain-wear guide explains what the tool can and cannot prove.
Do not file teeth or grind rollers to make parts cooperate. That removes designed surfaces without establishing compatibility.
Use a controlled decision tree
- If the problem follows one chain link, inspect the joining link and that articulation.
- If it follows one ring location, inspect ring installation, damage, and runout.
- If it occurs around the whole ring, verify chain-to-ring compatibility and chain size.
- If it happens only during shifts, check ring orientation, front-derailleur setup, and the maker’s shifting procedure.
- If it appears only under load, stop test riding and have chain, ring, cassette, freehub, and installation assessed.
Bring every model code and a slow video to a competent mechanic. “The new chain does not fit the new ring” is less useful than the exact combination and whether the symptom follows a link, a tooth, or a gear.
Your next step
Do one stationary crank rotation and mark the link and ring location where the chain first rises. If the symptom repeats, stop. Photograph the model codes and installation orientation, then compare the combination with the current manufacturer chart before replacing or modifying anything.
Sources and further reading
- Shimano: current general operations dealer manual, including road chainring orientation
- Shimano: drivetrain compatibility chart
- SRAM: road mechanical compatibility map
- r/bikewrench demand signal: a new chain appearing to sit high on a new chainring — used as an editorial question signal, not as a diagnosis.