Why won't your mechanical road-bike shifter click?
Separate a jammed or broken shift lever from a frayed cable, seized housing, derailleur fault, or end-of-travel position before buying parts.
 Field guide / mechanical-road-bike-shifter-will-not-click
A mechanical shifter that suddenly stops clicking may simply be at the end of its indexed positions, but it can also have a broken or misplaced cable, seized housing, stuck derailleur, or failed internal ratchet. Stop forcing the lever and isolate those sections in order.
The short answer: first confirm you are operating the correct lever while gently turning the cranks. Inspect the cable and derailleur. If the lever still will not index after cable tension is safely removed according to the component manual, the lever mechanism needs model-specific service or replacement—not harder thumb pressure or random limit-screw changes.
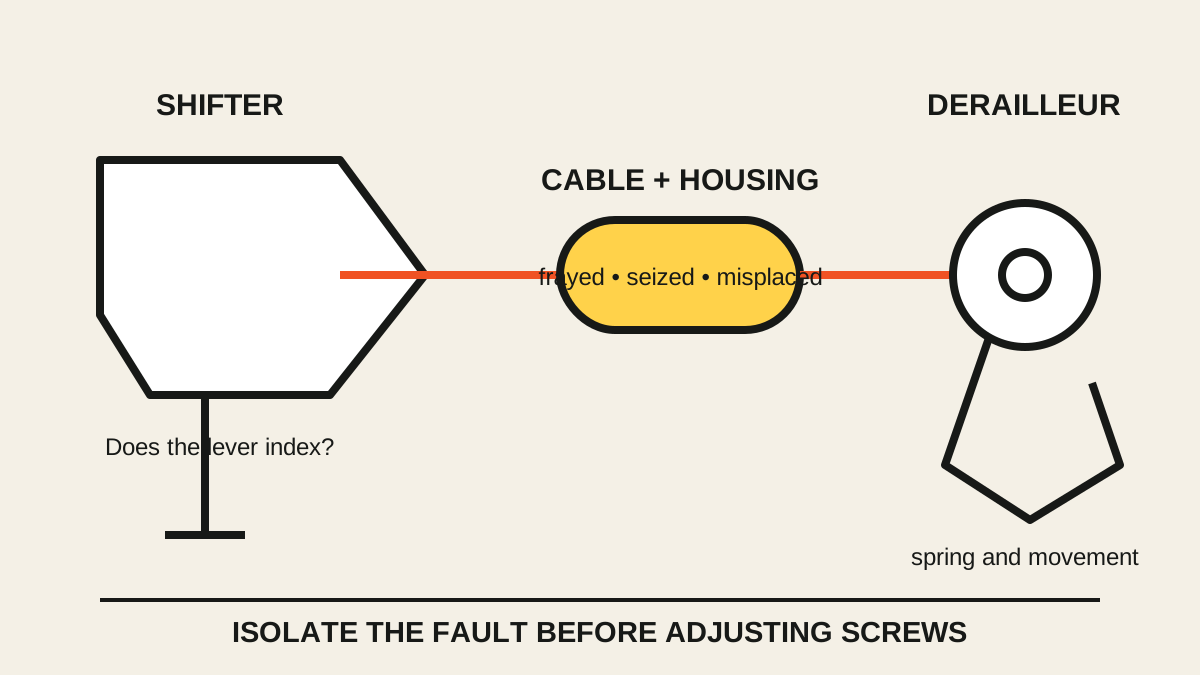
First make sure the shifter has another click available
Indexed mechanical shifters have a finite number of positions. If the chain is already on the smallest or largest sprocket, one direction of the control may have no further click. Integrated road levers also use different motions for upshifts and downshifts, and the left and right levers usually control different derailleurs.
With the bike secure and the driven wheel clear:
- Turn the cranks forward gently.
- Operate one shift at a time without forcing the lever.
- Watch whether the derailleur moves, whether the cable moves, and whether the chain changes sprocket.
- Try the opposite shift direction using the correct control.
If the lever clicks but the derailleur does not move, the fault is probably not “no click.” Move to cable and derailleur inspection. If there is no click in either direction, stop increasing force.
The current question behind this guide
A recent r/bikewrench post described an 11-speed mechanical shifter that lost its clicks after service attempts. That is a useful demand signal, but another rider’s suspected cause does not diagnose your lever. Shifter internals and approved service procedures vary by brand and model.
Park Tool describes the clicking as small internal pawls indexing the cable. It also notes that a shift cable can fail at its head. Shimano’s user guidance warns against disassembling or modifying a lever outside the documented procedure because incorrect operation can cause a fall.
Inspect the cable before adjusting anything
Pull the rubber hood only as far as the manual permits and use a light. Look for:
- broken wire strands near the cable head;
- a cable head no longer seated in its carrier;
- corrosion, dirt, or dried residue;
- split, kinked, or crushed housing;
- a ferrule pulled out of a frame stop;
- a loose cable end near the derailleur;
- internal-routing ports where the housing has shifted.
Do not drag a frayed cable through the shifter. Loose strands can lodge inside the mechanism and turn a cable replacement into a lever repair. If the cable head appears damaged or hidden, follow the exact removal instructions or stop and use a mechanic.
The cable replacement timing guide helps with wear signs, but this fault needs diagnosis before replacement.
Separate cable drag from a lever fault
The clean test is to remove cable load using the maker’s procedure, usually by selecting the relaxed cable position and releasing the derailleur pinch bolt. This is not a universal sequence: routing, initial position, electronic-mechanical hybrids, and internal gear hubs differ.
Once the cable is safely released:
- move the derailleur carefully by hand only as its manual permits; it should pivot and return under spring force;
- slide exposed cable through accessible housing to feel for heavy friction;
- operate the shifter while maintaining light cable tension by hand;
- confirm the cable head remains seated and moves with each indexed action.
If the lever indexes normally with the cable disconnected, suspect cable friction, routing, housing, or derailleur resistance. If the lever still has no indexing action, suspect the lever, cable-head position inside it, or an incorrect starting position.
Park Tool’s drop-bar cable guide says that no cable movement during this hand-tension test can indicate incorrect cable installation in the shifter. It also notes that worn, frayed, rusty, or dirty cable and housing can cause slow, hard, inconsistent, or absent shifts.
Do not use the limit screws to create a click
Rear-derailleur limit screws restrict the derailleur’s physical travel. The barrel adjuster changes cable tension. Neither repairs a ratchet inside the shifter.
Turning the limit screws during a lever fault can create a dangerous second problem—particularly if the derailleur can then guide the chain beyond the largest sprocket. Preserve their positions unless the proper adjustment procedure actually calls for a change.
If the lever clicks but the chain hesitates by one sprocket, use the rear-derailleur indexing guide. If it does not click at all, indexing is not the first task.
Sweat and water are clues, not a repair method
Indoor riding can expose a lever and cable openings to concentrated sweat. Outdoor storage and wet rides can also encourage cable corrosion. Note where and when the failure occurred, but do not flood a brake-shift lever with degreaser, penetrating oil, or chain lubricant.
An integrated road lever contains braking parts, polymers, factory lubrication, and sometimes electronics. An unapproved solvent may wash lubricant away, attack materials, carry contamination toward brakes, or provide only a temporary change. Use only the cleaning or lubrication method specified for the exact model.
When the lever itself has failed
Internal pawls, springs, carriers, and ratchets can wear, stick, break, or lose engagement. The sensible next step depends on parts support:
- some makers document cable replacement but not ratchet rebuilding;
- some lever bodies or shifting units are replaceable as assemblies;
- some older levers have specialist repair options;
- combined brake-shift levers may require brake-system work during replacement.
Search using the exact model code printed on the lever, not only the groupset family. Compare the current dealer manual, exploded view, and replacement-parts catalogue. If the brake shares the lever body, a qualified shop should confirm braking safety before the bike returns to use.
A roadside no-click plan
If the shifter fails during a ride, stop away from traffic. Secure any broken cable so it cannot enter the wheel. A spring-loaded rear derailleur will commonly return toward one end of the cassette when cable tension disappears, but the exact gear depends on the system.
Do not continue if the chain will not stay on one sprocket, the derailleur is close to the spokes, or the cable is loose near moving parts. A mechanic may be able to set one usable gear for a cautious return, but improvised limit-screw changes are not appropriate if you cannot verify chainline and wheel clearance.
Your next step
Record the lever model and the exact symptom: no sound, no lever travel, free lever travel, clicks without cable movement, or cable movement without derailleur response. Give that evidence to the shop or use it with the correct manual. It will prevent an unnecessary derailleur adjustment when the actual fault is in the lever or cable.