How to find a road bike creak that only happens while pedalling
Diagnose a click or creak under pedalling load with controlled tests before replacing the bottom bracket or tightening random bolts.
 Field guide / find-road-bike-creak-while-pedalling
A creak that seems to come from the bottom bracket often does not start there. Frames carry sound, and pedalling loads the pedals, cranks, chainrings, wheels, saddle, seatpost, bars, and frame at the same time. Diagnose by changing one condition at a time before replacing parts.
The short answer: record exactly when the noise occurs, confirm the bike is safe, then compare seated versus standing, pedalling versus coasting, left versus right pressure, and different gears. Inspect and service the simplest plausible interface first. Replace the bottom bracket only when the evidence points there.
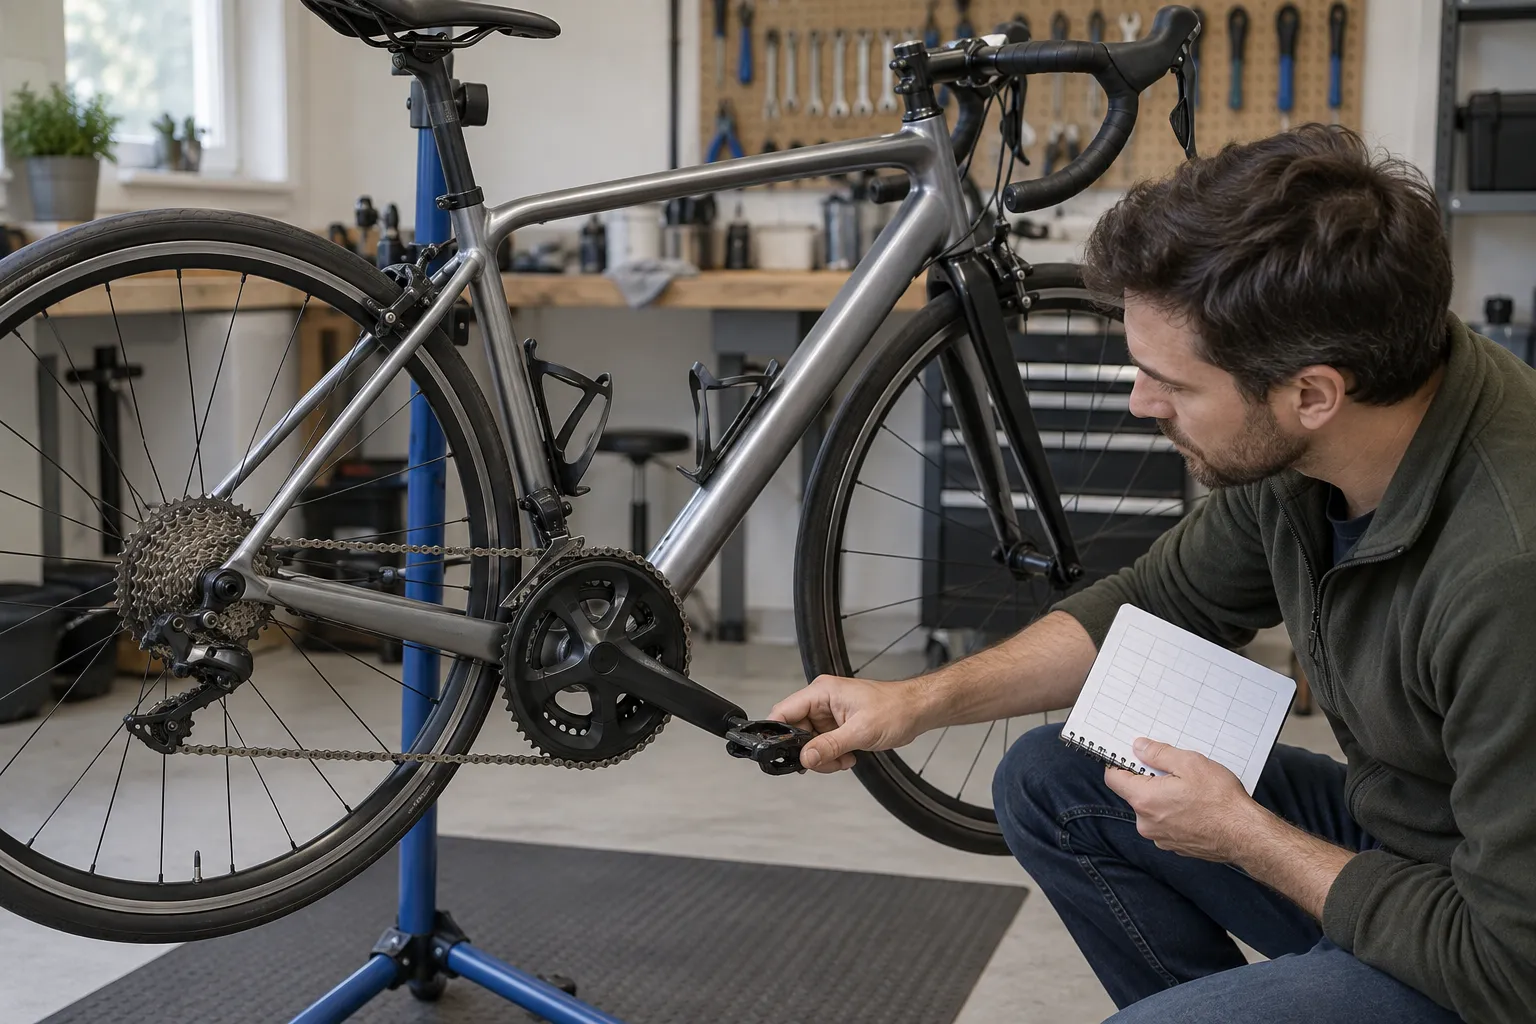
First decide whether to stop riding
Noise alone is not a diagnosis. Before a test ride, complete the five-minute pre-ride check and look for loose wheels, loose cranks or pedals, headset play, wheel damage, frame or fork damage, and brake faults.
Do not continue diagnosis by riding if the creak began after a crash or hard impact, a component moves when it should not, steering or braking has changed, or a carbon part may be damaged. A current manufacturer owner manual advises stopping use of carbon parts after suspected impact damage until inspection; follow the manual for your bike.
Write down the pattern
On a short, quiet route, answer these questions without trying to fix anything:
- Does it happen while coasting, or only while pedalling?
- Does it follow every crank revolution, every wheel revolution, or no obvious rhythm?
- Does it change in the large versus small chainring or across the cassette?
- Does it disappear when standing out of the saddle?
- Does pulling on the bars reproduce it?
- Is it louder on rough surfaces, under high torque, or at high cadence?
- Can gentle pressure from only the left or right leg change it?
Park Tool’s noisy-drivetrain guide notes that a once-per-crank-revolution sound points attention toward the crank and pedal area, while a sound every few revolutions can involve the chain. Treat that as a clue, not proof.
Run the highest-value isolation tests
Seated versus standing
If the creak disappears immediately when you stand, inspect the saddle rails, clamp, seatpost, and frame interface before the bottom bracket. Clean and service them only according to the frame, post, and saddle instructions. Carbon posts and frames may require specified friction paste rather than ordinary grease.
Pedalling versus coasting
If it continues while coasting, the drivetrain is less likely. Check wheel security, spoke and rim condition, tyre or valve contact, brake rub, cables tapping the frame, bottle cages, and accessories. A sound that changes with road bumps can come from a loose item rather than a bearing.
Hands light versus pulling on the bars
If firm handlebar loading triggers the noise, inspect the stem, bar, headset, controls, and cable contact points. Do not exceed printed torque values, and do not lubricate a clamping surface unless its manual calls for it.
Different gears at similar effort
If the sound changes with chainline or one chainring, inspect chainring bolts, front-derailleur clearance, chain condition, and contact between chain and cage. Use cross-chaining explained to separate an avoidable extreme chain angle from a mechanical fault.
Check easy external causes first
Work through this order, taking a brief test ride after each completed service:
- Remove loose bottles, pump, saddle bag, computer, lights, and accessories for one test.
- Confirm wheel axles or quick releases are correctly seated and secured.
- Check pedals for play, damage, correct installation, and service requirements.
- Inspect cleat bolts and shoe hardware; try known-good flat pedals if compatible and safe.
- Check saddle rails, saddle clamp, and seatpost interface.
- Inspect chainring hardware and crank installation using the exact manufacturer’s procedure.
- Check headset adjustment, bar, stem, and controls.
- Inspect drivetrain wear, indexing, and chain contact.
This order is not universal; it simply tests accessible interfaces before internal bearings. Keep a record so you do not repeat the same cleaning and tightening.
Why random tightening is a bad test
A torque wrench does not make an unknown procedure safe. You still need the correct value, thread treatment, tightening sequence, and component condition. Overtightening can damage lightweight parts; undertightening can allow movement.
Never “give every bolt an extra turn.” Identify the fastener, find its printed value or official manual, loosen or prepare it only when the procedure calls for that, and tighten in the specified sequence. If you cannot identify the part or instruction, use a qualified workshop.
When the bottom bracket becomes a reasonable suspect
Bottom-bracket inspection moves up the list when the noise reliably follows crank rotation under load, remains both seated and standing, persists with known-good pedals, and external crank and chainring interfaces have been checked correctly. Play, roughness, contamination, visible damage, or a manufacturer diagnostic procedure provides stronger evidence.
Even then, the repair depends on the system. Threaded, press-fit, and thread-together units use different tools, preparation, and tolerances. Replacing a bottom bracket without confirming compatibility can add a new fault while leaving the original creak untouched.
Give a mechanic a better symptom report
Bring the bike in dirty enough that the noise is still reproducible, but safe to handle. Tell the mechanic:
- when it began and whether there was an impact or recent service;
- whether it happens seated, standing, coasting, or pulling on the bars;
- its rhythm and the gears that change it;
- everything removed, serviced, swapped, or torqued;
- whether it occurs outdoors, on a trainer, or both.
A precise pattern saves diagnostic time. “Creaks once per right pedal stroke under high seated load, stops when standing, unchanged by gear” is far more useful than “the bottom bracket is noisy.”
Sources and further reading
- Editorial demand signal: discussion of a clicking or creaking sound that appeared only under pedalling load
- Editorial demand signal: high-engagement account of tracing a once-per-revolution creak
- Repair reference: Park Tool — troubleshooting a noisy drivetrain
- Manufacturer safety reference: Trek bicycle owner’s manual, March 2026
Reddit supplied symptom patterns and demand signals only. It is not used here to verify a diagnosis.
Your next step
Make one short test ride and complete the pattern questions. If the bike passes its safety check, change only one variable before testing again.