How do you torque a saddle-clamp bolt in a tight space?
Reach an awkward two-bolt saddle clamp without guessing: identify the clamp design, use the correct straight extension or slim driver, and preserve the specified torque sequence.
 Field guide / how-to-torque-saddle-clamp-bolt-tight-space
Before you buy
Check the starter kit first
Print the one-page buying brief for helmet, lights, water, phone, and repair compatibility before comparing upgrades.
When the head of a torque wrench will not fit beside a seatpost, the solution is usually a slimmer bit arrangement or a straight socket extension—not tightening the hidden bolt by feel. First identify how that specific clamp shares load between its front and rear bolts, because two-bolt saddle clamps do not all use the same tightening method.
The short answer: download the seatpost manual, set the saddle position with both bolts moving in the prescribed sequence, then use a correctly sized low-range tool with a fully seated bit. A straight extension along the fastener axis moves the wrench head away from the obstruction without changing the wrench’s lever length.
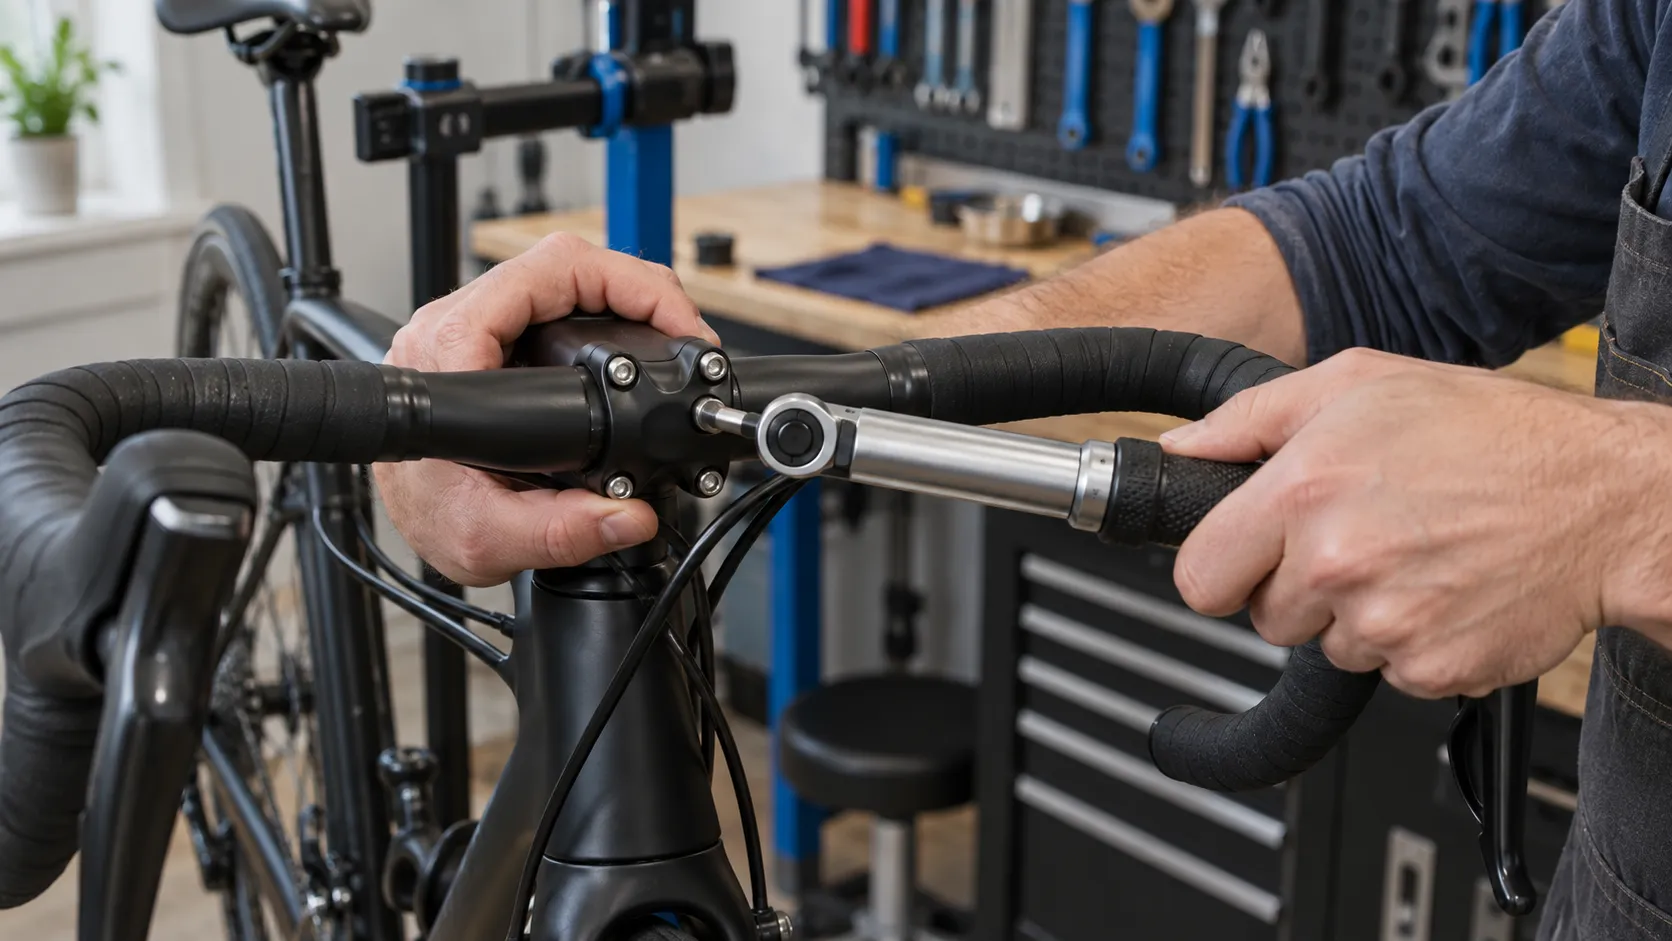
Why the front bolt can be hard to reach
A recent r/bikewrench question described a two-bolt saddle clamp whose front bolt sat almost parallel to the post, leaving less clearance than the torque-wrench head. This is common on low-profile and setback posts: the bolt itself may be accessible with an L-key while the measuring tool is too bulky.
Before buying a special wrench, remove the saddle only if the manual permits and inspect the mechanism. Look for:
- two vertical inline bolts that tilt the cradle by opposing adjustment;
- one clamping bolt plus a separate angle-adjustment screw;
- a transverse bolt and barrel nut;
- proprietary wedges, spherical washers, or keyed cradle pieces;
- separate torque values or a sequence printed on the post.
Do not assume the front bolt merely “sets angle” and the rear bolt alone receives final torque. That is true for some designs and wrong for others.
Use the least complicated access method
Try these in order:
- Correct short bit in a compact low-range driver. A 1/4-inch-drive tool or small preset driver may fit where a larger wrench does not, provided its range includes the specified value.
- Longer straight hex or Torx bit. The bit reaches past the saddle or post while the wrench head remains clear.
- Straight socket extension. This extends along the fastener’s rotational axis. Keep every joint square and use only hardware rated for the load.
- Manufacturer-specific tool or access procedure. Some posts require the saddle or cradle to be positioned a certain way before final tightening.
- Bike shop service. This is the sensible answer when access requires an offset adapter, the fastener is already rounded, or the manual is unclear.
A crowfoot changes the geometry between the wrench handle and fastener. Depending on its orientation, that can change the torque delivered and require a calculation specified by the tool maker. It is also usually designed for external hex fittings, not a recessed saddle-clamp socket. Do not improvise one onto a hex key.
Ball-end hex tools are convenient for running an unloaded bolt, but their smaller contact area and angled engagement make them a poor default for final torque. Use a straight, full-depth bit for the final setting unless the component and tool makers explicitly allow otherwise.
Set angle and fore-aft before final torque
Park Tool’s saddle-adjustment guidance says inline two-bolt clamps are adjusted in tandem: loosening one and tightening the other changes the angle. It also says to retighten all fasteners evenly to the appropriate manufacturer torque.
Use this controlled sequence:
- Confirm the saddle rails match the cradle—round versus oval, diameter, and material.
- Clean and prepare threads exactly as the post maker specifies.
- Assemble every upper and lower cradle part in the documented orientation.
- Keep the saddle rails inside their marked clamping range.
- Bring both bolts into contact by hand without cross-threading.
- Alternate small adjustments until saddle angle and fore-aft position are correct.
- Apply final torque in the specified sequence with the correct access tool.
- Mark or photograph the saddle position, then perform the maker’s security check.
Do not chase a click by repeatedly loading the same fastener. Read the wrench instructions, pull smoothly from its intended grip, and stop at the first clear release.
A click from the saddle is not always low torque
Correcting bolt torque is a useful check, but a clicking saddle can also come from:
- dry or dirty rail-cradle contact where the maker specifies preparation;
- a cracked cradle, bent rail, damaged thread, or missing washer;
- incompatible oval carbon rails in a round-rail clamp;
- a saddle shell or rail junction creaking;
- the seatpost moving inside the frame;
- sound travelling from pedals, cranks, or the seatpost collar.
Do not exceed the marked torque to silence a noise. Remove, clean, inspect, and reassemble only to the correct procedure. If the saddle still moves at specified torque, the problem is not “more torque.”
Our broader guide explains when a road-bike job needs a torque wrench. If the whole post drops in the frame, use the slipping-seatpost diagnosis instead.
When to stop
Use a shop or replace damaged parts when:
- the hex or Torx recess is rounded;
- the bolt binds before the clamp is secure;
- the correct tool cannot enter squarely;
- cradle pieces are cracked, distorted, or incomplete;
- carbon rails or a carbon post show crushing, scoring, or cracking;
- the manual does not identify the rail type or tightening sequence;
- the saddle rotates after correct assembly and torque.
A saddle clamp is small, but its failure can remove your support without warning. This is not a place for pliers, cut-down keys, or an invented torque value.
Your next step
Find the seatpost model code and its installation manual. Photograph the clamp from both sides, list the specified bit and torque, then choose the shortest straight access stack that keeps the wrench head clear and the bit square. If no documented setup fits, let a shop handle the joint.
Sources and further reading
- Park Tool: saddle and seatpost adjustment
- Park Tool: torque wrench use and care
- r/bikewrench demand signal: torque access at a two-bolt saddle clamp — used as an editorial question signal, not technical evidence.