How to get ready for a bike ride faster
Use a night-before reset, one launch zone, and a fixed five-minute sequence so ride preparation stops consuming the time you meant to spend cycling.
 Field guide / how-to-get-ready-for-bike-ride-faster
The fastest way to get out for a ride is to finish most decisions after the previous ride, not while the clock is running. Keep the bike, charged electronics, clothing, water, route, and repair kit in predictable places, then use the same short launch sequence every time.
The short answer: create one ride “launch zone,” reset it when you return, and divide preparation into three layers: reusable kit stays packed, variable items are chosen the night before, and only safety checks happen at departure. Never save time by skipping tyres, wheel security, brakes, lights, or a slow roll test.
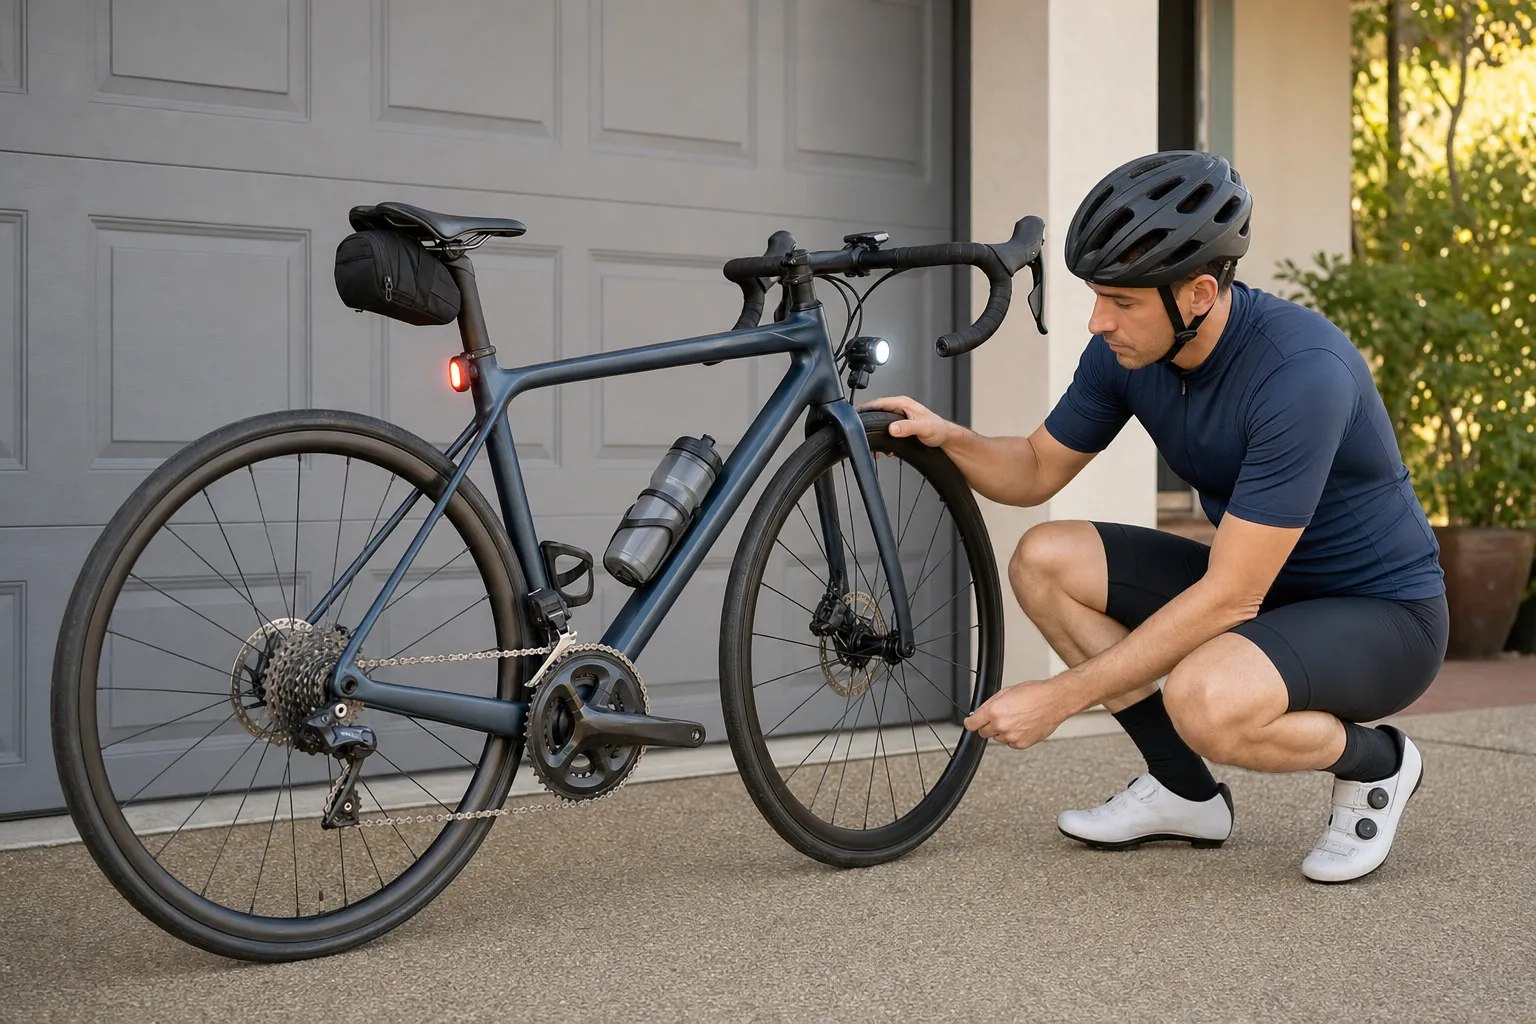
Find where the minutes actually go
Time one normal departure without rushing. Write down every delay: finding gloves, charging a light, choosing a route, moving a pump between bags, filling bottles, changing a flat discovered at the door, or deciding what to wear.
Sort those delays into three groups:
- Storage: an item has no reliable home.
- Reset: something was left empty, wet, dirty, discharged, or unpacked after the previous ride.
- Decision: weather, route, clothing, food, or ride purpose is being chosen at the last moment.
The answer is usually not a larger checklist. It is moving each job to a calmer time.
Build one launch zone
Choose a shelf, tray, hook, drawer, or small box near the bike. It should hold the items used on almost every ride:
- helmet and glasses;
- gloves and a light layer;
- charged front and rear lights;
- pump, tube or tubeless repair, tyre levers, and multi-tool;
- identification, payment, keys, and any emergency information;
- clean bottles beside the filling point;
- sunscreen or weather protection when relevant.
Keep the repair kit assembled instead of rebuilding it for each ride. Test it against the actual bike: correct tube size and valve, pump head, tyre levers, axle tool if required, and a multi-tool that reaches the fasteners you expect it to reach. The road-bike saddle-bag guide provides a compact baseline.
Do not create a pile that hides discharged lights or wet clothing. Give unfinished items an obvious “needs attention” spot separate from ride-ready equipment.
Reset immediately after each ride
A two-minute return routine prevents a 15-minute departure scramble:
- Put repair items back and replace anything used.
- Plug in lights and the bike computer if their remaining charge is not enough for the next likely ride.
- Empty, rinse, and dry bottles.
- Hang wet kit and move dirty clothing to its wash routine.
- Note any noise, puncture, brake change, or repair needed before the bike is ridden again.
- Put keys, glasses, and essentials back in the launch zone.
Do not let a mechanical note live only in memory. A strip of tape on the handlebar or a note attached to the helmet is better than discovering the same fault at departure.
The five-minute post-ride bike-care routine separates this reset from unnecessary full cleaning.
Decide the variable parts the night before
Check the forecast, daylight, route, and ride purpose while there is time to change the plan. Lay out one complete clothing option and one small extra layer rather than opening every drawer in the morning.
Confirm:
- route length, surface, and bailout point;
- planned start and latest safe return time;
- likely temperature, wind, rain, and visibility;
- food and water appropriate to the ride duration;
- navigation charge and offline access where needed;
- whether someone needs the route or expected return time.
If conditions remain uncertain, define a default shorter route. A decision tree is faster than starting the planning process again: dry and bright means route A; wet, windy, or late means route B; unsafe conditions mean indoor training or no ride.
Use the same five-minute launch sequence
At departure, keep only jobs that must be current:
- Dress and pockets: put on the prepared kit; add phone, ID, keys, food, and repair kit.
- Water and route: fill bottles, load navigation, and confirm the return deadline.
- Air and wheels: check tyre condition and pressure, then confirm both wheels are correctly seated and secured.
- Brakes, drivetrain, and lights: test both brakes, turn the cranks, select the intended light modes, and check that bags or clothing block nothing.
- Slow roll: ride and brake at low speed away from traffic. Stop if anything is loose, rubbing, skipping, or newly wrong.
Use the full five-minute pre-ride bike check until that order is familiar. Speed should come from repetition, not from deleting safety-critical steps.
Scale the routine to the consequences
A familiar 30-minute loop and a remote four-hour ride do not need identical preparation.
| Ride | Add to the normal routine |
|---|---|
| Short familiar loop | Basic repair and safe way home |
| Long local ride | Food, refill plan, weather layer, route battery margin |
| Group ride | Meeting details, pace, rules, spare time before departure |
| Unfamiliar or remote ride | Offline map, stronger bailout plan, location sharing or check-in |
| Wet or dark ride | Extra visibility, lens check, weather protection, longer stopping margin |
Pack consequence, not anxiety. Carrying three versions of the same tool does not compensate for an untested pump or no plan for a damaged tyre.
Remove common friction without buying more gear
- Save two or three reliable routes at useful durations.
- Keep a written cold, mild, and warm clothing baseline.
- Own enough bottles to have a clean pair available, not a cupboard of gadgets.
- Put recurring rides on the calendar with a realistic preparation buffer.
- End work or family discussions with a specific return time, not “I will be out for a while.”
- Keep the bike accessible; moving boxes to reach it is part of preparation time.
If life makes ride windows unpredictable, fit cycling around work and family gives the week a minimum viable structure.
Your next step
Time your next departure once. Fix the largest delay, create the launch zone, and write the five launch steps on a card. After the ride, reset the kit before you sit down. The routine should feel boring—that is what makes it quick.
Sources and further reading
- NHTSA pre-ride bicycle safety check — supports keeping air, brakes, chain, and a test ride in the departure routine.
- British Cycling: getting into cycling — practical preparation, repair-kit, route, and pre/post-ride guidance.
- Current r/cycling discussion about what riders wish were easier — used as an editorial signal; repeated replies identified getting dressed and getting out of the door as friction, not as evidence for a safety rule.