How to find the correct bike torque spec when sources disagree
Resolve conflicting bicycle torque values by identifying the exact interface, using the right manufacturer document, and stopping when the joint behaves abnormally.
 Field guide / how-to-find-correct-bike-torque-spec
When two torque values disagree, do not average them and do not choose the larger number “to be safe.” First identify exactly what is being tightened, then use the current instruction from the manufacturer responsible for that interface. An abnormal result—binding bearings, persistent play, a closing clamp gap, or damaged threads—means stop even if the wrench has not clicked.
The short answer: the correct torque belongs to a specific fastener, component model, mating part, thread condition, and assembly procedure. A generic chart is a last-resort reference, not permission to override the exact manual.
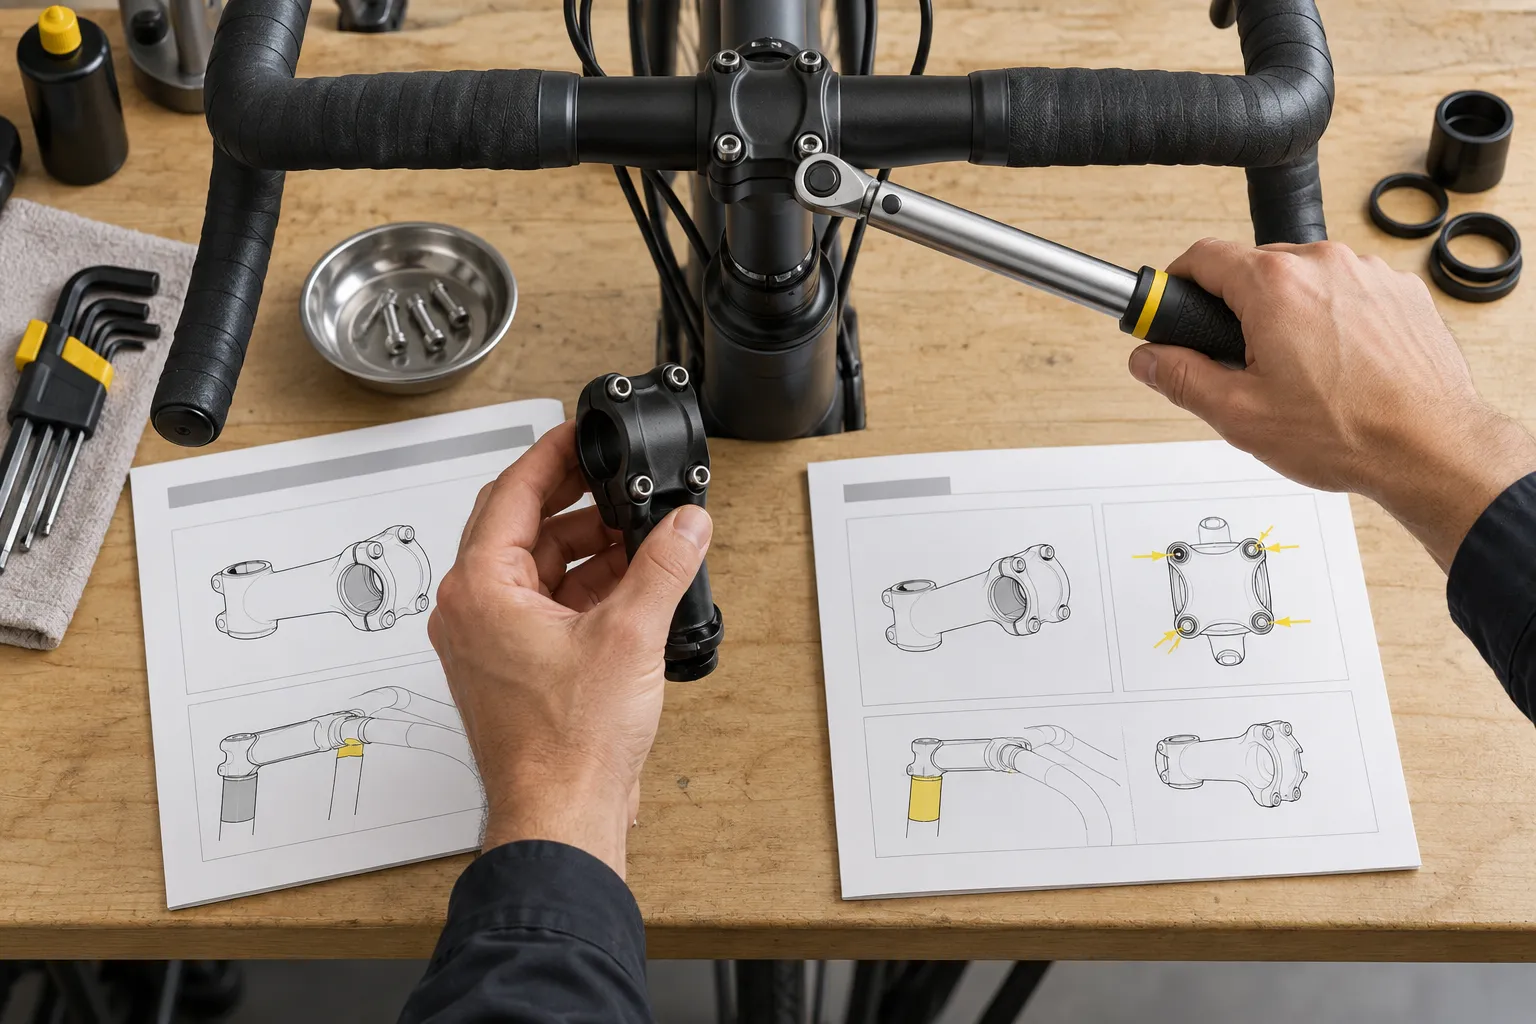
Name the joint before searching for a number
“Crank bolt,” “stem bolt,” and “top cap” are not precise enough. Record:
- bicycle make, model, size, and model year;
- component maker and exact model code;
- which fastener you are touching;
- bolt diameter, head type, and quantity;
- the two materials being clamped;
- whether the threads are specified dry, greased, or treated with threadlocker;
- whether washers, spacers, wedges, or proprietary hardware are present.
A stem faceplate bolt clamps the handlebar. A stem steerer-clamp bolt holds the stem on the steerer. The top-cap bolt normally applies headset bearing preload before the steerer-clamp bolts are secured. Those three fasteners can sit centimetres apart and do different jobs.
If headset play remains, do not solve it by blindly increasing top-cap torque. Confirm the stem clamp is loose during preload, the top cap is pressing the spacer stack rather than bottoming on the steerer, and the bearings and compression hardware are assembled correctly. Use the loose-headset checklist before adding force.
Use a source hierarchy
Check sources in this order:
- A torque marking on the exact component, interpreted with its manual.
- The current manufacturer service or dealer manual for the exact model code.
- The bicycle maker’s manual for a proprietary frame interface or supplied hardware.
- Written clarification from the responsible manufacturer or distributor.
- A qualified shop with access to the correct technical documents.
Shimano publishes model-specific dealer manuals and a separate torque chart, but the chart itself contains model and interface distinctions. That is why copying a value from a visually similar part can fail.
A retailer listing, forum comment, search snippet, or universal workshop chart can help you find the right terminology. It should not overrule the exact current document.
Decide which manufacturer owns the interface
Sometimes two makers are involved. A brake rotor bolt threads into the hub, a crank interfaces with a bottom bracket and spindle, and a seatpost clamp loads both the post and frame.
The component manual usually controls its own fastening procedure, while the frame or hub maker may impose a lower limit on the part receiving the bolt. If one source says 6 N·m and the mating carbon part says “maximum 5 N·m,” the conflict needs clarification; it is not an invitation to pick one.
Write down both document titles, revision dates, model codes, and the exact lines that conflict. Send that compact evidence to the manufacturers or a shop. Do not describe the part only as “a road-bike crank.”
Thread condition changes the result
Torque is an indirect way of creating clamping force. Friction at the threads and under the bolt head affects how much clamping force a given wrench reading produces. Grease, retaining compound, pre-applied threadlocker, carbon assembly paste, washers, and reused hardware can all change the assembly procedure.
Follow the specified preparation. Do not add lubricant to a fastener that is meant to be dry, and do not assume threadlocker is interchangeable with grease. Read grease or threadlocker on bike bolts for the decision process.
Replace damaged, corroded, stretched, or rounded hardware with the exact approved type. A stronger-looking hardware-store bolt is not automatically a safe substitute.
Make sure the wrench fits the job
A large automotive torque wrench may be inaccurate or difficult to control near the bottom of its range. Use a wrench whose working range comfortably includes the target, with the correct undamaged bit fully seated.
Before tightening:
- inspect the threads and bolt head;
- set the units carefully—N·m, lbf·in, and lbf·ft are not interchangeable;
- confirm whether the stated figure is a single value or a range;
- snug multi-bolt clamps evenly in the stated sequence;
- keep the wrench loaded smoothly at its handle;
- stop at the first clear click unless the tool’s instructions say otherwise.
For faceplates, rotors, and other multi-bolt parts, tightening one bolt fully while the others are loose can distort the component or create an uneven gap. Use the maker’s sequence and approach final torque progressively.
If you are deciding whether this belongs in your home toolkit, read whether you need a torque wrench.
Treat abnormal behaviour as evidence
The target number does not make an abnormal joint acceptable. Stop if:
- a crank or bearing becomes harder to turn as a fixing is tightened;
- a headset still knocks after the correct preload sequence;
- a clamp gap closes on one side but remains wide on the other;
- a bolt turns without the reading rising;
- carbon makes a new cracking sound or visibly deforms;
- the bit, bolt head, or thread starts to fail;
- the component moves after the specified procedure.
These signs can point to missing spacers, wrong hardware, cross-threading, damaged threads, an incompatible part, a bottomed fastener, or an incorrect document. More torque can turn a diagnosis problem into a broken component.
Build a one-bike torque record
Once each value is verified, make a small record for your bicycle. Include the component model, fastener location, value or range, preparation, source link, and manual revision date. Photograph markings that may disappear under tape or accessories.
This is safer than a generic wall chart because it represents the bike you actually service. Recheck it whenever a component changes or the manufacturer updates its instructions.
Your next step
Stop turning the wrench. Photograph the joint, record every model code, and find the current exact manuals. If the values still conflict—or the joint behaves abnormally—send both sources to the responsible manufacturer or a competent shop before riding.
Sources and further reading
- Shimano: current bicycle torque chart
- Park Tool: torque specifications and concepts
- r/bikewrench demand signal: a torque value that caused binding and a disputed headset top-cap figure — used as an editorial question signal, not as service data.
- r/bikewrench demand signal: finding the exact torque for six-bolt brake-rotor hardware — used as an editorial question signal, not as a substitute for the manual.