Can an online bike-fit video tell you whether your road bike fits?
Use a side or rear cycling video as observation evidence—not a diagnosis—with a reliable recording setup, symptom log, and clear limits for remote advice.
 Field guide / can-online-bike-fit-video-help
A bike-fit video can reveal visible patterns and make a remote conversation more specific. It cannot, by itself, prove that a bicycle fits, identify the cause of pain, or justify a structural or medical conclusion. Treat video as one observation alongside symptoms, measurements, riding goals, history, and an appropriate professional assessment.
The short answer: a clear side and rear video may show repeatable movement, joint range, control reach, and position changes under load. It cannot show what you feel, why a movement occurs, whether a hidden part is safe, or how the position behaves outside the filmed effort. Use it to form questions, not to crowdsource a diagnosis.
Why one clip attracts opposite answers
A recent high-engagement bike-fit thread asked readers to assess a revised position from short side and rear videos. Responses disagreed about frame size, saddle height, reach, crank length, and other causes. That disagreement is itself useful reader context.
Viewers may be seeing:
- different moments of the pedal stroke;
- lens distortion or an off-centre camera;
- a trainer that is not level;
- a few seconds at an unrepresentative effort;
- a rider consciously holding a pose;
- clothing that hides landmarks;
- symptoms and history that were never recorded;
- connected variables that cannot be separated visually.
A confident answer is not necessarily a well-supported answer.
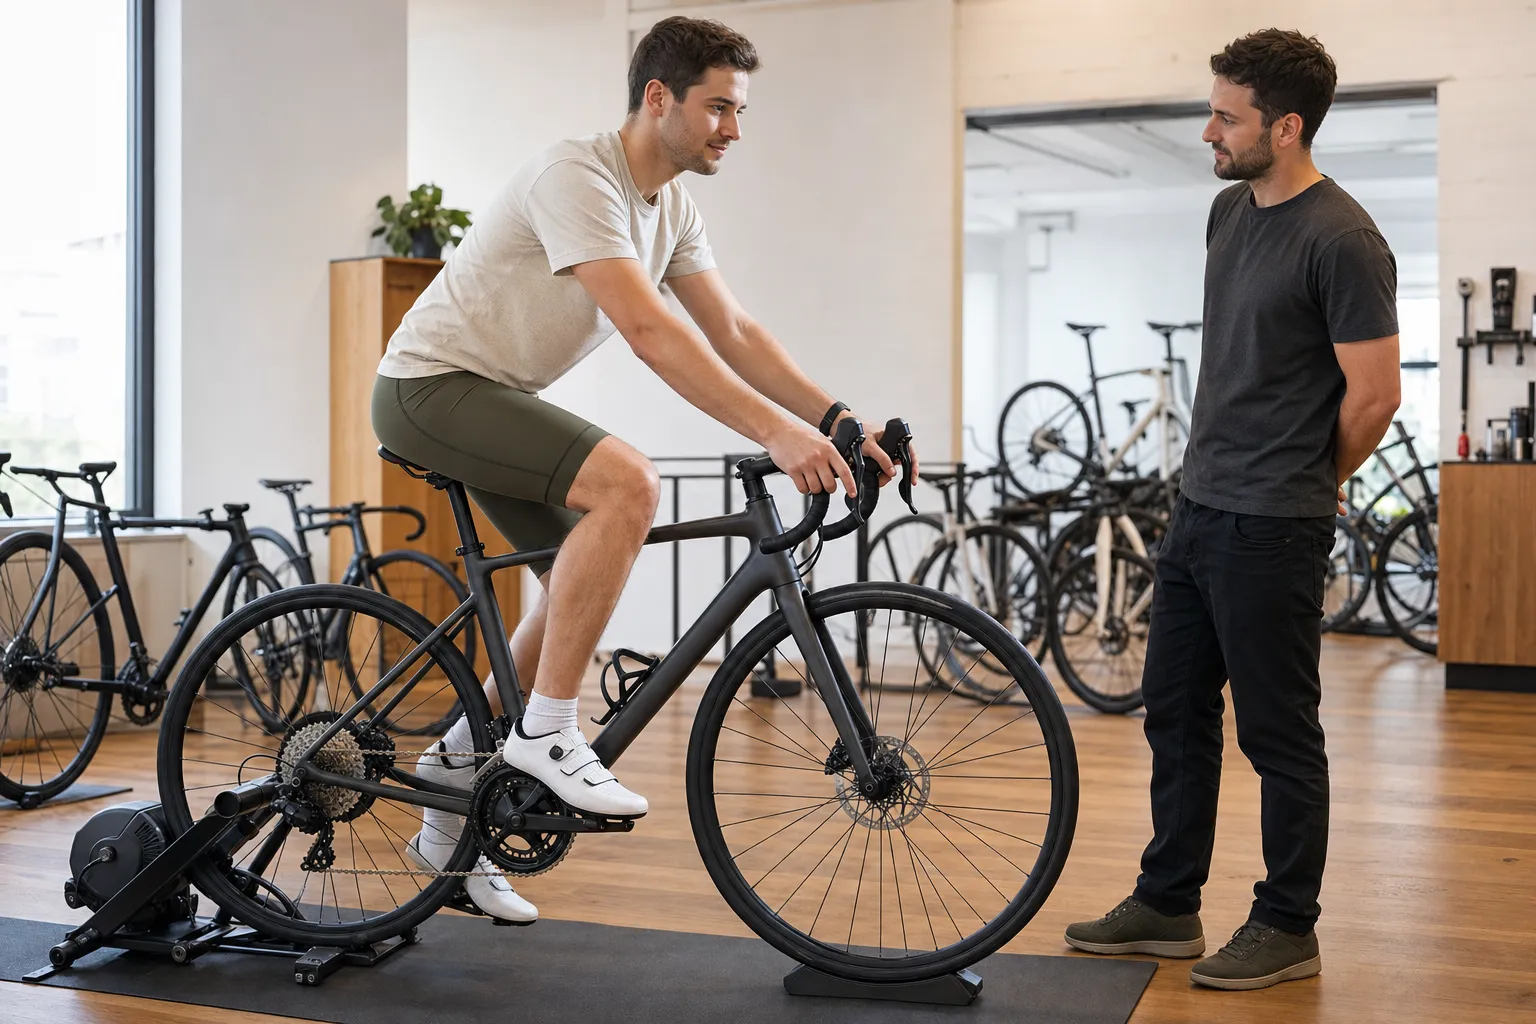
What a good video can help you observe
Clear footage can support questions such as:
- Do the hips visibly rock at the filmed effort?
- Does the rider repeatedly reach for the bottom of the pedal stroke?
- Are elbows locked and shoulders raised on the hoods?
- Can fingers reach and operate both brake levers?
- Does one knee track differently from the other in this view?
- Does the rider slide forward during several minutes?
- Does posture change as effort rises?
- Did one documented adjustment change the visible pattern?
Those are observations, not causes. Hip movement might relate to saddle height, stability, injury, leg-length difference, cleat setup, fatigue, trainer levelling, or another factor. A video cannot choose among them without additional assessment.
What the clip cannot certify
Do not use a public video to declare:
- that pain is caused by one joint angle;
- that a frame, fork, saddle, shoe, or crank is medically safe for the rider;
- that a crack, loose cockpit, bearing fault, or other mechanical concern is harmless;
- that a position will remain comfortable after several hours;
- that asymmetry is an injury or should be corrected;
- that a numerical angle is accurate without camera and landmark controls;
- that a fitter’s qualification or process is sound;
- that one change will prevent injury or improve performance.
The International Bike Fitting Institute describes professional fitting as an educational field with standards and continuing development. A qualified remote service may use video as part of a larger intake and follow-up process; that is different from posting an isolated clip for anonymous reactions.
Record footage that is actually comparable
If you want useful remote feedback, standardise the recording.
Set the bike and camera
- Use a stable trainer only if you already know how to mount and use it safely.
- Level the bike according to the trainer and bicycle instructions.
- Use the normal shoes, pedals, shorts, and hand position.
- Place the phone on a fixed support, not in another person’s moving hand.
- For the side view, position the lens roughly perpendicular to the bicycle and far enough away to reduce wide-angle distortion.
- Keep the complete rider, bicycle, and contact points in frame.
- Record separate side and rear views without moving the bike setup.
Do not stand in the drivetrain or flywheel path. Do not film on a public road.
Record representative effort
Warm up normally, then record at the effort where the issue occurs if doing so is safe. Capture long enough to include many pedal cycles, not one selected still. If symptoms only begin after an hour, say that plainly rather than pretending a fresh two-minute clip reproduces them.
Do not provoke significant pain for the camera. Stop the session if numbness, weakness, loss of control, dizziness, or worsening pain occurs.
Supply the missing context
Send the video with:
- bike make, model, size, and published geometry;
- crank length, stem length, bar reach, and spacer arrangement where known;
- saddle height measured with a repeatable method;
- shoe, pedal, and cleat system;
- riding goal, normal ride duration, terrain, and intensity;
- symptom location, quality, onset time, and how long it lasts;
- crash, injury, surgery, or relevant clinical history shared only with an appropriate professional;
- every recent position or equipment change;
- before-and-after measurements and videos when comparing an adjustment.
Avoid posting personal health information, home details, serial numbers, faces, location data, or identifiable backgrounds publicly. A professional intake should explain how recordings and health information are stored and used.
Ask for observations before prescriptions
Better remote questions sound like:
- “What repeatable movement do you see, and at what point in the pedal stroke?”
- “Which extra view or measurement would distinguish the leading explanations?”
- “What is the smallest reversible change worth testing?”
- “What should remain unchanged during that test?”
- “What result means I should restore the baseline?”
- “Does this require an in-person fitter, mechanic, or clinician?”
Be cautious when advice jumps directly from appearance to buying shorter cranks, a new saddle, pedal extenders, a different frame, or several simultaneous changes. Expensive certainty from incomplete evidence is still incomplete evidence.
A safe one-change test
If a competent fitter recommends a small adjustment within the component limits:
- Photograph and measure the baseline.
- Confirm the exact adjustment and torque procedure.
- Change one variable only.
- Repeat the same camera setup, clothing, hand position, and controlled effort.
- Complete a short, low-risk real-world ride if symptoms have settled and it is appropriate.
- Record comfort during the ride and later that day, not only the new angle.
- Restore the baseline and seek follow-up if the result is worse or unclear.
Do not use a fit experiment to override pain. If a previous fit made symptoms worse, follow the post-fit pain response guide rather than stacking another change on top.
Choose the right kind of help
- Mechanic: loose, damaged, slipping, incorrectly assembled, or incompatible parts.
- Bike fitter: position, control access, contact points, and cycling-task assessment.
- Qualified clinician: persistent pain, numbness, weakness, swelling, injury, or loss of function.
- Combined care: symptoms and fit variables are interacting.
Check qualifications, scope, follow-up policy, data handling, and whether the service can refer outside its expertise. A polished overlay of joint angles is a tool, not a guarantee of clinical or fitting judgment.
Your next step
Before posting a clip, build a private fit record: two stable camera views, bike measurements, current setup photos, and a symptom timeline. Use beginner bike fit and comfort to name the variables. Then send the complete record to an appropriate professional with one specific question.