Will a cycling camera make road riding safer?
Choose and use a bicycle camera for useful incident evidence while understanding that recording does not replace route choice, visibility, road position, or an emergency plan.
 Field guide / cycling-camera-safety-and-evidence
A cycling camera can preserve evidence and sometimes help a report, but it does not stop a driver from hitting you. Buy one as a recording and accountability tool, not as a protective shield. Your route, visibility, road position, speed, escape space, and decision to stop riding remain the primary controls.
The short answer: choose enough battery life, loop recording, stable mounting, and real plate detail for your rides. Keep the original file and follow local reporting rules. Do not sacrifice safe riding or helmet integrity for a better angle.
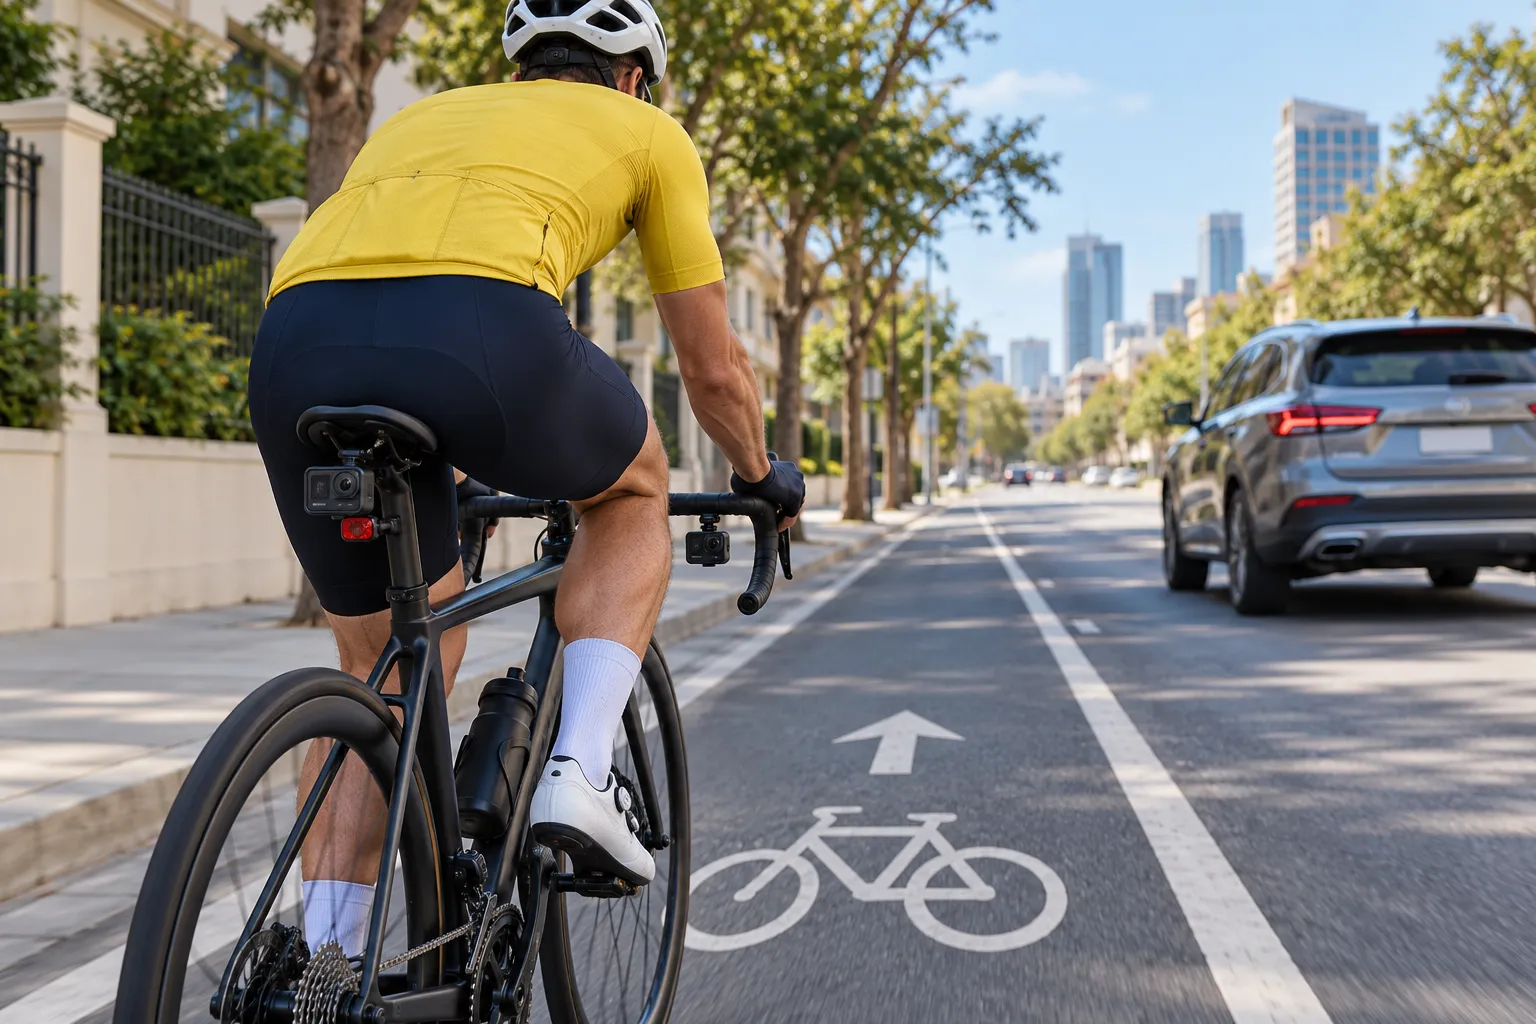
Decide what job the camera must do
There are three common goals:
- Incident evidence: continuous front or rear recording with enough context and detail to support a report.
- Ride memories: attractive stabilized footage, often with shorter practical runtime.
- Live awareness: a rear-facing device may pair camera recording with radar or a display, depending on the product.
Do not assume one device excels at all three. Evidence use favours reliability, loop recording, simple file locking, and runtime. Scenic video favours image quality and stabilization. Rear awareness is a different function; read whether rear radar is worth it separately.
Front, rear, or both?
A front camera can show road position, signals, the approach to a junction, and what happened ahead. A rear camera can show the approach and passing path of a vehicle. Both provide more context, but double the charging, storage, mounting, and file-management work.
If you can buy only one, choose based on the incidents you are trying to document and what your local reporting process needs. A rear plate view may matter for a close pass, while a front view may better show the full lead-up to a junction conflict. No angle guarantees a readable registration.
Test plate detail, not the box resolution
High resolution on a specification sheet does not guarantee useful evidence. Motion blur, vibration, rain, low light, compression, lens angle, dirty glass, and distance can erase details.
Run a realistic test on a lawful route:
- Mount the camera where intended.
- Ride at your normal speed in daylight and low light.
- Let a known vehicle pass safely.
- Review the original file, not a messaging-app copy.
- Pause frames before, during, and after the pass.
- Confirm the time setting and whether audio is useful and lawful locally.
Check whether the battery lasts longer than your normal ride with a safety margin. Confirm the memory card capacity, supported card specification, loop length, overwrite behaviour, and how to protect a clip before it is erased.
Mount it without creating a new hazard
Bike mounts keep added hardware off the helmet and can be attached to the handlebar, seatpost, saddle rails, or a compatible accessory mount. The view must remain unobstructed, and the camera must not interfere with steering, cables, knees, lights, bags, or tyre clearance.
Use a tether only if the camera maker supports it and route it so it cannot enter a wheel. After mounting, turn the bars fully both ways and compress or flex anything that could move in normal use.
Do not drill, cut, glue, or bolt accessories through a helmet. Follow the helmet and camera manufacturers’ instructions. An unsupported helmet mount can affect breakaway behaviour, concentrate load, or void the helmet maker’s guidance.
Keep required lights visible. A camera is not a substitute for the appropriate be-seen and see-the-road lights.
Preserve evidence methodically
Reporting rules vary by country and police force, so check the authority responsible for the incident. Many systems want the original, unedited footage, correct date and time, location, registration, and context before and after the event.
If something serious happens:
- Get yourself out of immediate danger.
- Call emergency services when anyone is injured or danger continues.
- Do not chase or confront the other road user.
- Lock the clip or stop recording before loop mode overwrites it.
- Back up the original file without editing or recompressing it.
- Write the time, location, vehicle description, witnesses, and what you observed.
- Follow the local collision or incident-reporting route promptly.
- Keep the original and avoid posting it publicly while a report or claim is active.
North Yorkshire Police’s Operation Snap, for example, asks for original unedited footage plus accurate time, location, registration, and a statement. The Metropolitan Police explains that footage before and after an event provides decision-makers with context. Your local requirements may differ.
Understand what recording cannot do
A conspicuous camera may affect behaviour, but you cannot rely on another road user noticing or caring. Video also cannot guarantee police action, identify an unreadable plate, replace witnesses, or prevent injury.
Keep the larger safety plan:
- choose lower-exposure routes and times;
- use a visible, predictable road position;
- maintain brakes, tyres, and lights;
- avoid riding when conditions exceed your skill or comfort;
- tell someone your route when appropriate;
- carry identification and an emergency contact method;
- leave a dangerous road rather than continuing for the sake of footage.
Use the road-cycling risk-reduction plan if fear or repeated incidents are making you reconsider riding. A camera can be one layer, not the whole answer.
Buy around the failure points
Before choosing a product, compare:
- tested runtime at your chosen recording mode;
- loop recording and one-button clip protection;
- weather resistance and operating-temperature range;
- image detail in motion and low light;
- mount security and replacement-mount availability;
- memory-card requirements and file size;
- charging time and whether it records while powered;
- date and time reliability;
- microphone controls and local privacy rules;
- warranty, firmware support, and export workflow.
Avoid paying for streaming, editing, or social features if the real job is dependable evidence.
Your next step
Write one sentence describing the evidence you need, then test a candidate’s complete workflow: mount, record a normal ride, find the incident minute, preserve the original, and check your local reporting portal. If any step fails, the camera is not ready.
Sources and further reading
- North Yorkshire Police: Operation Snap evidence requirements
- Metropolitan Police: why road-incident footage needs surrounding context
- Police.uk: road collision and incident reporting
- r/cycling demand signal: choosing a camera after road-safety concerns — used as an editorial question signal; individual product claims were not treated as verified.
- r/cycling demand signal: high-engagement discussion about reducing road-riding exposure — used as a demand signal, not as evidence about risk.