Should you convert an old geared bike to single-speed?
Check dropouts, chain tension, chainline, brakes, gearing, and conversion cost before removing a working derailleur from an older bike.
 Field guide / convert-geared-bike-to-single-speed
Converting an old geared bike to single-speed can create a simple, durable utility bike, but removing derailleurs is not automatically an upgrade. The frame must provide a safe way to tension the chain, the rear wheel must accept a suitable sprocket, and the chosen gear must work on your real roads.
The short answer: keep a functioning geared bike geared unless simplicity solves a specific problem. A practical single-speed conversion is easiest with horizontal or sliding dropouts. A frame with vertical dropouts normally needs a purpose-made tensioner or another engineered solution; it should not be treated as a fixed-gear conversion.
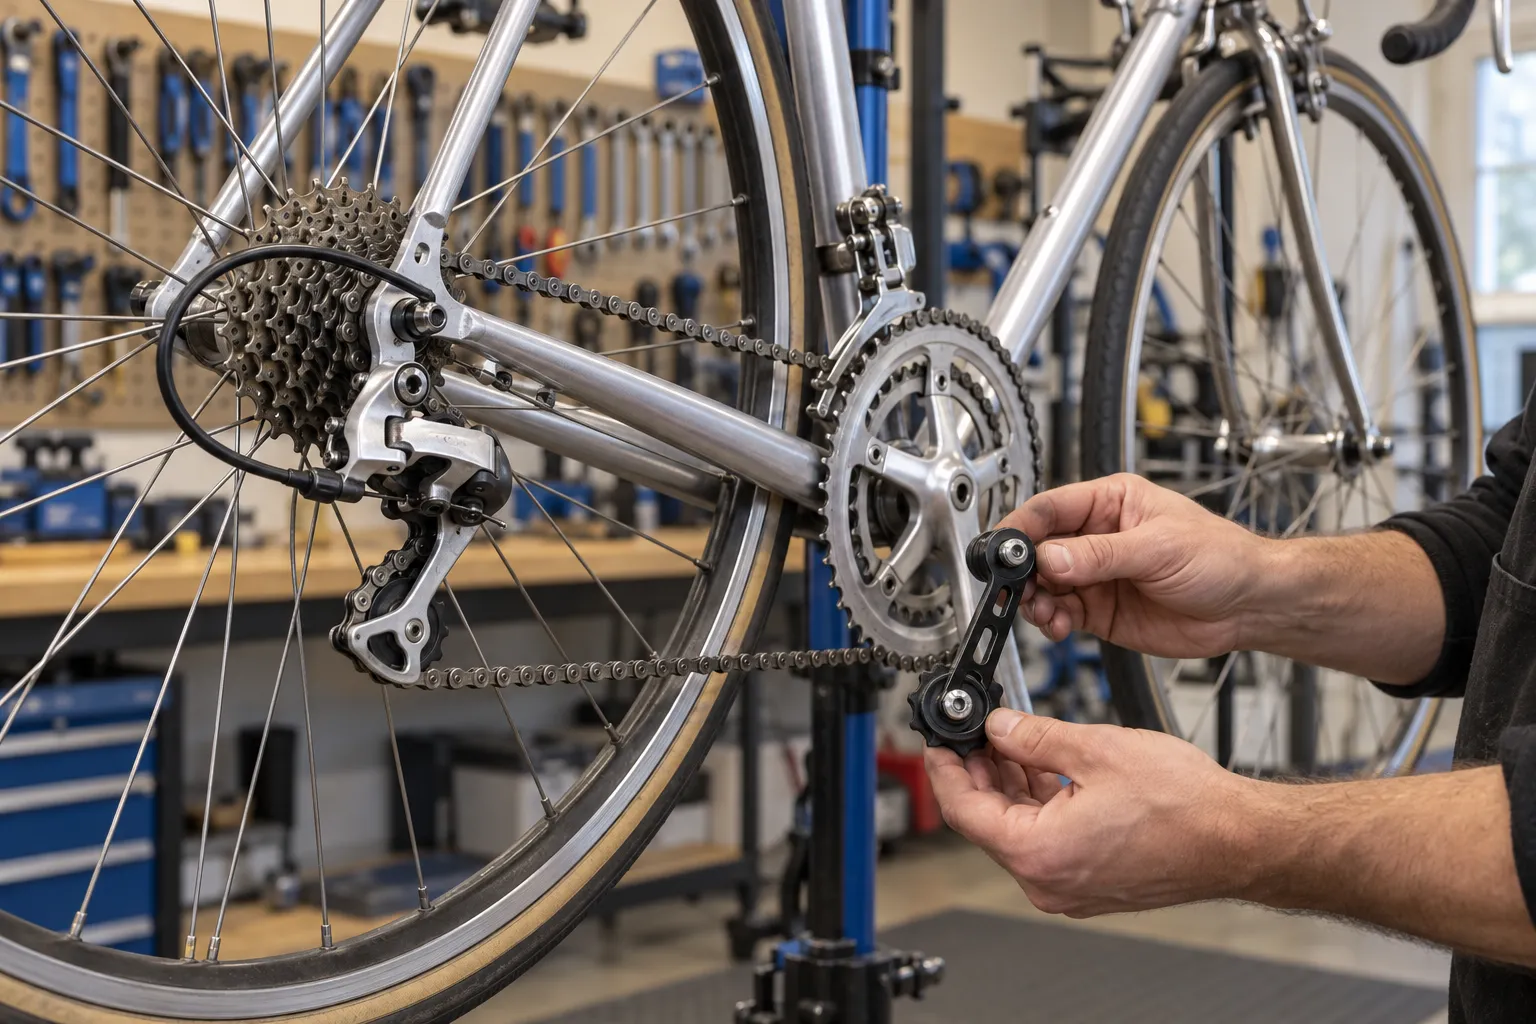
First decide what problem you are solving
Good reasons include building a low-maintenance flat-city bike, replacing an uneconomical damaged drivetrain, or creating a wet-weather commuter from a compatible frame. Weak reasons include assuming one gear will make a heavy bike light, copying a minimalist look, or avoiding a small adjustment on an otherwise useful drivetrain.
A recent high-engagement r/bikewrench thread began with an owner asking where to start with an old geared bike and a possible fixie or single-speed conversion. The useful lesson was not the exact parts list in the replies. It was the distinction between vertical dropouts, which prevent sliding the wheel to set chain tension, and frames designed for that adjustment.
Before buying parts, service the existing bike enough to identify the actual fault. A sticky cable, worn chain, bent hanger, or dirty derailleur may cost less to correct than a conversion. Use our condition-based maintenance log to decide from evidence.
Single-speed and fixed gear are not the same
A single-speed bike has one gear ratio and a freewheel or freehub that lets you coast.
A fixed-gear bike connects the rear sprocket directly to the hub, so the pedals turn whenever the rear wheel turns. It requires a hub and lockring system designed for fixed use, correct chain tension, suitable wheel retention, and riding skill. A cassette sprocket placed on an ordinary freehub does not become fixed by wishful thinking.
This guide covers a coasting single-speed utility conversion. Do not remove road-legal brakes or rely on resisting the pedals as your only stopping method. Local brake laws vary; check the rules where you ride.
Check the rear dropouts
Look where the rear axle enters the frame.
- Horizontal or rear-facing dropouts allow the wheel to slide forward and backward, which can set chain tension.
- Sliding or eccentric systems provide a built-in adjustment method.
- Vertical dropouts place the axle at a fixed point. A normal derailleur takes up chain slack; remove it and the chain usually cannot be tensioned by moving the wheel.
A purpose-made chain tensioner can make some vertical-dropout bikes work as coasting single-speeds. It occupies the derailleur-hanger area and guides the chain. Compatibility still depends on hanger, chainline, sprocket, chain, frame clearance, and the tensioner’s instructions.
An “exact-length” or “magic gear” that happens to produce tension without a tensioner is vulnerable to manufacturing tolerances and chain wear. It is not a dependable everyday plan unless the complete setup is specifically engineered and checked.
Check the rear hub and sprocket plan
Identify whether the wheel uses a cassette and freehub, a threaded freewheel, or another system. Our cassette-versus-freewheel guide shows the visual difference.
Common conversion routes include:
- a single sprocket and purpose-made spacers on a compatible cassette freehub;
- a single-speed freewheel on a compatible threaded hub;
- a replacement wheel or hub built for single-speed use.
Spacers are not cosmetic. They position the rear sprocket so it aligns with the selected front chainring. Confirm that the lockring has adequate thread engagement and that every part matches the hub standard. Do not assemble a random stack of loose cassette spacers and assume the sprocket is secured.
Price a compatible complete wheel before rebuilding an unsuitable old one. The cheapest-looking path can become the most expensive after tools, axle spacing, worn bearings, a replacement freehub, and wheel labour.
Build a straight chainline
Viewed from above, the chain should run as straight as practical from the chosen front chainring to the rear sprocket. Park Tool’s roadside single-speed guidance stresses a straight chainline because misalignment makes derailment more likely.
Measure from the bicycle centreline to the centre of each sprocket, or use a reliable straightedge and the component maker’s dimensions. Move the rear sprocket with approved spacers when the system allows. Selecting the inner or outer front chainring position may help, but chainring bolts and spacers must remain correct for the resulting arrangement.
Do not keep a worn multi-speed chainring merely because one row of teeth looks straight. Check tooth condition, bolt security, and chain compatibility. Narrow-wide teeth are not a substitute for correct tension and chainline on every system.
Choose a gear for the hardest normal condition
Gear choice is a compromise between starting, climbing, cruising, and cadence. Count front chainring and rear sprocket teeth. Dividing front teeth by rear teeth gives the basic ratio: a larger number is harder to turn for a given wheel size.
Do not copy another rider’s ratio without their wheel size, terrain, load, and fitness. Choose for the steepest hill, headwind, cargo, and stop-start traffic you will encounter regularly—not your fastest flat section.
Keep the old derailleur working while you test candidate ratios. Select one front ring and one rear cog, avoid a severely crossed chain, and ride representative roads without shifting. That free experiment reveals more than an online ratio argument.
If one usable gear does not exist for your route, the answer is gears.
Price the complete conversion
Depending on the bike, the bill can include:
- sprocket or freewheel;
- freehub spacers and lockring;
- compatible chain and possibly chainring;
- chain tensioner;
- replacement wheel or hub;
- chainring bolts and spacers;
- tools for cassette, freewheel, chain, crank, and torque-controlled assembly;
- workshop labour and a safety check.
Keep working brake levers even if they once contained integrated shifters. Removing a front derailleur can simplify the cockpit, but make sure unused cable stops and frame openings are protected appropriately.
Compare that total with repairing the gears and with buying a used purpose-built single-speed. Conversion makes sense when the frame fits, the parts are standard, and the project itself has value to you.
Check the finished bike
Before road use:
- Confirm both brakes work and pads contact the intended braking surface.
- Verify axle or thru-axle security according to the manufacturer.
- Turn the cranks through several full revolutions and check for tight and loose chain spots.
- Inspect chainline from front and rear.
- Apply side load to the chain during a workshop check; it should not derail.
- Confirm the crank, chainring, sprocket, lockring, tensioner, and wheel hardware are secure.
- Run a quiet low-speed test away from traffic, then recheck everything.
Park Tool gives chain-movement guidance for purpose-built single-speed systems with movable axles, but follow the instructions for your actual frame and tensioner rather than importing one generic measurement into every conversion.
Your next step
Photograph the rear dropout and identify the hub before ordering anything. Then write down two costs: restoring the existing gears and completing a safe single-speed conversion. Choose only after both lists include tools and labour.