A bike tyre blew out: Do you repair it or replace the bike?
Inspect the tyre, tube, rim, tape, and wheel after a blowout so you replace the failed part—not an otherwise serviceable bicycle.
 Field guide / bike-tyre-blowout-repair-or-replace-bike
Before you buy
Check the starter kit first
Print the one-page buying brief for helmet, lights, water, phone, and repair compatibility before comparing upgrades.
A tyre blowout almost never means the whole bicycle is finished. It usually means a tube, tyre, rim tape, valve, or tubeless component failed. The safe response is to find the cause and inspect the wheel before buying parts or inflating again.
The short answer: replace the bicycle only if inspection reveals serious frame or fork damage that is uneconomical or unsafe to repair. For an ordinary blowout, repair or replace the damaged wheel-system part and confirm why it failed.
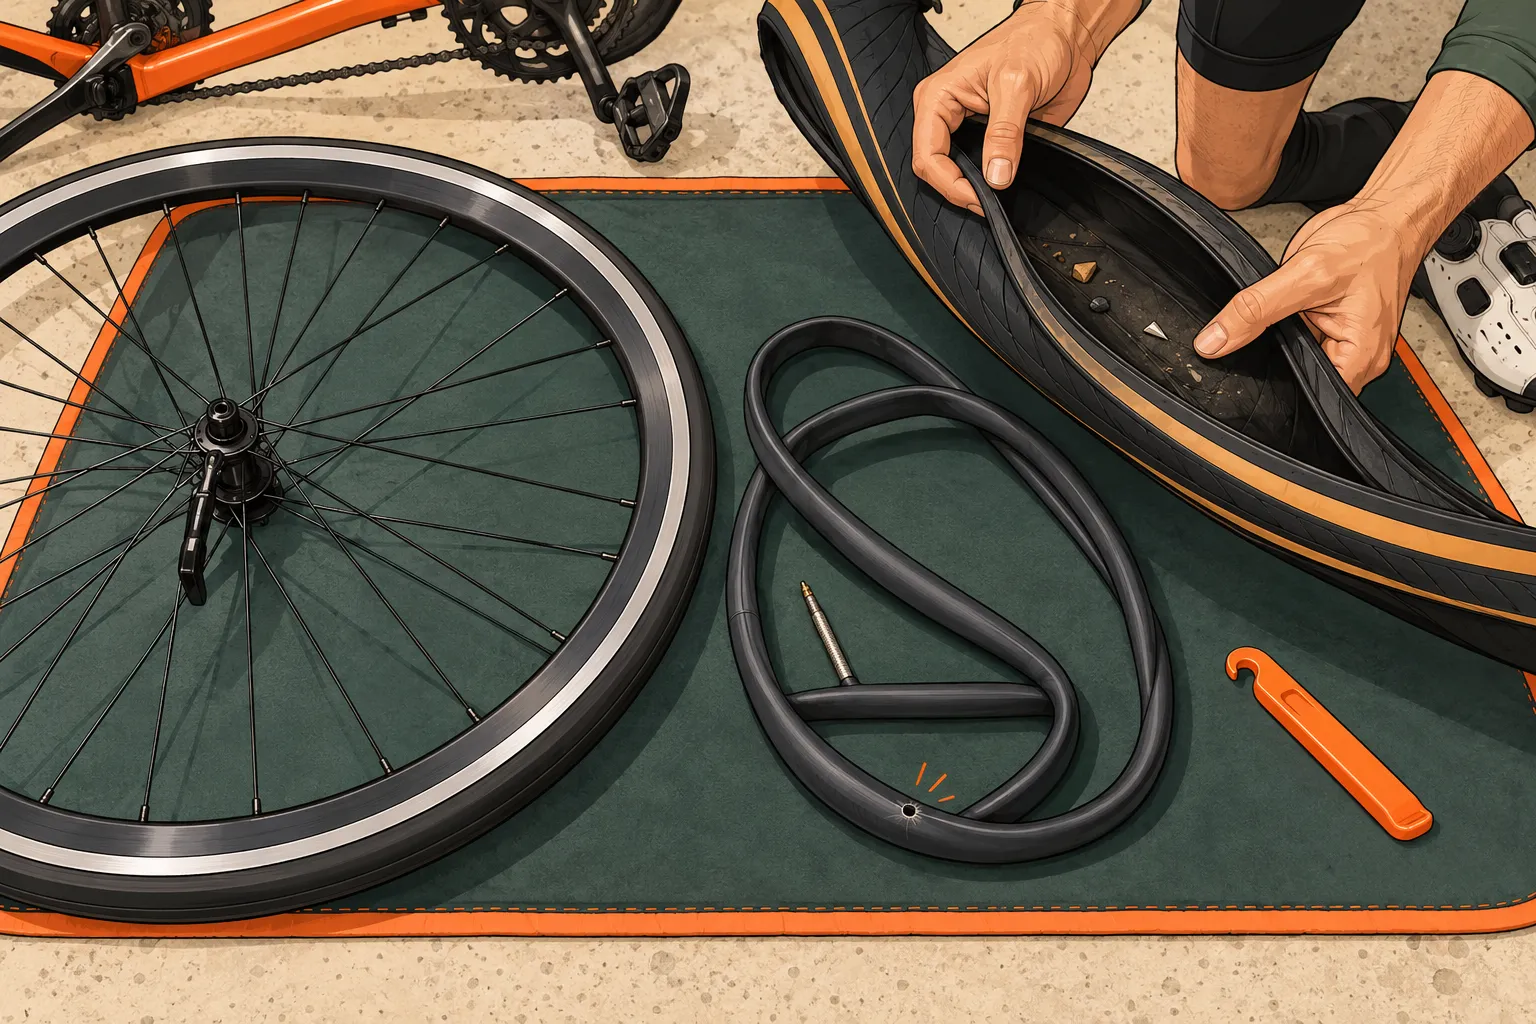
First decide whether it was a blowout or a flat
Riders often call every sudden loss of air a blowout. The distinction matters less than the evidence:
- a small hole from glass, wire, or a thorn;
- two parallel tube cuts from the rim pinching an underinflated tyre;
- a split tube near the valve;
- a tube escaping through a tyre or rim-tape gap;
- a tyre bead that came off the rim;
- a casing cut, bulge, or separated tread;
- tubeless air and sealant escaping faster than the hole can seal.
Note the pressure used, how recently the wheel was installed, whether the tyre was soft beforehand, and whether the wheel hit a pothole. Photograph the damage before moving parts if the failure was severe.
Stop if the wheel or tyre has structural damage
Remove the wheel and deflate it fully. Do not reinflate until you have checked:
Tyre
Replace a tyre with exposed casing fabric, a damaged or distorted bead, a bulge, extensive cracking, delamination, or a cut that will not safely support pressure. Continental’s care instructions specifically call for replacing worn, brittle, cracked tyres or those with visible carcass fabric.
A tiny tread puncture may only require removing the debris and repairing the tube or tubeless system. A sidewall cut needs a stricter decision because the sidewall flexes and holds pressure.
Rim and rim tape
Check the rim for cracks, dents, sharp burrs, deformation, heat damage on a rim-brake track, or a hook that no longer retains the tyre. Inspect rim tape around every spoke hole and at the valve. Tape that has shifted, torn, or sunk into a hole can puncture a tube from the inside.
Do not try to hide a damaged rim edge with thicker tape. A mechanic should assess uncertain wheel damage.
Tube, valve, or tubeless parts
Match the hole in the tube to its position in the tyre and rim. This often reveals the cause. A valve torn from the tube can indicate tyre creep, incorrect installation, very low pressure, or a sharp valve-hole edge. The valve-stem failure guide covers that diagnosis.
For tubeless systems, inspect the bead, tape, valve, sealant level, and tyre/rim compatibility. Do not assume adding more sealant will repair a cut or damaged bead.
Replace only what failed
Use this decision ladder:
- Debris plus a small tube puncture, tyre intact: remove the debris and patch or replace the tube.
- Repairable tubeless tread puncture: use the system maker’s approved plug or internal repair and pressure guidance.
- Damaged tyre casing or bead: replace the tyre, even if a new tube would hold briefly.
- Failed rim tape: fit the correct width and type of tape, then replace or repair the tube as needed.
- Damaged rim, hub, spokes, fork, or frame: do not ride; obtain a competent inspection and repair estimate.
Only the final category might make replacing the bicycle sensible, and even then the decision depends on bike value, part availability, and whether the damaged structure can be safely replaced.
Reassemble without causing the next failure
Follow the complete road-bike puncture repair process. Before full pressure:
- confirm no sharp object remains in the tyre;
- make sure the tube is not trapped under the bead;
- verify the bead line is even around both sides;
- inflate gradually while watching for a bulge or bead lift;
- stay within the rim and tyre manufacturer’s compatible pressure limits;
- reinstall and secure the wheel correctly;
- test both brakes before riding.
Schwalbe notes that the tyre’s permissible pressure range is marked on its sidewall. That is a boundary, not an instruction to always use the maximum.
Your next step
Lay the removed tyre, tube, and wheel in the same orientation, then mark the puncture and trace it to the matching point. Do not install the replacement until you can explain the most likely cause or a mechanic has inspected it.
Sources and further reading
- Continental bicycle tyre use and care instructions — replacement indicators and tyre-care cautions.
- Schwalbe: bicycle tyre pressure — explains pressure loss and sidewall pressure ranges.
- Park Tool: tyre and tube removal and installation — installation sequence and pressure check.
- r/cycling beginner-bike discussion — used as an editorial signal after a new rider considered replacing a liked bicycle following a front-tyre failure; the individual’s story was not reused.