Why does a Shimano Di2 battery drain so quickly?
Diagnose unusually fast Shimano Di2 battery drain with a charge log, connection checks, model-specific adjustment, and official system diagnostics.
 Field guide / why-shimano-di2-battery-drains-quickly
A Shimano Di2 battery that suddenly lasts days or weeks instead of its previous normal interval has a fault to investigate. Do not assume the battery is simply “old,” and do not turn rear-derailleur limit screws by guesswork. First prove the drain with a controlled full charge, then identify the exact Di2 generation and check adjustment, connections, crash damage, firmware status, and battery condition using that system’s current Shimano procedure.
The short answer: fully charge the correct battery with the correct charger, record the indicated level and date, leave the bike undisturbed, and recheck it. If charge falls abnormally, inspect for a derailleur pressing against a stop, damaged wires or ports, incomplete connections, stuck buttons, and impact damage. Use Shimano’s model-specific manual and E-TUBE diagnostics; rapid drain is not reliably diagnosed from one screw position or one app percentage.
Establish that the drain is real
Battery indicators are useful, but a single reading is not a test. Build a small log:
- Record the battery, rear derailleur, front derailleur, shifter, and charger model numbers.
- Inspect the charging port and plug for moisture, dirt, damage, or incomplete engagement.
- Charge exactly as the applicable Shimano user manual describes, until the stated completion indication appears.
- Record the date, indicated charge level, firmware versions, and whether the bike was ridden.
- Leave the bike somewhere dry and within the storage temperature limits in its manual.
- Recheck at consistent intervals without making adjustments between readings.
Also note how many shifts, rides, and charging cycles occurred. “It used to last months” is a useful warning; dates and battery readings make it actionable.
If the battery level stays stable while parked but falls rapidly during riding, load, adjustment, a damaged component, or repeated unwanted commands becomes more plausible. If it falls while untouched, the battery, wiring, a connected unit, or another electrical fault deserves formal diagnosis.
Do not use limit screws as a battery experiment
A current r/bikewrench question asked whether a rear derailleur pressing against incorrectly set limits could explain a 105 Di2 battery discharging much faster than before. That is a valid reason to inspect adjustment, but the thread is an editorial signal—not a diagnosis for another bicycle.
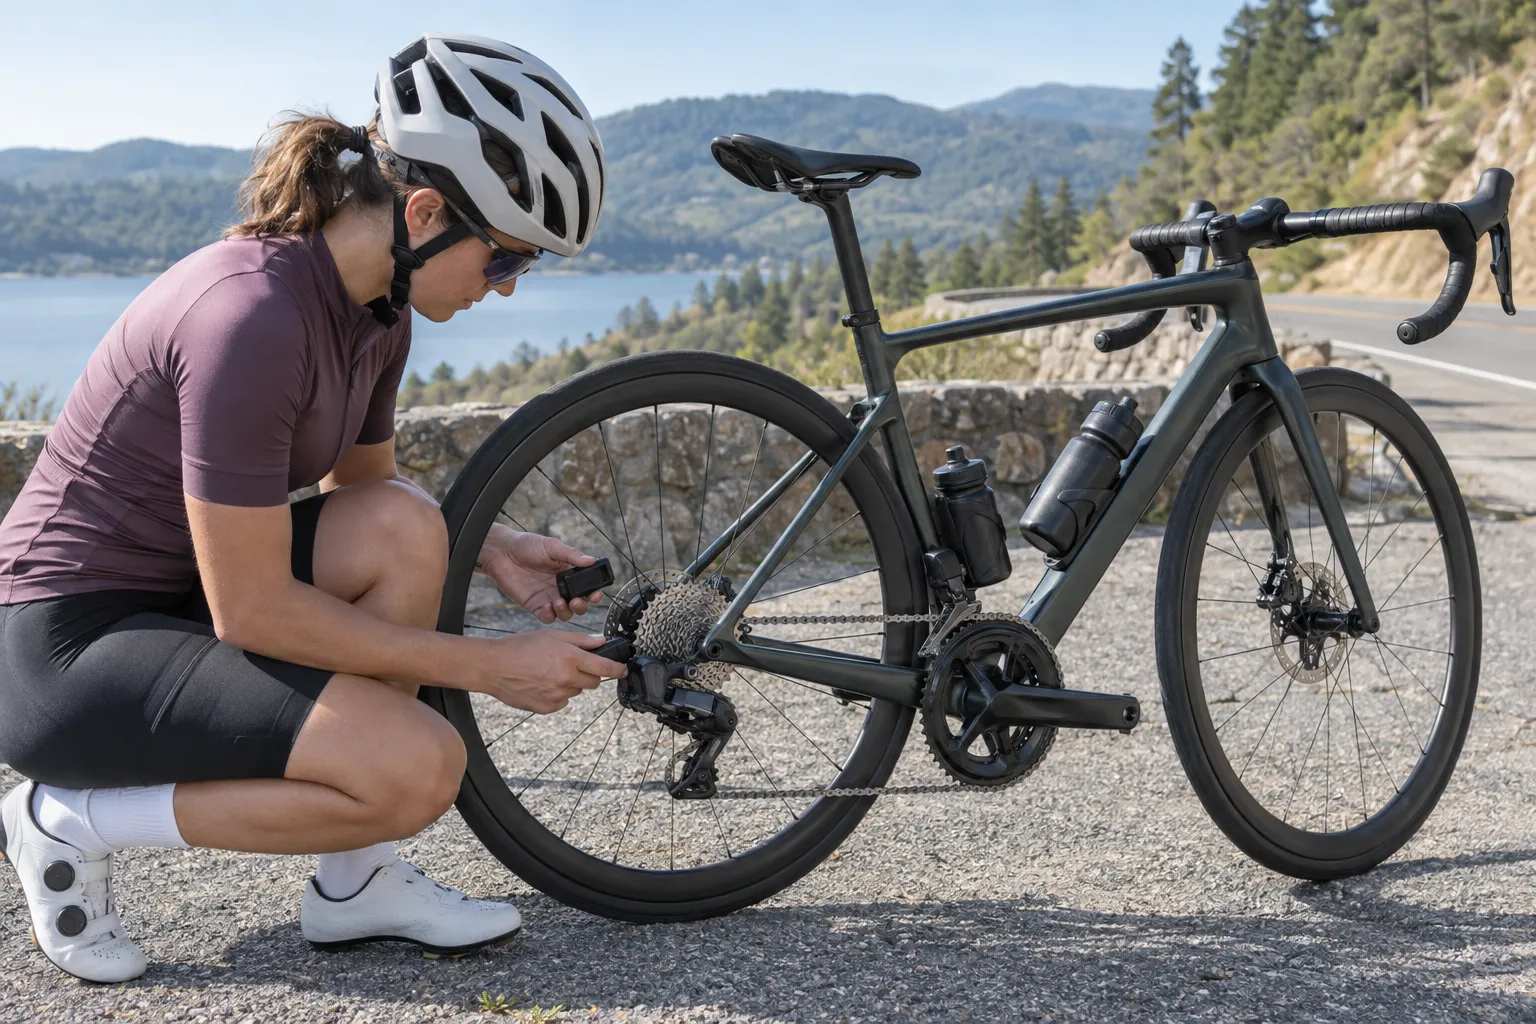
Mechanical limit screws restrict derailleur travel. Electronic adjustment controls where the derailleur indexes for each sprocket. Their procedures and interactions vary by generation. A derailleur motor should not be left straining against a hard stop, but “back the screw out until it looks free” is not a safe universal setup method: excessive travel can send a derailleur or chain toward the spokes or frame.
Follow the rear-derailleur dealer manual for the exact model. If you cannot identify the model or understand the adjustment sequence, stop and use a qualified shop.
Check the easy physical causes
With the bicycle switched or positioned as its manual requires and the drivetrain still, inspect:
- rear and front derailleur for crash marks, misalignment, or restricted movement;
- hanger alignment clues and derailleur clearance from the spokes;
- every accessible Di2 wire for a cut, crush, tight bend, or partially seated plug;
- charging port cover and connector for contamination or corrosion;
- shifter buttons for damage, binding, or pressure from bar tape or accessories;
- battery mount or internal-battery wiring for movement;
- recent component, cockpit, seatpost, or frame work that could have disturbed a wire.
Do not probe E-Tube connectors with metal objects or pull wires by the cable. Shimano systems use generation-specific wires, ports, and plug tools.
Use the system’s own diagnostics
Current Shimano documentation separates rider functions from dealer-level diagnostics. Where supported, E-TUBE PROJECT can report connected components, firmware status, and errors; E-TUBE PROJECT Professional includes checks intended for workshop diagnosis. Shimano’s error documentation includes battery-consumption results that can point to firmware or a connected unit rather than declaring every rapid drain a failed battery.
Before connecting an app:
- confirm the app supports your Di2 generation;
- use a stable phone or workshop connection and a well-charged system;
- do not begin a firmware update merely as a speculative cure;
- save existing settings if the software permits;
- follow recovery instructions if an update fails.
A bike that still shifts does not need an impulsive reset. Diagnostics should preserve evidence, not erase it.
When the battery itself becomes the main suspect
Battery age matters, but time alone does not prove failure. Suspect the battery more strongly when:
- official diagnostics isolate it rather than another unit;
- a documented full charge falls rapidly with all other checks passed;
- the battery will not complete a normal charge with a known-correct charger;
- runtime has declined progressively across comparable use;
- the battery or its connector is swollen, damaged, corroded, wet, or unusually hot.
Do not open, puncture, heat, or improvise a test load for a lithium-ion battery. Replacement must match the exact Di2 system and installation method.
A sensible troubleshooting order
Use this order to avoid replacing an expensive part prematurely:
- Identify every component and download the current manuals.
- Complete and log one controlled charge.
- Check for impact damage, restricted derailleurs, stuck controls, and disturbed connections.
- Verify derailleur adjustment by the exact model procedure.
- Run supported E-TUBE error and battery-consumption checks.
- Have a dealer isolate components if the drain continues.
- Replace the battery only when the evidence supports it.
If the system may fail during a ride, choose a short local route with an easy bailout and carry a phone. The guide to electronic shifting that stops mid-ride explains the safe roadside sequence.
Your next step
Photograph the Di2 model codes, fully charge the system, and start a dated battery log today. If the indicated level falls while the bike is untouched, or a derailleur appears to press against a stop, park the bike and take the log and model list to a Shimano-qualified workshop.
Sources and further reading
- Shimano manuals and technical documents: search by exact Di2 model
- Shimano error and warning reference, including battery-consumption checks
- r/bikewrench reader context: 105 Di2 battery discharge and rear-derailleur limits — used as an editorial question signal; replies were not treated as diagnosis.