What to do when electronic shifting stops mid-ride
Troubleshoot failed electronic road-bike shifting safely: stop, identify the dead component, check batteries and connections, use model-specific recovery, then choose a safe bailout.
 Field guide / electronic-shifting-stops-mid-ride
Before you buy
Check the starter kit first
Print the one-page buying brief for helmet, lights, water, phone, and repair compatibility before comparing upgrades.
When electronic shifting stops mid-ride, first get off the road and stop turning the drivetrain. Then identify whether the whole system is unresponsive, one shifter is dead, one derailleur is dead, or the rear derailleur has entered impact protection. Battery, connection, pairing, and recovery steps differ by model, so use the exact manual rather than a remembered button sequence.
The short answer: safe stop, visual damage check, battery check, component-button check, model-specific reset, then bailout. If the derailleur is damaged, loose, or near the spokes, do not keep pedalling.
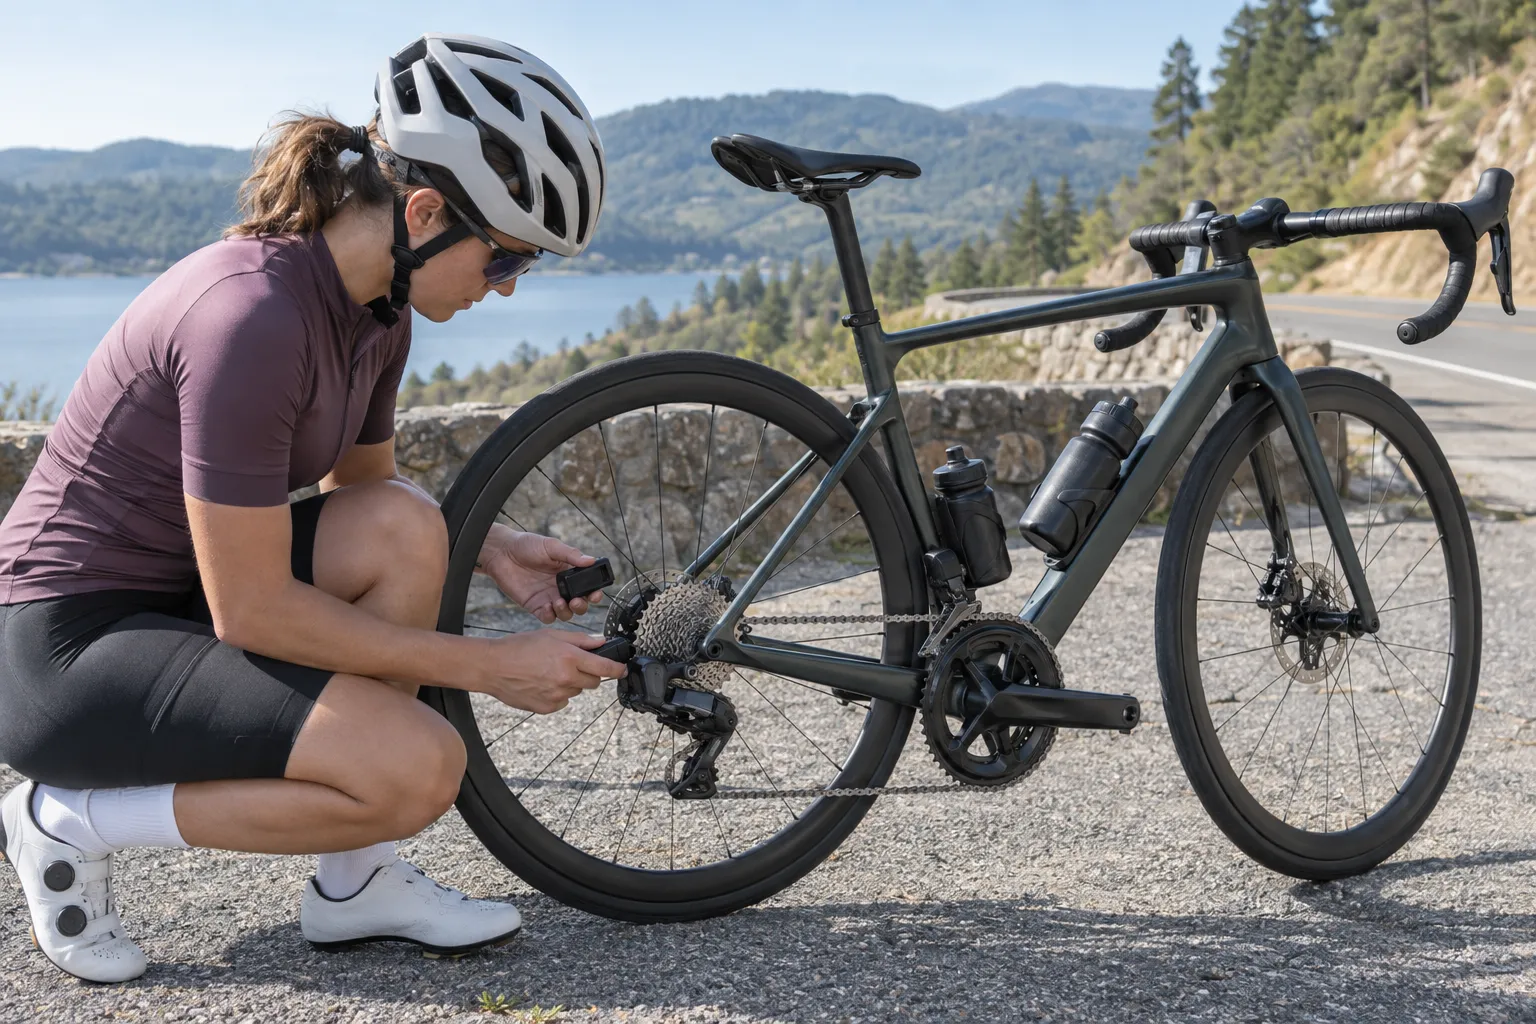
Why “electronic shifting failed” is not one fault
A recent r/cycling discussion collected stories of electronic shifting becoming unavailable away from home. Those anecdotes do not establish failure rates or diagnose a system, but they surface the useful underlying question: what can a rider safely check at the roadside?
Modern road systems may have:
- A main rechargeable battery and wired derailleurs.
- Removable batteries on each derailleur with wireless controls.
- Coin cells in wireless shift levers.
- A mix of wired and wireless connections.
- Impact-protection modes, app pairing, and model-specific manual shift buttons.
Do not assume a procedure for one generation of Shimano Di2 applies to another, or that SRAM AXS and Shimano use equivalent controls.
Step 1: stop and inspect before pressing buttons
Move completely away from traffic and stabilise the bike. Do not turn it upside down on electronic controls.
Look for:
- A derailleur pushed toward the spokes.
- A bent or cracked hanger.
- A loose component, exposed wire, or damaged connector.
- A chain trapped between cassette and spokes or outside a chainring.
- Crash marks or fresh impact damage.
- A loose rear wheel or axle.
If the derailleur can touch the spokes, the hanger is damaged, or the chain is trapped, stop. Removing or shortening a chain and choosing a safe single gear can require tools and judgement beyond a beginner roadside repair. Walking or calling for collection is cheaper than pulling a derailleur into the wheel.
Step 2: identify the failure pattern
With the bike stationary and the drivetrain still:
- Try each shift control once.
- Watch for an LED on the shifter and derailleur.
- Listen for a motor sound without turning the cranks.
- Use the component’s permitted button press to check whether it wakes.
- Note whether front shifting, rear shifting, or both are unavailable.
A rear derailleur that wakes from its own button but not from one lever suggests a different problem from a derailleur with no light or response. A motor sound with no chain movement may indicate mechanical obstruction or damage; do not force it under pedal load.
Step 3: use the correct battery logic
SRAM AXS road systems
On many SRAM AXS road setups, each derailleur has a removable rechargeable battery and each shift-brake lever has its own coin cell. SRAM’s battery-status guide explains its LED colours and app checks; use the current guide for your components rather than memorising run-time claims.
At the roadside:
- Confirm the derailleur battery is fully latched and the contacts are dry and clean.
- Press and release the permitted AXS button to check for a response.
- If one derailleur battery is flat and the other is charged, SRAM says the front and rear batteries on compatible eTap AXS systems are interchangeable. Moving the charged battery to the rear may preserve more usable gears for the trip home.
- If one lever is unresponsive but the derailleur wakes, the lever coin cell may be the issue. Use only the specified cell and replacement orientation.
SRAM states that a derailleur remains in its current gear when its battery runs out. Do not try to push it sideways by hand while pedalling.
Shimano Di2 road systems
Depending on generation, Shimano Di2 may use a shared internal battery, wired derailleurs, wireless shift levers, and a function button or junction. Check the exact model numbers and user manual.
Use the specified button operation to check battery state. Inspect only accessible connectors the manual says a user may check; do not pull on wires or probe ports with metal objects.
Some Shimano electronic rear derailleurs use an RD Protection function after an impact. Shimano’s Di2 troubleshooting manual describes a model-specific reset that restores the connection between the motor and link. Other generations perform recovery differently. Run a protection reset only when the exact manual identifies that state and the derailleur, hanger, wheel, and spokes are visibly safe.
Step 4: distinguish pairing from power
If every component has power but controls do not command the derailleur, the wireless link or pairing may be the issue.
Do not start a firmware update at the roadside. An interrupted update adds another variable and may require data, time, and battery power. Use the app only for status and the maker’s published recovery steps.
SRAM notes that an AXS system may need its official pairing process if a component no longer actuates after an app interaction. Follow the exact system pairing sequence; random long button presses can place components in another mode.
For Shimano, use E-TUBE PROJECT only as the relevant manual directs. If the system is partially responsive and the bike remains safely rideable, defer configuration work until you are home.
Step 5: decide whether the remaining gear is safe
If the chain is correctly engaged, the derailleur is secure and clear of the spokes, both brakes work, and the bike rolls normally, it may be possible to ride gently in the selected gear.
Choose the bailout route around that gear:
- Avoid steep climbs if the chain is on a hard gear.
- Avoid fast descents if the gear encourages excessive speed or distracts you from braking.
- Stay seated and use low pedal force.
- Stop if the chain chatters, jumps, or tries to leave the sprocket.
- Call for collection if the route, traffic, weather, or remaining distance makes one-gear riding unsafe.
Do not manually move the chain to another sprocket as a default fix. The derailleur may move when power returns, chain alignment may be poor, and turning the drivetrain beside the road exposes fingers to pinch points.
What to carry
Build the kit around the actual system:
- The correct charged removable battery, if your derailleur uses one.
- The correct spare lever coin cell and a way to open the cover without damage, if applicable.
- A small clean cover or bag to keep contacts dry.
- The manufacturer’s user manual saved offline.
- A charged phone and a planned collection option.
- Standard puncture and wheel-removal gear that fits your bike.
A battery does not fix a bent hanger, damaged wire, failed motor, lost pairing, or trapped chain. Keep the kit small and keep the bailout plan realistic. The first-ride checklist covers the phone, route, and repair essentials.
Prevent the most avoidable failures
Before an important ride:
- Check every battery through the system’s approved indicator or app.
- Confirm removable batteries are latched.
- Inspect the derailleur, hanger, and wires after transport or a fall.
- Test every shift on the stand, then under light load in a safe area.
- Complete firmware and pairing work at home, not at the start line.
- Charge or replace spare batteries on a routine you can remember.
Do not publish a universal battery-life promise to yourself. Temperature, component, firmware, age, storage, and shift frequency differ. Read the current maker information for your model.
After you get home
Write down which component had power, LED behaviour, app messages, weather, any impact, and what restored function. Then:
- Recharge and test batteries individually.
- Replace the correct coin cell if indicated.
- Inspect battery contacts and seals according to the manual.
- Check firmware and pairing only with stable power and connectivity.
- Have impact damage, repeat failures, or intermittent motor response assessed professionally.
An intermittent failure is still a failure. Do not call the bike fixed because it shifted once on the work stand.
Your next step
Find the model number of each shifter and derailleur now, save the official manuals offline, and practise locating the status button without changing modes. Add the correct spare battery only if your system supports a safe roadside swap, then plan a collection option for faults no battery can solve.