Rear thru-axle stuck on a direct-drive trainer: stop before forcing it
Safely unload a bike whose rear thru-axle will not release from a direct-drive trainer, then check adapters, alignment, threads, and support.
 Field guide / stuck-thru-axle-on-direct-drive-trainer
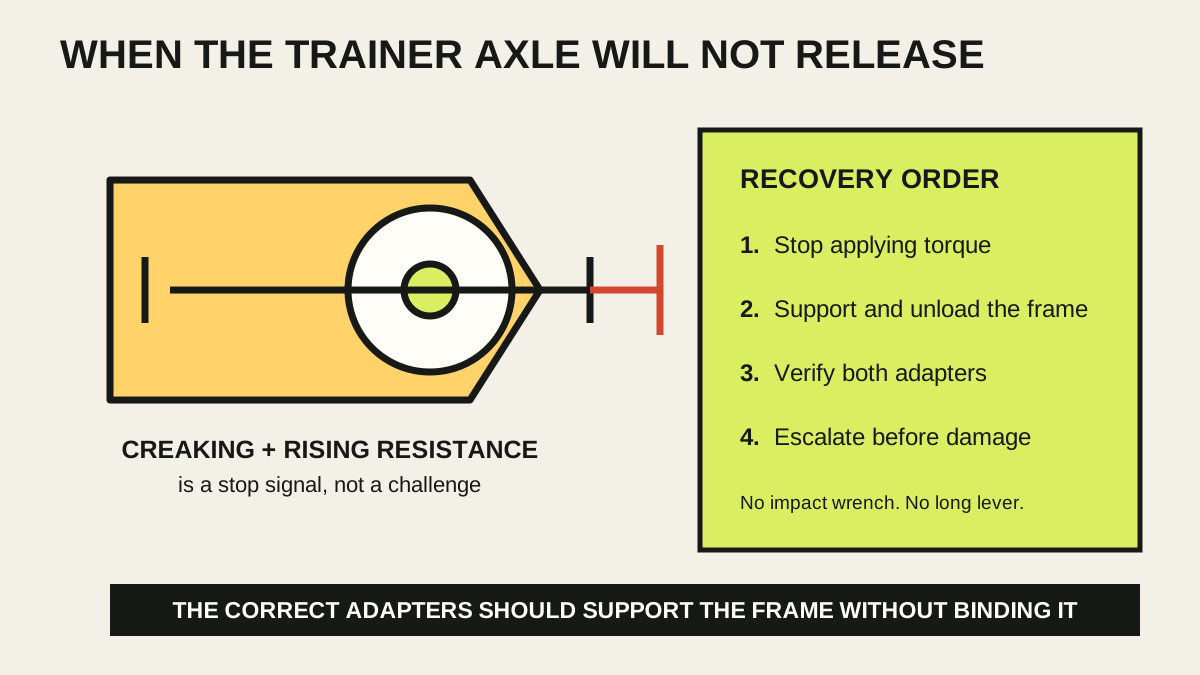
If a rear thru-axle starts to loosen from a direct-drive trainer and then becomes harder to turn, stop. Loud creaking, visible frame movement, a derailleur that rises with the axle, or a flexing dropout are not signs that you need a longer lever.
The short answer: support the bike, remove side loads, confirm you are turning the axle in the release direction, and compare every installed adapter with the exact trainer instructions. If it still binds under light controlled force, let the trainer or bike maker—or a qualified workshop—separate it before threads or carbon are damaged.
Why an axle can bind on a trainer
A current repair question describes a rear thru-axle becoming stuck on a direct-drive trainer, with creaking and derailleur movement as the rider tried to loosen it. That combination can come from several different interfaces—not simply a dry axle.
On a rear wheel, the hub supports the dropouts at the correct spacing. On a direct-drive trainer, model-specific end caps and axle adapters perform that job. A wrong, reversed, missing, or incompletely seated adapter can pull the frame against the wrong surface. Cross-threading, damaged threads, an angled frame, corrosion, excess tightening, or the weight of the bike twisting on the axle can also create resistance.
The goal is to identify and unload the bind before adding force.
Stop at these warning signs
Do not continue turning when:
- resistance increases instead of falling after the first fraction of a turn;
- a carbon frame or dropout creaks loudly;
- the derailleur hanger or derailleur moves with the axle;
- the frame springs inward or outward when the axle turns;
- the axle tool slips or starts rounding the socket;
- an adapter rotates, walks outward, or is visibly skewed;
- the axle has backed out partly but will neither release nor tighten normally.
Do not ride the bike outside after a forced removal until the dropout, hanger, axle, threads, and rear-wheel fit have been checked.
Stabilise the bike and remove side load
Disconnect trainer power. Shift to a small rear sprocket if the drivetrain still moves normally, but do not force a shift under tension.
Ask a helper to support the saddle and keep the bike vertical. If working alone, support the frame securely without clamping a carbon tube or letting the bike hang from the trapped axle. The front wheel should be straight and both trainer feet firmly planted.
Gently lift or lower the rear of the frame by a few millimetres while applying light release torque with the correct tool. You are trying to neutralise the bike’s weight and any sideways twist—not pry the dropout open. Stop if this does not immediately reduce resistance.
Do not use an impact driver, cheater bar, hammer, heat gun, penetrating oil near brake components, or improvised leverage against the frame.
Verify the direction and the part that turns
Most bicycle thru-axles use a conventional right-hand thread: viewed from the tool side, counter-clockwise loosens. But confirm the axle and bike instructions before relying on that habit.
Watch the opposite side while applying a very small movement. Determine whether:
- the axle rotates inside a fixed threaded insert;
- an adapter or end cap turns with the axle;
- the derailleur hanger moves;
- the trainer end cap pulls outward;
- the tool turns without the axle.
This observation tells a mechanic far more than “it is stuck.” Record a short close-up video if you need manufacturer support, but keep hands away from the chain and cassette.
Audit every trainer adapter
Find the trainer’s exact model and hardware revision. “12 mm compatible” is not enough. You need the supported dropout width, drive-side cap, non-drive-side cap, freehub configuration, and whether the system uses the bicycle’s original thru-axle.
For example, Decathlon’s current D100 support says 142 × 12 mm and 148 × 12 mm setups use the bike’s thru-axle with the appropriate trainer ring mounts. Wahoo documents revised adapters for some frame and freehub combinations. Garmin separates several Tacx axle types and warns that the rear axle must be correctly affixed without the frame touching the trainer housing.
Check for:
- the correct 142 mm or 148 mm arrangement;
- the correct drive-side adapter for the installed freehub;
- a fully seated non-drive-side adapter;
- frame contact with cassette, freehub, trainer body, or adapter shoulder;
- a gap or crushed surface that was not present on installation;
- an aftermarket axle whose length or thread pitch differs from the frame specification.
If you cannot see enough while the bike is attached, do not dismantle the freehub around a loaded frame. Send the photos and serial numbers to support.
After the bike is safely separated
Once the axle releases without force, do not immediately reinstall it. Clean the axle and inspect:
- male and female threads for flattening, aluminium transfer, burrs, or missing material;
- the axle shaft for bends, deep scoring, or necking;
- both dropout faces and the derailleur hanger for distortion;
- trainer adapters for reversed orientation, cracks, uneven witness marks, or incomplete seating;
- the frame around each dropout for paint disturbance, compression marks, or cracks;
- the rear derailleur alignment and hanger fastening.
Use the bike maker’s instructions for axle-thread lubrication. Some systems specify grease; others have particular treatments or captive hardware. Do not apply anti-seize, threadlocker, or grease by guesswork.
If carbon made new noises, the dropout was visibly drawn inward, threads shed metal, or the hanger bent, arrange an appropriate inspection before either trainer or road use.
Reinstall only after a dry compatibility rehearsal
Lay out the adapters in the manual’s order. Confirm each part number where available. With no bike installed, check that removable end caps seat fully and do not rock.
Then:
- Place the chain on the trainer cassette correctly.
- Lower the frame vertically onto both adapters without spreading or squeezing the stays.
- Confirm both dropout faces sit flat before inserting the axle.
- Start the axle by hand for several turns. It should not require tool force to find the thread.
- Tighten only to the bicycle manufacturer’s axle specification, while checking that the frame remains centred and free of trainer contact.
- Turn the cranks by hand and inspect chainline, shifting, and clearance before riding.
If the axle will not thread smoothly by hand, stop. That is a compatibility or alignment problem, not a torque problem.
Prevent the next seizure
When moving a bike between trainer and road, keep a small setup card with the trainer showing adapter orientation, axle specification, cassette spacers, and the manuals’ links. Store unused adapters in labelled bags rather than one mixed parts tray.
After sweaty sessions, wipe the trainer, axle head, and nearby frame surfaces. Do not let cleaner or sweat run into the freehub, brake, bearings, or threads. Use how to protect a road bike from sweat on an indoor trainer for the rest of the setup.
Your next step
Take one photo from each side of the trapped axle and one of every unused adapter. Compare them with the exact trainer support page. If the arrangement is not immediately clear—or the axle still resists after the bike is supported—stop and send the model, serial number, bike frame, axle dimensions, and photos to the trainer maker or a workshop.
Sources and further reading
- Decathlon support: Van Rysel D100 compatibility and bike installation
- Garmin: Tacx trainer fitment guide
- Wahoo: updated KICKR and CORE thru-axle adapter installation
- r/bikewrench reader context: rear thru-axle stuck on a direct-drive trainer — used as a current problem signal; replies were not treated as service instructions.