How to tell if your road bike handlebars are too wide
Check road-bike handlebar width using shoulder position, wrist alignment, brake access, and a controlled comparison before paying for a narrower bar.
 Field guide / road-bike-handlebars-too-wide
Before you view or pay
Check fit, condition, and starter gear first
Use the buying checklist to choose the right path: used-bike viewing, first-bike fit and type, hidden repair costs, or starter gear.
Your road-bike handlebars may be too wide if your hands sit noticeably outside your relaxed shoulder line and that position repeatedly makes your wrists bend outward, shoulders shrug, or elbows flare. Shoulder width is only a starting point, though. Bar shape, hood position, reach, control, breathing comfort, and the roads you ride all matter.
The short answer: compare widths in a controlled setting before buying. Choose the narrowest bar that lets you keep neutral wrists, relaxed shoulders, easy brake access, and confident steering—not the narrowest number somebody online calls aerodynamic.
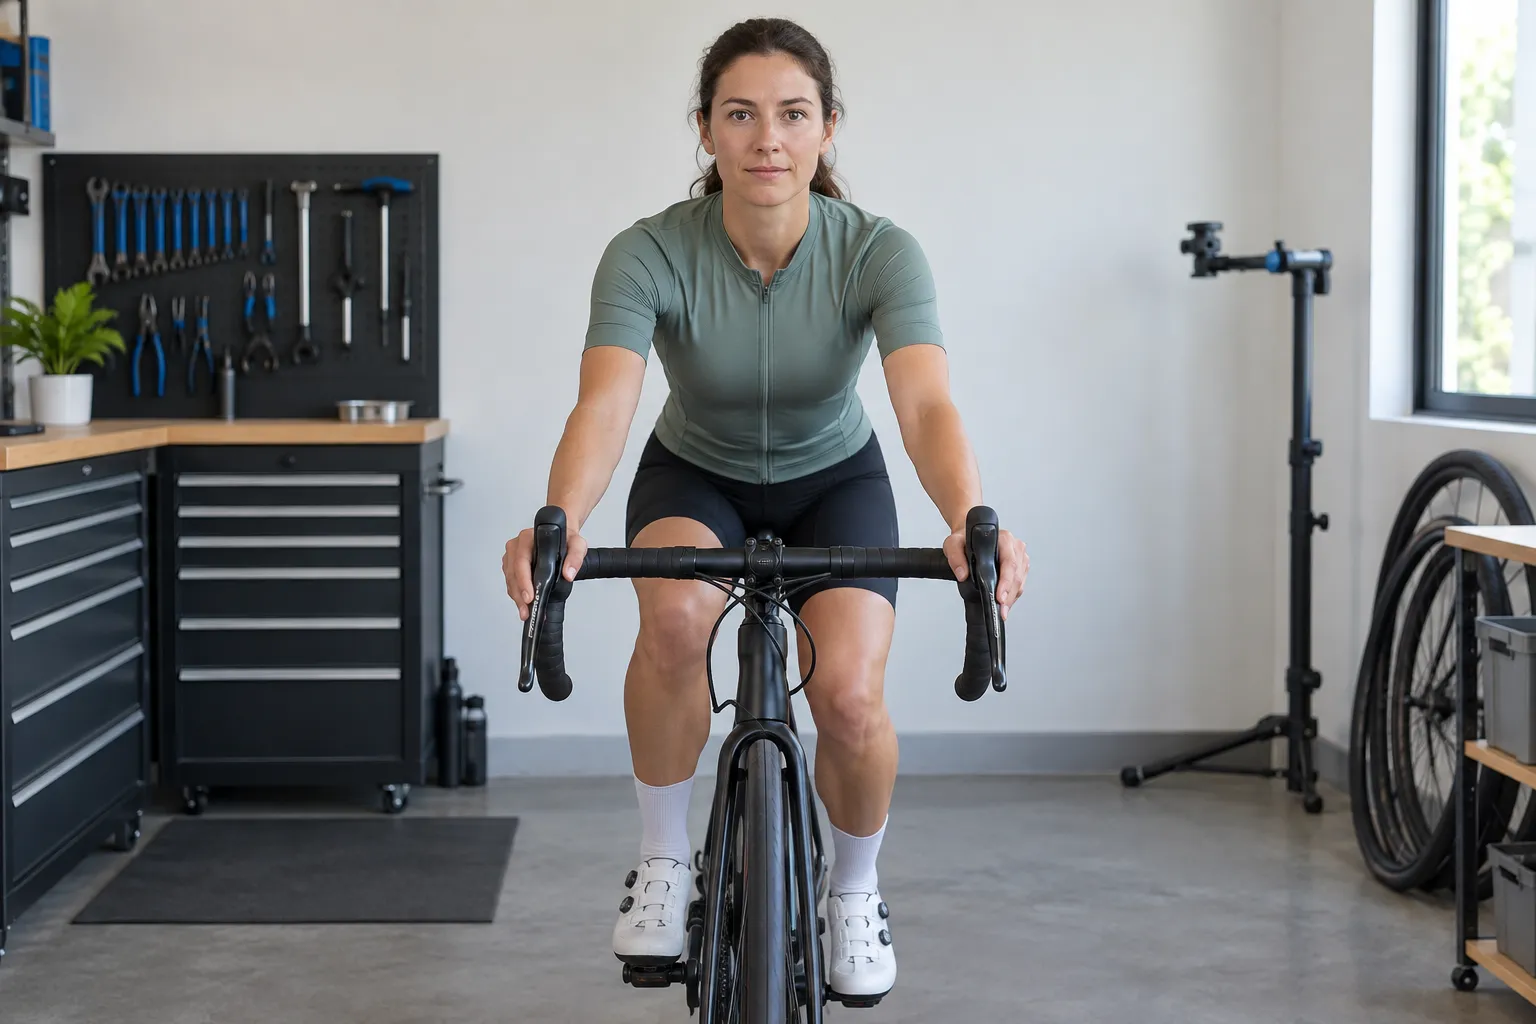
Why the size printed on the bar can mislead you
Recent buying discussions include riders who find the stock handlebars too wide for their shoulders even when the frame size feels plausible. That is a useful demand signal, not proof that a particular width fits every rider.
Brands do not all measure drop bars at the same point. A labelled 40 cm bar might be measured centre-to-centre at the hoods, at the ends of the drops, or at another stated reference point. Flared bars are narrower at the hoods than at the drops. The ENVE road-handlebar guide, for example, publishes both positions for its flared models and treats shoulder width as a starting point rather than a universal answer.
Before comparing two products, find each maker’s measurement diagram. Two bars carrying the same size label may place your hands differently.
Four signs worth investigating
None of these proves the bar is the cause by itself, but a repeated cluster makes a width comparison worthwhile.
- Your wrists bend outward on the hoods. Viewed from the front, the forearm and hand do not form a comfortable line.
- Your shoulders stay shrugged or spread. You can relax them briefly, but they rise again whenever you settle onto the controls.
- Your elbows flare simply to reach the hoods. A small natural bend is useful; forced wing-like elbows are different.
- A slightly narrower test bar feels calmer. Your hands still reach the brakes, your breathing feels unrestricted, and steering remains predictable.
Hand numbness, neck tension, or upper-back discomfort can also involve reach, bar height, saddle position, tyre pressure, grip habits, or a health issue. Do not turn one symptom into a handlebar diagnosis. Start with the beginner fit and comfort checks and the specific guide to numb hands and tingling fingers.
Measure the bike and your starting point
Measure the current bar
Find the manufacturer’s measurement convention if possible. Then record:
- Width between the hood clamp areas.
- Width at the ends of the drops.
- Reach, the forward distance in the bend.
- Drop, the vertical depth of the bend.
- Flare, if the drops angle outward.
Record the bar model as well as the number. Width cannot be separated completely from shape: a narrower bar with longer reach may still place your hands farther away.
Measure your shoulders without treating them as a prescription
Ask a helper to measure between the bony points at the tops of your shoulders. Keep your arms relaxed rather than pulling your shoulders back for the measurement.
That number gives you a comparison, not an order. Riding purpose can move the choice either way. A road rider may prefer a closer hand position; a rider prioritising rough-surface control may accept more width or flare. Your brake access and confidence outrank a formula.
Run a comparison without creating a new hazard
The best test is another complete bike, a fitting jig, or the same bike with a qualified shop fitting a compatible test bar.
On a stationary, level trainer, you can briefly rest your hands slightly inboard on the tops to notice what happens to your shoulders. That does not test hood comfort, braking, shifting, or steering, and it is not a position to copy on the road.
For a proper comparison:
- Keep saddle position and bar height unchanged.
- Match hood reach as closely as the two bar shapes allow.
- Ride the hoods, tops, and drops at an easy effort.
- Check whether both brake levers remain easy to reach.
- Look at your wrists and shoulders from the front.
- Include a slow, controlled steering test in a traffic-free area.
Change one variable and keep notes. A five-minute shop sit can expose an obviously poor position, but it cannot predict comfort several hours into a ride.
What becomes different when you go narrower
A narrower handlebar can bring the hands closer to the body’s centre line and reduce frontal area. It can also reduce steering leverage, change how much space your chest and knees have, and make a familiar bike feel quicker to small hand inputs.
The new bar’s reach and drop may matter as much as width. Hood placement also changes wrist angle and brake-lever access. Do not rotate the hoods dramatically inward to imitate a much narrower bar unless the lever and bar manufacturers permit that position and the controls remain secure and reachable.
If the bike uses an integrated cockpit, changing width may require a whole cockpit rather than a simple bar swap. Internally routed brake hoses or gear cables can turn the job into hydraulic service and fresh bar tape. Some adjustable systems are exceptions: Canyon’s road-bike quick-start manual gives model-specific width positions, fastening sequences, and warnings about cable and hose tension. Those instructions apply to that cockpit, not yours.
Buying checklist for a replacement bar
Confirm all of these before ordering:
- The stem clamp diameter and approved clamp area match.
- Bar width is measured where you expect.
- Reach, drop, flare, and hood mounting area suit your controls.
- The bar supports your bike’s external or internal routing.
- The brake hoses and gear cables will remain long enough through full steering travel.
- The maker’s rider, use, accessory, and torque limits suit the bike.
- A qualified installer is available if the job involves carbon parts or hydraulic hoses.
Do not buy a bar solely because a professional racer uses it. Their position, speed, handling demands, and support are not your constraints.
Your next step
Record your present hood and drop widths, then compare one neighbouring size on a shop bike or fitting jig while keeping reach and height controlled. If it improves wrist and shoulder position without reducing brake access or steering confidence, price the complete job—not just the bar. Use the road-bike buying checklist when stock cockpit dimensions are part of choosing a new bike.