Should the rear-derailleur clutch be on or off?
Identify a clutch switch, understand what it controls, and use the exact derailleur manual for riding, wheel removal, adjustment, and service.
 Field guide / rear-derailleur-clutch-on-or-off
Before you buy
Check the starter kit first
Print the one-page buying brief for helmet, lights, water, phone, and repair compatibility before comparing upgrades.
If a Shimano GRX-style rear derailleur has a small lever marked ON and OFF, the maker generally recommends ON while riding to reduce chain slap and help prevent the chain falling from the sprockets. Move it to OFF when the exact manual calls for that position during wheel removal, installation, adjustment, or service. Other brands use a non-switchable clutch, a cage lock, or a different mechanism, so do not assume every derailleur works the same way.
The short answer: identify the derailleur model, then follow its manual. On current mechanical Shimano GRX derailleurs with a switch, ride with the switch ON and turn it OFF for the specified maintenance tasks. If shifting becomes poor only when the clutch is on, diagnose setup, wear, or clutch condition rather than treating OFF as the permanent cure.
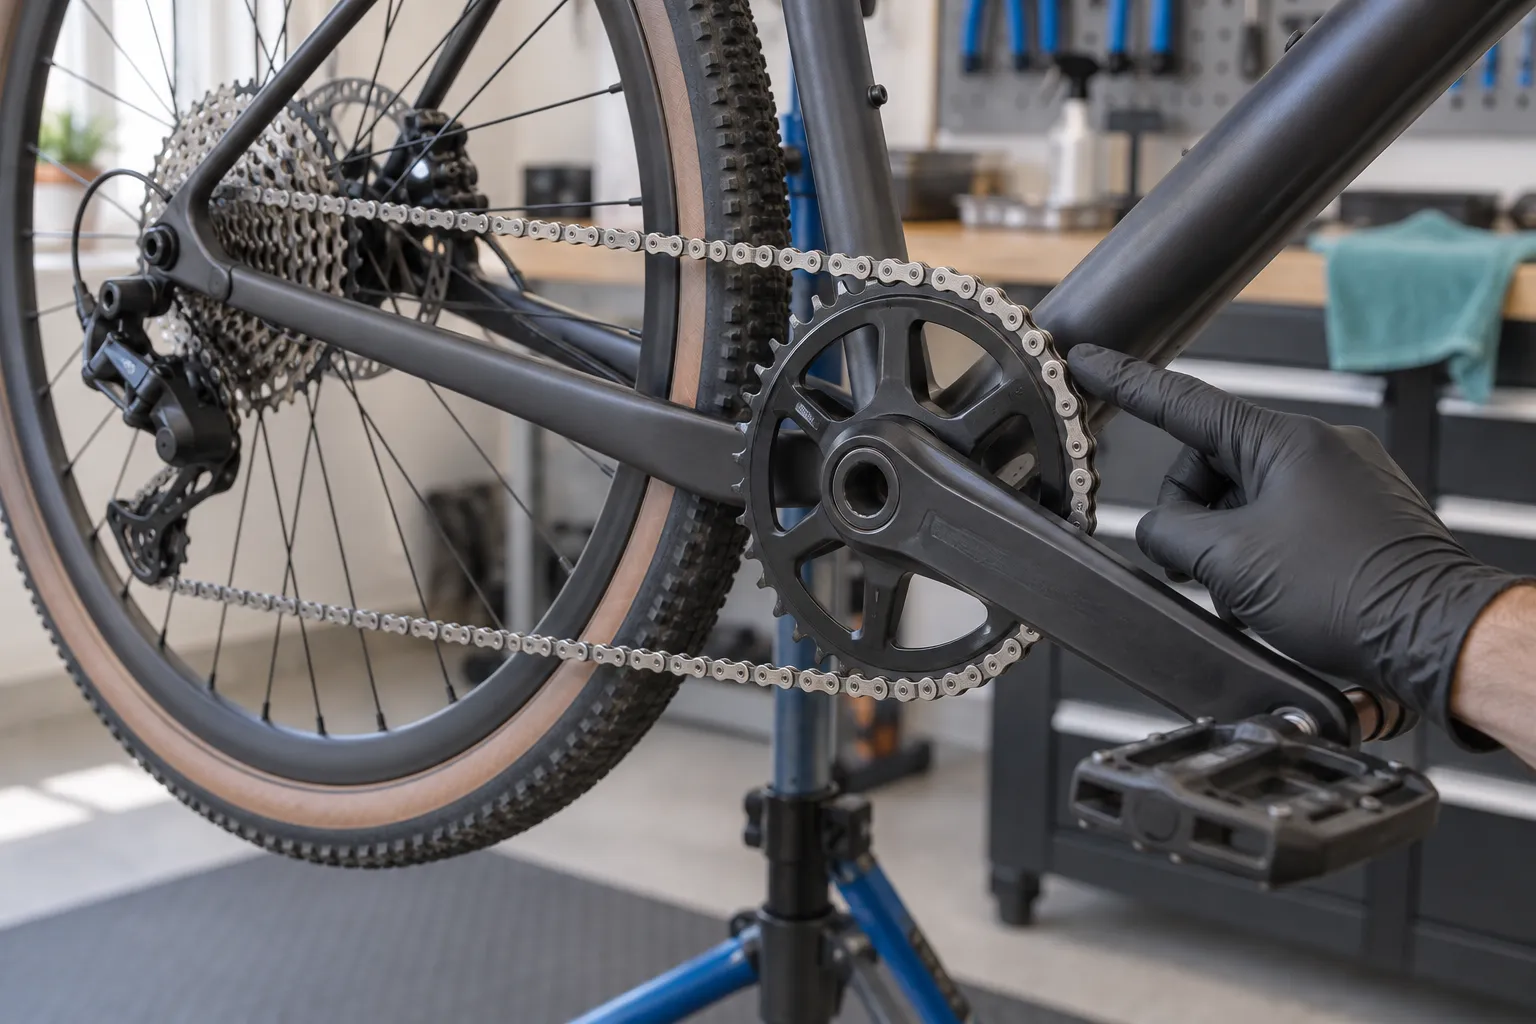
What the clutch actually does
The rear derailleur’s cage takes up chain slack as you shift. Rough ground can make that cage move rapidly, allowing the lower chain span to bounce and hit the chainstay. A clutch or chain stabiliser adds controlled resistance to cage movement in the direction that releases chain, reducing slap and improving retention.
It is not a lock that freezes the derailleur. The cage still needs to move as the chain travels between different sprocket sizes.
A highly discussed recent r/gravelcycling thread asked what the ON/OFF lever did after a bike wash. The recurring reader problem is simple: the switch looks like an ordinary adjustment, but it controls a system with model-specific riding and service instructions.
When to use ON
Shimano’s current GRX mechanical rear-derailleur manual recommends moving the switch lever to ON while riding. The stated reasons are reducing chain slap and helping prevent the chain from falling off the sprockets.
That is particularly relevant for:
- 1× drivetrains;
- gravel, broken pavement, cobbles, and rough paths;
- descents where the chain is otherwise bouncing; and
- bikes that were designed and adjusted around the stabiliser being engaged.
Do not use the clutch to hide an oversized chain, worn narrow-wide ring, bent hanger, incorrect routing, weak cage spring, or incompatible cassette. Use the 1× chain-drop diagnosis if retention remains poor.
When OFF is useful
On switch-equipped Shimano models, OFF reduces the resistance you feel when moving the cage. The exact manual may call for OFF during:
- rear-wheel removal or installation;
- chain removal or routing;
- derailleur installation;
- particular setup steps; and
- clutch inspection or friction adjustment.
Shift to the smallest rear sprocket before wheel removal when the bike’s manual recommends it. Switch OFF, move the derailleur body or cage as instructed, and keep fingers away from the rotor and sprocket teeth.
Turn the system back to the documented riding position after the wheel is secure and before the final shift check. A small “clutch on” item in a pre-ride checklist prevents an easy oversight.
Why your derailleur may have no switch
SRAM derailleurs commonly use a clutch that is always active and may provide a cage-lock button to hold the cage forward for wheel removal. Some newer systems create chain control with spring architecture that does not expose a separate clutch switch. Conventional road derailleurs may have neither.
Identify the model printed or etched on the derailleur. Search that model in the manufacturer’s service library. Do not pull on an unfamiliar cover or lever because another bike used it as a clutch switch.
If shifting is worse with the clutch on
A properly specified and maintained drivetrain should be checked in its intended riding state. If engaging the clutch produces slow shifts, refusal to leave a large sprocket, grinding, or a large indexing change, inspect:
- Derailleur-hanger alignment.
- Cable and housing friction on mechanical systems.
- Electronic setup and firmware only where the maker specifies it.
- Chain length and derailleur capacity.
- B-gap and limit adjustment.
- Clutch friction and maintenance condition.
- Damage, contamination, corrosion, or incorrect assembly.
Do not spray general-purpose lubricant into the clutch. Shimano publishes a model-specific friction check and approved maintenance procedure; some mechanisms use specified grease and torque. Unauthorised disassembly can make the system unreliable.
A one-minute identification check
- Find the complete derailleur model number.
- Confirm whether the lever is labelled ON/OFF or uses symbols.
- Open the maker’s dealer or user manual for that model.
- Note the riding position and wheel-removal position.
- With the bike stationary, compare cage resistance only as the manual permits.
- Restore the riding position and test every gear in a stand.
If the lever will not move normally, the cover is damaged, or the cage has excessive play, stop forcing it and arrange service.
Your next step
Photograph the model number and download its manual to your phone. Add the clutch position to your wheel-removal and pre-ride routines. If the rear wheel is difficult to remove even with the documented procedure, stop and check the axle, chain position, and model instructions rather than pulling harder on the derailleur.
Sources and further reading
- Shimano GRX RD-RX820/RD-RX822 dealer manual: riding and installation switch positions
- Shimano GRX RD-RX810/RD-RX812 dealer manual: model-specific clutch maintenance
- r/gravelcycling reader context: a current high-engagement question about the clutch switch
- r/bikewrench reader context: a newer derailleur without a separate clutch switch
Reddit was used as a demand signal. Operating instructions come from the exact-component manufacturer manuals.