How to learn bike maintenance without causing more damage
Build repair skill through low-risk jobs, exact manuals, stop rules, and post-repair checks instead of gambling your only rideable bike.
 Field guide / learn-bike-maintenance-without-causing-damage
Before you buy
Check the starter kit first
Print the one-page buying brief for helmet, lights, water, phone, and repair compatibility before comparing upgrades.
You do not learn bicycle maintenance by knowing every part. You learn it by completing small, well-documented jobs, checking the result, and stopping before uncertainty reaches a safety-critical component.
The short answer: begin with cleaning, inflation, inspections, bottle cages, and a practised tube change. Use the exact maker’s manual, photograph the starting state, change one thing, apply specified torque, and perform a stationary check plus a quiet low-speed test. Escalate brakes, steering, structural damage, and ambiguous compatibility.
The real beginner problem is recovery
A highly active recent r/bikewrench discussion asked how ordinary riders learned repairs when videos had led to failed tubeless setup and brake alignment. The useful signal is not that beginners lack talent. It is that many tutorials show the happy path while the learner has no safe recovery plan when their bike differs.
Before touching a fastener, answer: If this step fails, can I put the bike back exactly as it was? If not, improve the documentation, tools, workspace, or supervision first.
Build a four-level repair ladder
Level 1: inspect and clean
Learn to:
- inflate tyres with the correct pump and gauge;
- inspect tyre condition and wheel security;
- check brake-lever feel and pad wear without dismantling;
- clean the frame and drivetrain appropriately;
- lubricate a clean chain and remove excess;
- identify model codes and find official manuals.
These jobs teach part names and normal condition while leaving the bike’s setup mostly unchanged.
Level 2: reversible accessories and roadside skills
Practise:
- removing and reinstalling a bottle cage with the correct fastener and torque;
- fitting lights without obstructing controls or wheels;
- removing a wheel according to its axle instructions;
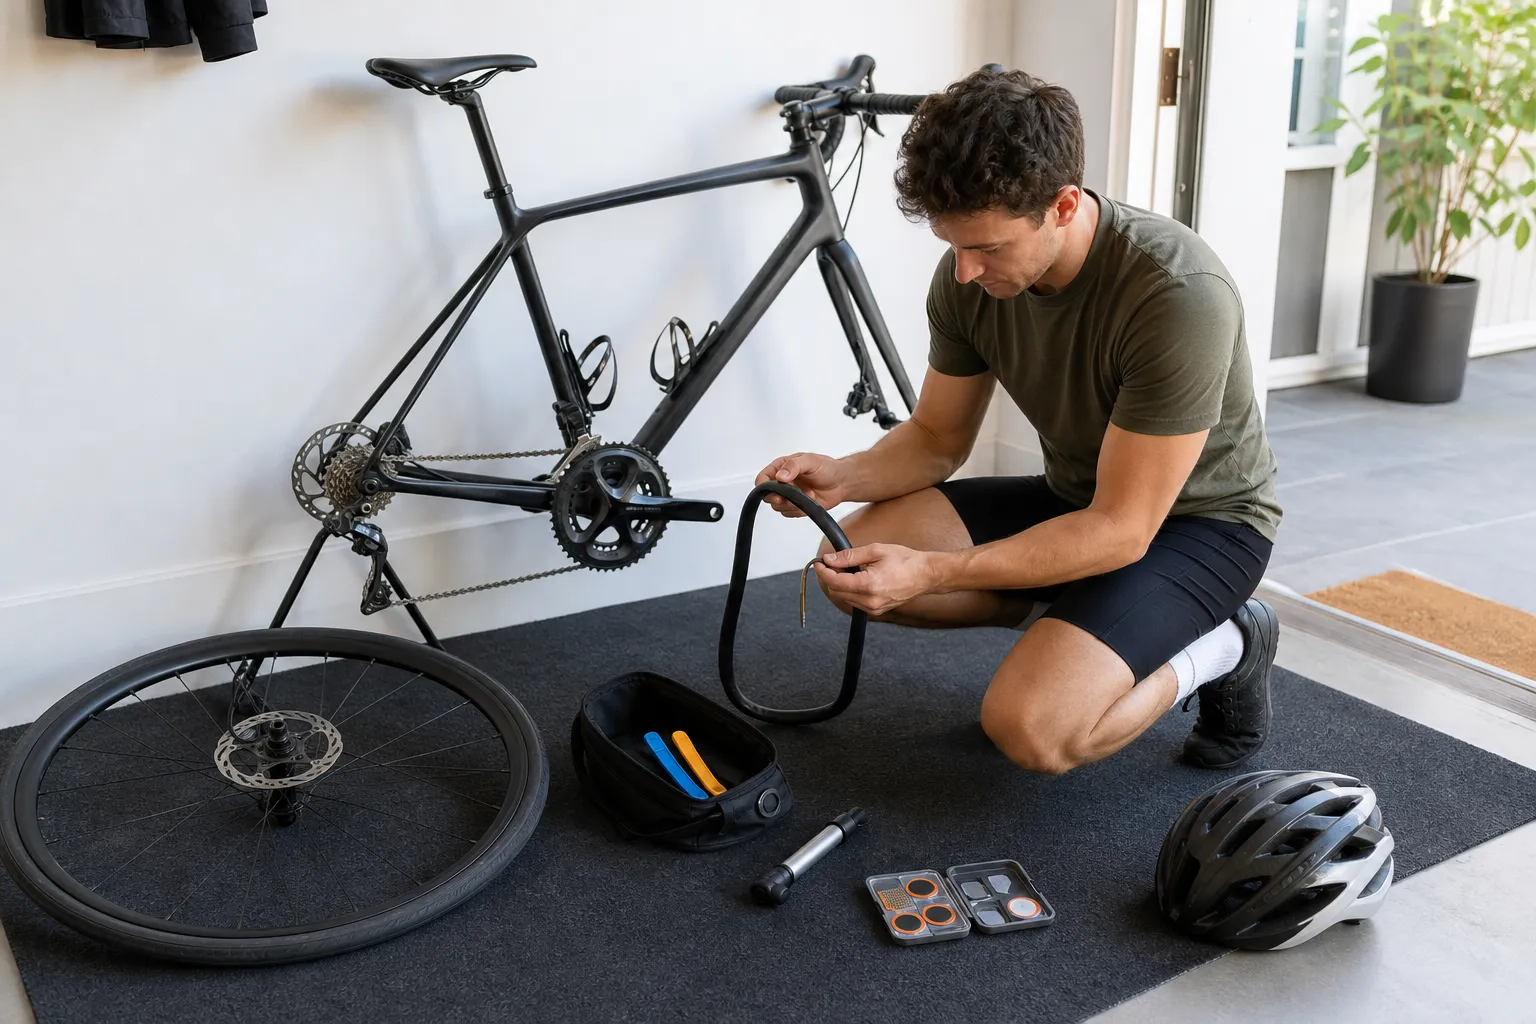
- replacing an inner tube and seating the tyre bead;
- installing pedals after learning left- and right-hand thread direction.
Use a parts tray and take photographs before removal. Count and label spacers instead of trusting memory.
Level 3: measured adjustments
Move to saddle height, derailleur indexing, rim-brake centring, or other adjustments only after you can mark the starting position, identify the correct adjuster, and define a pass/fail check.
Change one variable. If you turn a barrel adjuster, record direction and amount. If the result is worse, return to the known baseline rather than adding an unrelated screw.
Level 4: supervised or professional work
Bleeding brakes, cutting hydraulic hose, servicing bearings, replacing forks, pressing headset parts, routing internal cables, repairing threads, and assessing carbon or crash damage may require special tools and judgment. Learning these is possible, but your only transport bike is a poor examination room.
Use a workshop class, a knowledgeable mentor, or a mechanic who is willing to explain the removed part.
Find the exact manual before the video
Start with the manufacturer and the exact model code. A video with a similar-looking component may use a different fastener order, adjustment procedure, fluid, wear limit, or torque.
Shimano labels many dealer manuals as intended primarily for professional mechanics and tells untrained users who do not understand the information not to attempt the installation themselves. That is not a ban on learning. It is a warning that the document assumes skills and tools you may not yet have.
Use videos for a second viewing angle after reading the specification. A trustworthy guide should identify the component, required tools, torque, consumables, failure modes, and final check—not merely make the work look quick.
Use a repair card for every unfamiliar job
Write this before starting:
| Field | What to record |
|---|---|
| Exact component | Brand, model code, generation, size |
| Symptom | What happens, when, and after which event |
| Baseline | Photos, measurements, screw positions |
| Official procedure | Manual URL and relevant section |
| Tools and consumables | Correct sizes, torque range, fluid or grease |
| Stop conditions | Damage, seized part, wrong tool, unclear instruction |
| Final checks | Stationary test, fastener verification, low-speed test |
This turns browsing into a controlled task.
Stop before force becomes the plan
Pause when:
- the tool does not fully engage;
- a fastener rounds, cracks, or will not move with the specified method;
- the part differs from the manual;
- hidden springs, pressure, cable tension, or hydraulic fluid are involved unexpectedly;
- carbon is creaking, crushed, scored, or slipping;
- a safety-critical result cannot be tested confidently;
- you are tired, rushed, or need the bike immediately.
A longer lever can turn a misunderstood problem into a broken component. “It just needs more force” is a diagnosis only after the thread direction, retention method, corrosion, tool, and official process are known.
Check the repair in layers
- Visual: all parts present, routed correctly, seated, and clear of moving parts.
- Fasteners: tightened in the stated sequence and to the specified value where required.
- Stationary function: wheels secure, brakes engage and release, steering free, gears selected safely.
- Low-speed test: quiet traffic-free area, one control at a time, easy exit.
- Recheck: inspect after the maker’s stated interval or after the first short ride when the procedure requires it.
Do not discover brake, steering, or axle mistakes on a descent.
Spend money where it buys certainty
The useful first purchases are not a giant generic toolkit. Buy the correct pump, tyre levers, wear gauge, hex or Torx tools, and torque tool for the jobs your bike actually uses. A cheap tool that fits poorly is expensive when it damages a proprietary fastener.
If a shop identifies parts or diagnoses a fault, ask its diagnostic price before expecting free research for a home repair. Clear expectations protect the relationship and may still cost less than ordering an incompatible component.
Your next step
Choose one Level 1 job and one recoverable Level 2 job. Find the exact manuals, create a repair card, and practise without a ride deadline. Use what maintenance a beginner should learn first and when to stop adjusting and use a mechanic as your boundaries.
Sources and further reading
- Shimano dealer manual: intended audience, safety classifications, installation, and maintenance
- Trek owner manual: mechanical work and unsafe modification warnings
- r/bikewrench reader context: learning repairs after failed first attempts
- r/bikewrench recurring context: asking a shop to identify parts for a home repair