How to wash cycling kit so it stops smelling
Remove persistent sweat odour from cycling jerseys and bib shorts with a label-first wash routine that protects stretch fabric and the chamois.
 Field guide / how-to-wash-cycling-kit-stop-smelling
Before you buy
Check the starter kit first
Print the one-page buying brief for helmet, lights, water, phone, and repair compatibility before comparing upgrades.
Persistent cycling-kit odour usually means the wash routine is leaving sweat residue in synthetic fibres, not that the solution is more perfume. Do not leave damp kit balled in a hamper. Air it immediately, then wash it promptly using the garment label’s temperature, detergent, cycle, and drying instructions.
The short answer: turn bib shorts and jerseys inside out, close zips and hook-and-loop tabs, use a mesh bag and the correct amount of suitable detergent, rinse thoroughly, and dry completely. Skip fabric softener unless the care label explicitly allows it. If odour returns as soon as the fabric warms, repeat a careful wash rather than adding heat or improvised chemicals.
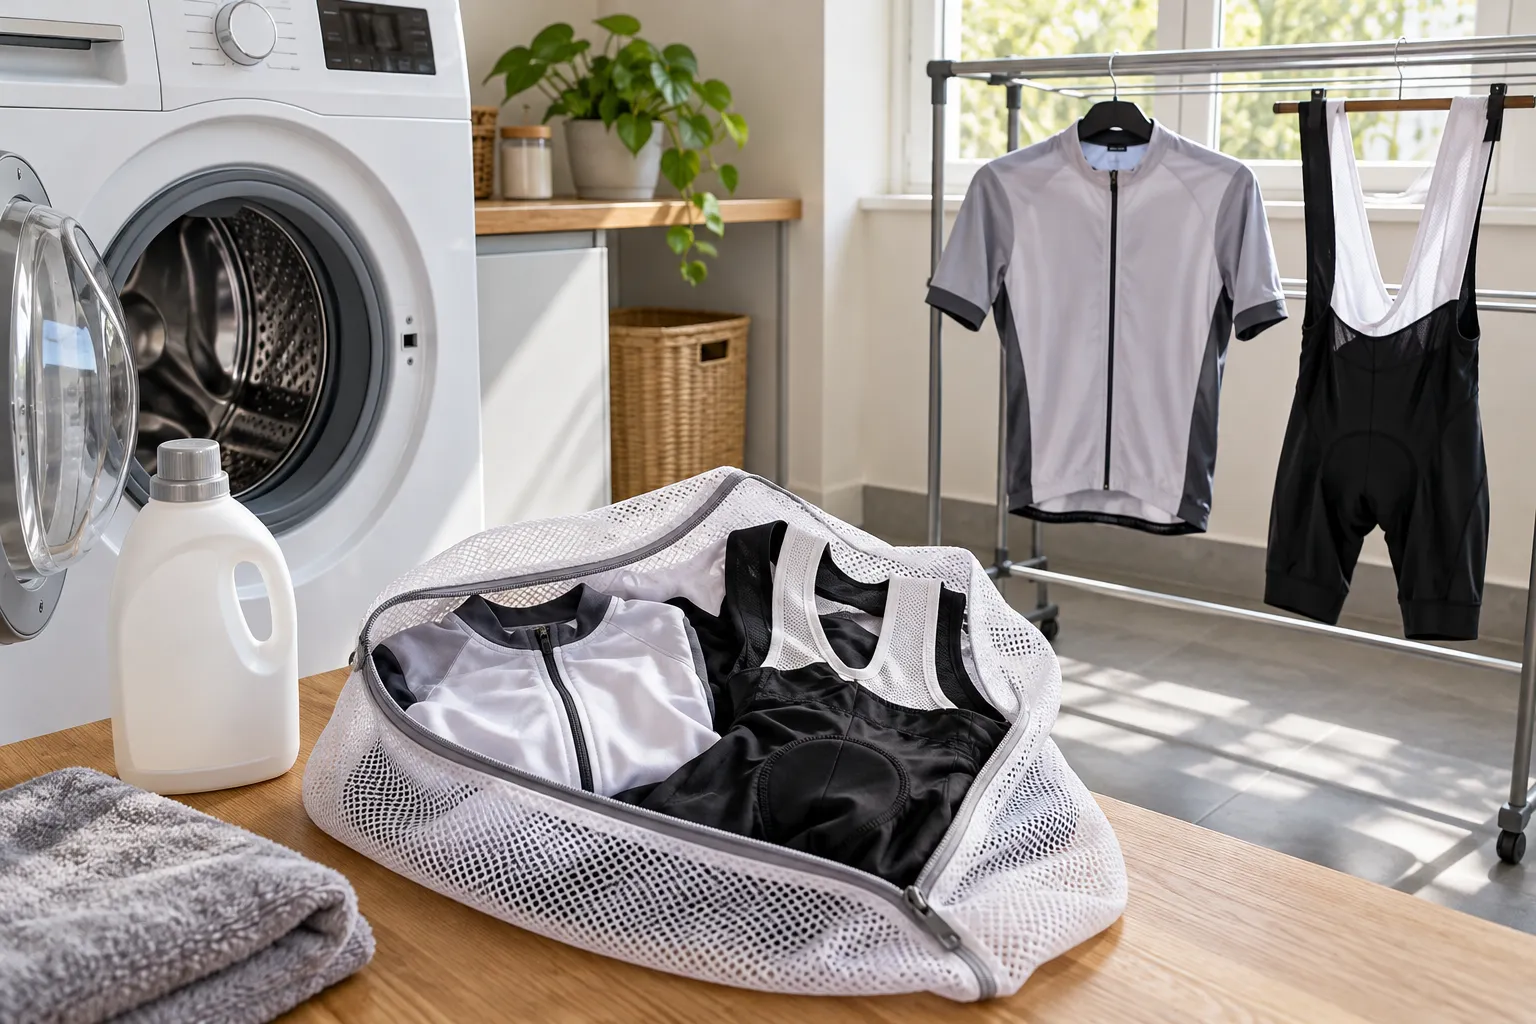
Why the smell survives an ordinary wash
Road-cycling clothing is often close-fitting, stretchy, and synthetic. Sweat and body oils reach the inside surface first, especially the jersey underarms, base layer, straps, waist, and bib-short pad. A short overloaded wash, too much detergent, or slow drying can leave residues behind.
A current r/cycling discussion about kit that still smells after washing is a useful demand signal: riders often jump straight to a special sports product. The more reliable first step is to fix the process and follow the exact garment label. Different jerseys, waterproof shells, merino layers, and pads can require different care.
The after-ride step matters most
Do not seal wet kit in a bag or leave it compressed in a laundry basket.
- Empty pockets and remove food, wrappers, and tissues.
- Hang each item separately so air can reach the damp surfaces.
- If you cannot wash soon, rinse only if the manufacturer permits it, gently press out water, and hang to dry. Do not leave it soaking indefinitely.
- Wash before wearing the item again, particularly padded shorts worn directly against the skin.
This is also the moment to inspect the pad, seams, zip, reflective details, and fabric for damage. A wash cannot repair a separating seam or restore worn-out stretch.
Use this label-first wash sequence
1. Sort by care requirement
Read every label. Separate delicate summer kit from abrasive towels, jeans, open hook-and-loop fasteners, and garments with exposed hardware. Treat waterproof or water-repellent pieces according to their own instructions; they may need a different product or drying method.
Pearl Izumi’s care guidance recommends a gentle cycle and says product-specific labels control. Its more detailed guidance also advises closing zips and hook-and-loop tabs and using a laundry net. Rapha likewise tells owners to use the product-care instructions for the particular garment.
2. Turn sweaty surfaces outward
Turn jerseys, base layers, and bib shorts inside out. That puts the side carrying most body oil and sweat in direct contact with the wash water. It also exposes the pad rather than hiding it inside folded fabric.
Close zips before washing so teeth and sliders are less likely to abrade neighbouring fabric. Fasten hook-and-loop tabs completely. Put delicate pieces in mesh bags, but do not pack several items tightly into one small bag.
3. Measure detergent instead of guessing
Use a detergent compatible with the label and your machine. More is not automatically cleaner: excess product can be hard to rinse from a dense load. Follow the detergent dose for load size, water hardness, and soil level.
Avoid chlorine bleach, fabric softener, scent beads, dishwasher products, and home chemical mixtures unless the garment maker specifically approves them. Pearl Izumi explicitly warns against softener and bleach in its general cycling-apparel guidance. Never mix cleaning chemicals.
4. Give the kit room to move
An overfilled drum reduces water movement and rinsing. Use the label-approved delicate or synthetic cycle and temperature. If your machine offers an extra rinse and the garment instructions allow it, that can help when detergent residue is suspected.
Do not invent a hotter cycle to attack smell. Heat can damage elastane, adhesives, prints, waterproof membranes, and pads. The care label—not the odour—is the temperature authority.
5. Dry every layer completely
Remove the load promptly. Reshape garments gently and hang them with space for airflow, out of harsh heat when the label requires it. Open bib straps and make sure the pad is not folded against itself.
Some garments allow low tumble drying; others prohibit it, while certain water-repellent products use controlled heat as part of their care. This is why one universal internet rule is unreliable. Follow the individual label.
If clean kit still smells when it warms up
Run a simple diagnosis before buying another product.
- Smells before the ride: rewash a small load with the measured dose and a thorough rinse.
- Smells clean when dry but strong after ten minutes: residue may remain deep in the fabric; repeat the label-approved process and avoid softener.
- Only one garment smells: inspect its pad, elastic, seams, and any areas that stay damp longest.
- Every load smells: clean the washing machine filter, seal, drawer, and drum according to the machine maker’s instructions.
- Kit dried slowly indoors: improve spacing and ventilation; do not store it until fully dry.
Do not scrub the chamois with a stiff brush, wring stretch fabric, or pour concentrated detergent directly onto one spot unless the label or detergent instructions say to do so. If a garment remains unpleasant after repeated correct care, the practical answer may be replacement.
Build a two-kit rotation
For frequent riders, a second pair of bib shorts is more useful than repeatedly wearing a damp set. A rotation gives each item time to wash and dry completely and reduces the temptation to leave wet clothing in a gym bag.
You do not need premium race kit for this. Use when cycling-specific clothing becomes worthwhile to decide what solves a real comfort problem, and read what to wear under bib shorts before adding another layer that holds moisture against the pad.
Your next step
Check the labels on your worst-smelling jersey and bib shorts now. Run one small, inside-out load with closed fasteners, mesh bags, measured compatible detergent, and a full dry. Change only that routine before deciding you need a specialist cleaner.
Sources and further reading
- Pearl Izumi: product-care guidance
- Rapha: cycling-apparel product care
- r/cycling reader context: recurring odour after washing cycling gear — used as an editorial question signal, not as technical authority.