How to dry insulated cycling gloves without ruining them
Open the cuffs, remove only detachable liners, use moving room-temperature air, and follow the care label before adding heat to sweaty winter gloves.
 Field guide / how-to-dry-insulated-cycling-gloves
Sweaty insulated gloves dry fastest when moisture can leave the lining and moving air can reach the cuff. High heat is not the default answer: a glove combines insulation, membrane, lining, palm material, adhesive, reflective details, and hook-and-loop parts that may have different limits.
The short answer: read the glove’s own care label, open the cuff fully, remove only liners designed to come out, press moisture into a towel without wringing, and hang the gloves in moving room-temperature air. Turn them once during drying. Use a heated dryer or tumble dryer only when the glove maker explicitly permits the temperature and method.
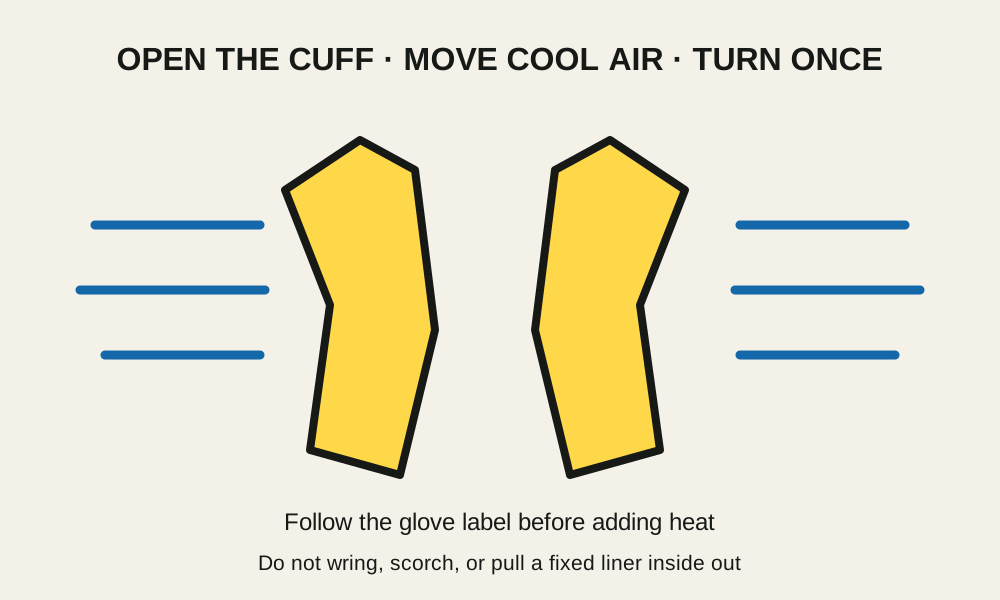
The glove label outranks the insulation name
“Thinsulate” identifies an insulation family, not the complete glove construction. 3M’s technical guidance says the finished-garment manufacturer must determine the proper care method and that the garment’s care instructions should be followed.
That matters because one glove may be approved for a cold delicate wash and low tumble heat, while another with a waterproof insert or leather palm may prohibit machine drying. Do not transfer instructions from one Thinsulate product to every glove carrying the name.
Photograph the care label when the gloves are new. Labels fade, and the product page may disappear before the gloves wear out.
Dry them as soon as the ride ends
Do not leave damp gloves compressed in a jacket pocket, helmet, saddle bag, or closed laundry basket. Warm, trapped moisture prolongs drying and encourages odour.
After the ride:
- Undo every cuff, strap, and closure.
- Shake out loose water outdoors or over a sink.
- Press each glove between clean towels; do not twist it.
- Remove a liner only if the maker designed it to be removable.
- Spread the fingers and hang the glove with the cuff open.
- Point a desk fan across—not necessarily directly into—the openings.
A normal fan can improve evaporation without concentrating heat. Leave space between the gloves and wall so air can circulate around both sides.
Be careful turning liners inside out
Turning a glove fully inside out can expose the wet lining, but many insulated gloves have liners fixed at the fingertips or bonded to a membrane. Pulling hard can invert, tear, or detach them and create bunching that ruins control feel.
If the instructions do not say the liner is removable or reversible, stop when you feel resistance. Instead:
- pull the cuff open as far as intended;
- insert a clean, dry towel briefly to absorb surface moisture;
- reshape the fingers from outside;
- use airflow and time;
- turn the whole glove over midway through drying.
Do not pack a wet glove tightly with newspaper for hours. It can block airflow, leave ink or debris, and distort a waterproof liner. A loose absorbent towel used briefly is easier to control.
Use heat only within the maker’s limit
Avoid hair dryers, hot radiators, ovens, clothes irons, and direct high heat unless the glove maker explicitly specifies them. A hair dryer can create a hot spot faster than the interior feels dry. Heat may shrink a liner, harden leather, damage grip prints, weaken adhesive, or distort a membrane.
Some 3M Thinsulate insulation technical sheets permit low tumble heat for garments built and labelled for it. That is not blanket permission for your gloves. The full product label remains the authority.
If using a commercial boot or glove dryer:
- confirm the glove maker allows it;
- choose unheated or the approved low-temperature setting;
- keep the air path open rather than sealing the cuff around a hot tube;
- use a timer;
- stop if any surface becomes hot, stiff, tacky, or misshapen.
An unheated fan and rack are a cheap first solution. A second glove pair can be more useful than an expensive dryer when rides occur on consecutive days.
Wash only when drying is not enough
Drying prevents damp storage; it does not remove accumulated salt, skin oil, drink residue, or road grime. Follow the glove label for washing frequency and method.
Before washing:
- close hook-and-loop tabs so they do not abrade the fabric;
- remove batteries from heated gloves as instructed;
- brush off dried mud;
- use only approved detergent;
- avoid fabric softener when the maker prohibits it;
- keep gloves away from oily drivetrain rags.
Rinse thoroughly. Detergent left in the lining can irritate skin and make the glove feel clammy. Restore any durable water-repellent finish only with a product and method approved by the glove manufacturer.
Fix the moisture problem, not only the drying problem
If hands are hot and soaked on every ride, the glove may be too insulated for the conditions or effort. Sweat that remains inside insulation can later make hands colder when pace drops.
Build a small system:
- thin full-finger gloves for mild weather;
- wind-resistant gloves for cool, dry rides;
- insulated or lobster-style gloves for colder conditions;
- waterproof overmitts when rain or spray is the main problem;
- a spare dry pair for long or consecutive wet rides.
Choose layers that preserve brake and shift control. Test every combination while stationary: operate both levers from the hoods and drops, release them cleanly, and check that cuff bulk does not restrict the wrist.
The cold-hands glove guide helps match warmth to control rather than simply adding thicker insulation.
Inspect before the next ride
Both gloves should be completely dry at the fingertips, palm, cuff, and between liner layers. Smell and surface dryness are not enough; press the fingertips and seams to check for cool dampness.
Look for:
- a bunched or twisted liner;
- separated seams;
- peeling palm grip;
- hardened or cracked material;
- damaged hook-and-loop tabs;
- loose reflective pieces;
- reduced dexterity or lever grip.
Put the gloves on and test steering grip, finger separation, and brake operation before riding. Replace gloves that cannot be reshaped or that interfere with control.
Your next step
Photograph the care label, open the cuffs, towel-press the gloves, and place them on a rack with a desk fan moving room-temperature air nearby. If they routinely remain wet by the next ride, add a second pair or choose a less insulated glove for that temperature range.
Sources and further reading
- 3M: Thinsulate Type J technical data and finished-garment care warning
- 3M: Thinsulate Type M care guidance
- r/cycling reader context: drying sweaty insulated gloves without floor vents or an expensive dryer — used as a seasonal care-question signal; individual drying suggestions were not treated as manufacturer instructions.