How to choose a safe cycling helmet without shopping by price
Check the correct safety standard, independent impact testing, real fit, coverage, and return policy before paying for a road-cycling helmet.
 Field guide / how-to-choose-safe-cycling-helmet
Before you buy
Check the starter kit first
Print the one-page buying brief for helmet, lights, water, phone, and repair compatibility before comparing upgrades.
The safest useful helmet is not automatically the most expensive one. Start with certification for your country and activity, then compare independent impact results where available, and reject any model that will not sit level and stay secure on your actual head.
The short answer: verify the compliance label inside the helmet, shortlist models with strong independent testing, try the correct size, and keep only a helmet that is snug without pressure points. Price, brand familiarity, “aero” claims, and extra features come later.
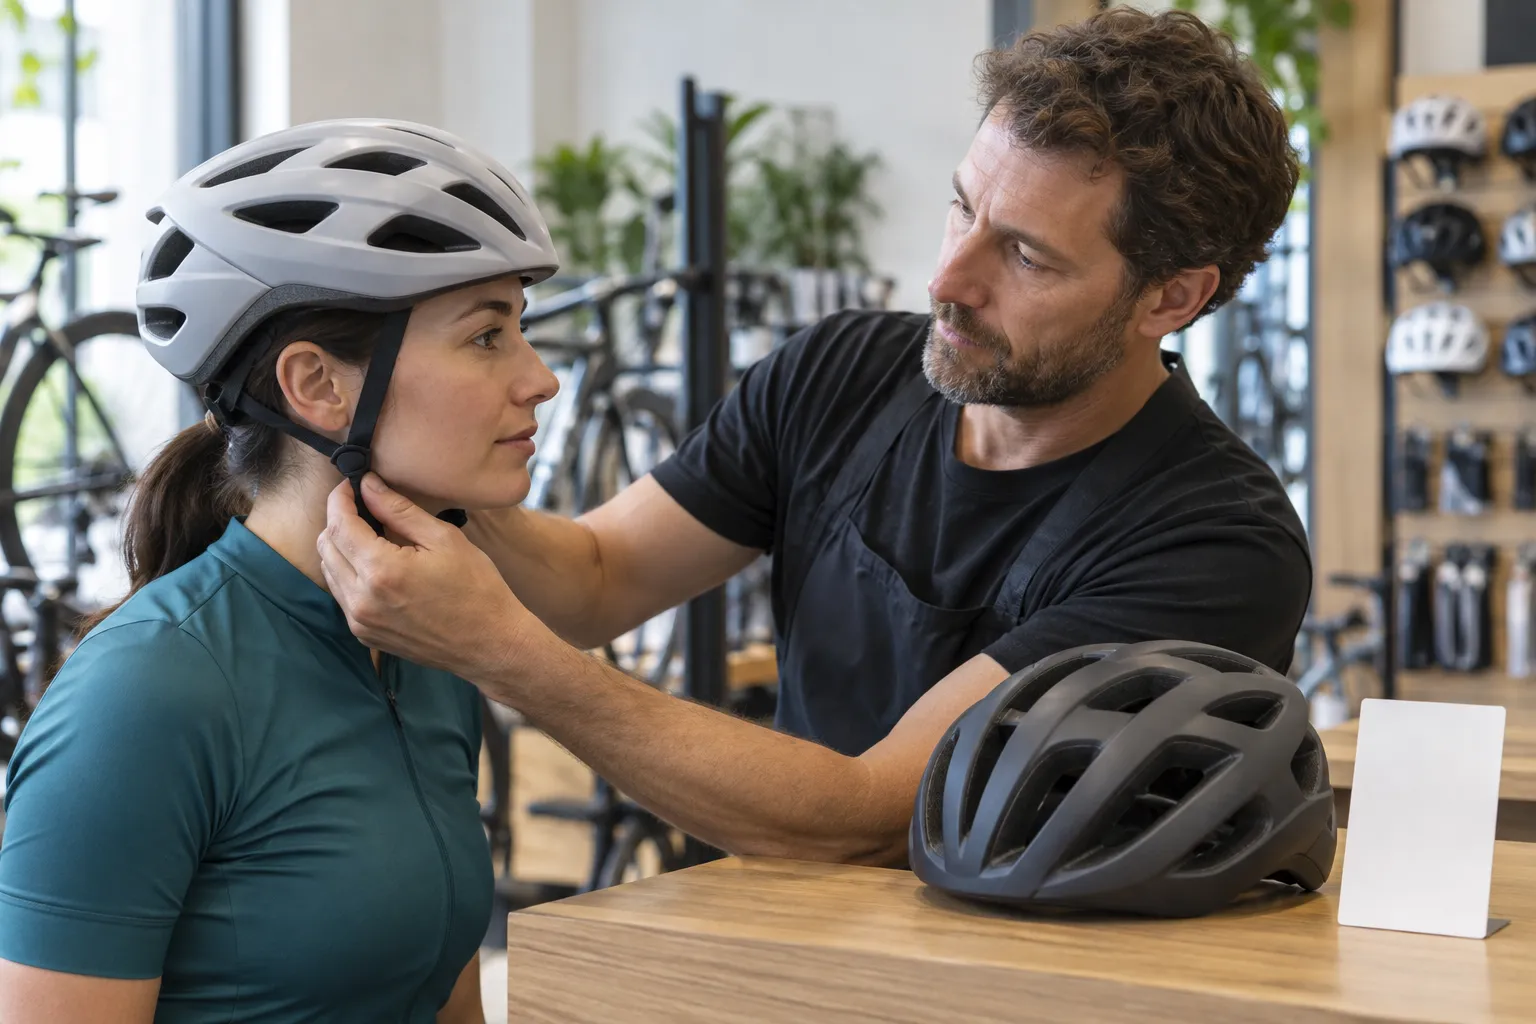
Certification is the first filter, not the final ranking
Every market has its own required or recognised helmet standards. In the United States, bicycle helmets offered for sale must meet the CPSC standard and carry a label saying so. Other regions use different marks and requirements. Check the official rule where you live rather than assuming a familiar logo is sufficient.
Certification means the model passed defined tests such as impact attenuation, retention strength, positional stability, and vision requirements. It does not mean every certified helmet performs identically in every impact.
Check that:
- the helmet is certified for bicycling, not merely styled like one;
- the compliance label is present and legible inside;
- the model and size match the listing and packaging;
- the seller is traceable and offers a clear returns process;
- the helmet is new, complete, and not visibly damaged or modified.
Avoid a used helmet if you cannot verify its impact and storage history. Hidden damage is a poor uncertainty to accept for a relatively small saving.
Add independent impact testing
Virginia Tech’s Helmet Lab performs 24 impact tests per bicycle-helmet model at multiple locations and energies, measuring linear acceleration and rotational velocity. It recommends helmets earning four or five stars in its system. A lower STAR score represents better performance within the bicycle category.
Use this as an additional comparison, not a universal certificate. The lab has not tested every model, market, size, or future revision. Match the exact model name on the helmet to the tested listing; a similar-looking product or family name is not the same result.
An independent rating can reveal good options at several prices. Spend extra for comfort or features only after safety evidence and fit are acceptable.
Fit decides whether the shortlist works
Measure around the widest part of your head according to the maker’s instructions, but treat the centimetre range as a starting point. Head shape matters as well as circumference.
With the retention system loosened, place the helmet level—not tipped back—and adjust it so it is snug. Then check:
- The shell sits low enough to cover the forehead without obstructing vision.
- The retention system tightens evenly rather than creating one painful spot.
- The side straps lie flat and form their junction around the ears as instructed.
- The chin strap closes securely without twisting.
- The helmet does not roll forward, backward, or sideways with a firm hand movement.
- Glasses, hair, cap, hearing devices, and cold-weather layers do not disrupt the fit.
Keep it on in the shop for several minutes. A mild pressure point can become a headache after an hour. Try another model rather than buying a larger, unstable size to escape the pressure.
Use our step-by-step helmet fitting guide once you have a candidate.
Separate safety needs from feature preferences
Features can be valuable, but they answer different questions:
- Ventilation: matters in your climate and at your riding intensity.
- Coverage: choose a shape appropriate to the riding you actually do.
- Weight: can affect comfort, but low weight is not itself a safety rating.
- Visor: useful for some riders, irrelevant or obstructive for others.
- High-visibility colour or reflective detail: may support conspicuity but does not replace lights, positioning, or attention.
- Accessory mounts: must not compromise the helmet or conflict with the maker’s instructions.
- Rotational-impact systems: designs differ; use independent whole-helmet test results instead of buying one acronym in isolation.
Never drill, glue, cut, paint, or attach an unapproved camera or light to a helmet. The maker’s manual decides what is compatible.
A practical shop comparison
Take this five-line brief to the retailer:
- Show me cycling-certified models in my measured size.
- Which exact models have current independent impact ratings?
- Let me try at least two internal shapes, not only two sizes of one model.
- What is the return policy if an indoor fitting reveals a pressure point?
- Where are the manufacturing date, instructions, and compliance label?
Do not let a sale price override a poor fit, and do not let a high price substitute for evidence. If two certified, well-rated helmets both fit, choose the one you will wear correctly on every ride.
Know when this becomes a replacement decision
This guide is about buying. Crash history, visible damage, heat exposure, chemical exposure, degraded straps, missing parts, and the maker’s instructions affect whether an existing helmet should remain in service. Read when to replace a cycling helmet rather than relying on one universal age rule.
Your next step
Write down the certification required where you live, your measured size range, and two independently tested models available from a traceable seller. Then try them on. Buy only after one remains level, stable, and comfortable through a proper fit check.
For the rest of a first riding setup, use the starter gear checklist before buying upgrades.