Will mudguards fit your road bike? Check width, clearance, and mounts
Measure the fitted tyre, frame gaps, brake space, and mounting points before buying road-bike mudguards—and know when a smaller tyre is the safe answer.
 Field guide / how-to-check-road-bike-mudguard-clearance
Before you buy
Check the starter kit first
Print the one-page buying brief for helmet, lights, water, phone, and repair compatibility before comparing upgrades.
Tyre clearance and mudguard clearance are not the same number. A frame advertised for a 40 mm tyre does not automatically accept a 40 mm tyre plus a full-length guard. The guard needs its own width, height, mounting room, and safe gap around the inflated tyre.
The short answer: measure the tyre as fitted, then check the narrowest point at the fork crown, seatstay bridge, chainstays, brakes, and frame. Choose a guard whose maker approves that tyre width and mounting method. If the required gap will not fit, use a narrower tyre or a compatible clip-on guard—never squeeze a guard against the tyre.
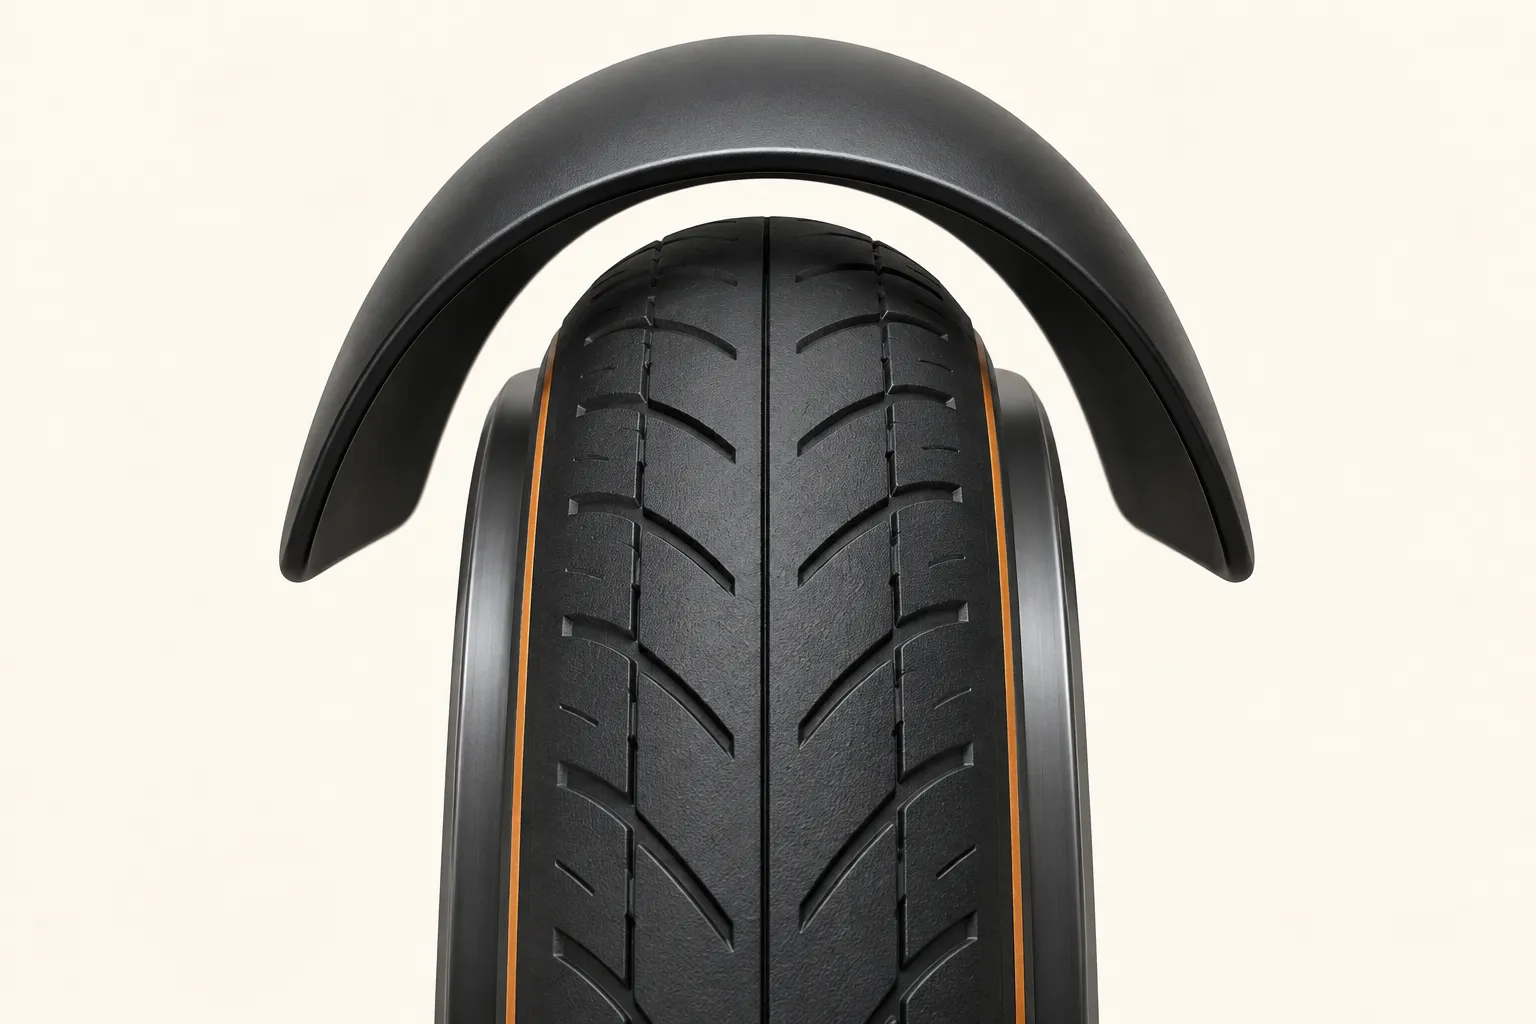
Why the advertised tyre clearance is not enough
A recent r/cycling question about fitting mudguards around 40 mm tyres captures the confusion. The rider knew the bike’s stated tyre clearance but not whether that figure included space for a guard.
Usually, it does not. A maximum tyre figure may describe the largest tyre the bicycle maker permits without a guard, under its own measurement assumptions. Actual tyre width also changes with rim width, pressure, casing, tread, and manufacturing tolerance.
The useful question is not “does the bike clear 40 mm?” It is “does this measured tyre, on this rim, leave the gap required by this exact guard at every pinch point?”
Start with the mounting system
Full-length guards normally need a secure connection near the axle, at a fork crown or brake bridge, and around the rear bridge area. Some frames provide threaded eyelets. Others need a guard designed around straps, clips, or model-specific brackets.
Before measuring, identify:
- threaded eyelets near both dropouts;
- a usable fork-crown mounting point;
- a seatstay bridge and its hole or bracket;
- any chainstay bridge or tight gap behind the bottom bracket;
- the brake type and whether the guard passes beneath or around it;
- cables, hoses, sensors, lights, racks, or frame fittings in the same space;
- carbon-frame restrictions on clamps or contact points.
Do not drill a frame or fork, substitute random clamps, or trap a bracket under an axle unless the frame and guard makers explicitly permit that method.
Measure the tyre that is actually fitted
Set the tyre to your normal checked riding pressure and let a newly installed tyre settle. Measure its widest point and its highest point relative to the rim. The number printed on the sidewall is a nominal size, not proof of its fitted dimensions.
Then inspect the whole wheel path:
- Fork crown and fork legs.
- Front brake caliper or hose area.
- Down tube at full steering lock.
- Seatstay bridge and rear brake area.
- Chainstays and any bridge behind the bottom bracket.
- Front derailleur, battery, sensor, and cable routes.
- Toe clearance when steering slowly.
Use the narrowest point, not the roomy section at the top of the wheel, to judge feasibility.
Match tyre width to guard width
A guard should generally extend beyond the tyre shoulders so spray remains inside it. SKS says its optimum splash-protection starting point is a guard around 10 mm wider than the tyre, while its individual products specify their own approved tyre range and minimum gap.
That is product guidance, not a universal conversion formula. A nominal 45 mm guard may have a different internal profile, stay arrangement, and approved tyre range from another 45 mm model. Treaded tyres also need room for their real height and for debris carried by the tread.
Build your shortlist from three matching facts:
- measured tyre width;
- the guard maker’s approved tyre range;
- the frame and fork’s available space after the required guard gap is included.
If one of those is unknown, do not buy on width alone.
Clearance must remain even
Fit the guard to the manufacturer’s instructions before tightening everything fully. Centre it over the tyre, set the stays, and create an even gap through the entire arc.
Some SKS road-guard instructions require at least 15 mm between tyre and guard. That figure applies to those products; use the number in your exact guard manual. Do not shrink a stated gap because the wheel appears true in a stand.
An adequate static gap accounts for:
- a wheel moving slightly under load;
- tyre growth and small dimensional variation;
- flex in the guard and stays;
- water, grit, leaves, or small debris;
- a wheel being reinstalled slightly differently;
- wear or loosening at a mount.
A guard that rubs only when climbing, steering, or carrying luggage still does not fit correctly.
Check safety-release hardware
Full-length front guards commonly use a stay-release feature intended to reduce the chance of a trapped object stopping the front wheel. Use every supplied safety part in the specified orientation. Do not replace a release clip with a rigid improvised fixing because it looks neater.
Keep stay ends trimmed or capped exactly as instructed. Long exposed stays can cut a rider; incorrectly shortened stays may no longer provide enough adjustment or thread engagement.
After installation:
- Spin both wheels and listen for contact.
- Turn the bars fully in both directions.
- Compress or load the bike as the manual permits.
- Operate both brakes and every gear.
- Confirm no stay, bolt, flap, cable, or guard edge can enter the spokes.
- Recheck all fasteners after the first short ride and at the interval the guard maker specifies.
When a narrower tyre is the better answer
Move to a narrower compatible tyre when the guard maker’s required gap cannot fit around the current tyre, but the bike and rim safely accept the smaller option. Confirm the tyre’s rim compatibility, pressure limits, and actual frame clearance rather than buying only by sidewall number.
Do not reduce tyre pressure to manufacture clearance. A softer tyre changes shape under load and still needs an appropriate pressure for the rider, system, and road.
If you are choosing a bike for year-round commuting, check guard fit before purchase. The road-bike buying checklist and road-or-gravel commuter comparison treat weather equipment as part of the complete bike, not an afterthought.
Full-length or clip-on?
Choose full-length guards when the bike has compatible mounts and you want the best protection for feet, drivetrain, back, and riders behind. Choose a purpose-made clip-on system when mounts are absent or the frame has less room, provided the maker approves your frame material, tube shape, tyre width, and brake layout.
Short seatpost-mounted guards can reduce spray on the rider’s back but do much less for feet, drivetrain, and the person following. They are not a clearance workaround if the product still sits too close to the tyre.
Your next step
Inflate both tyres to your normal checked pressure and record their actual widths. Photograph every mounting point and the narrowest gaps at the fork crown, brakes, bridges, and chainstays. Compare those measurements with one exact guard manual before ordering. If the stated gap will not remain all the way around, change tyre or guard rather than forcing the fit.