How to carry a crossbody bag while cycling without it swinging
Choose and test a close-fitting crossbody, hip, jersey, saddle, frame, or handlebar bag so essentials stay stable and clear of the bike.
 Field guide / how-to-carry-crossbody-bag-cycling-without-swinging
Before you buy
Check the starter kit first
Print the one-page buying brief for helmet, lights, water, phone, and repair compatibility before comparing upgrades.
A normal crossbody bag often swings forward when you lean, brake, or stand on the pedals. For cycling, use a compact bag that sits high and close to the back with a stabiliser strap—or move the load to a secure bike-mounted bag.
The short answer: keep the load small, shorten the main strap, add the bag’s designed secondary strap around the torso, tuck every loose end, and check that you can look behind and reach the brakes normally. If the bag still moves, choose a hip pack, zipped jersey pocket, saddle bag, frame bag, or handlebar bag instead.
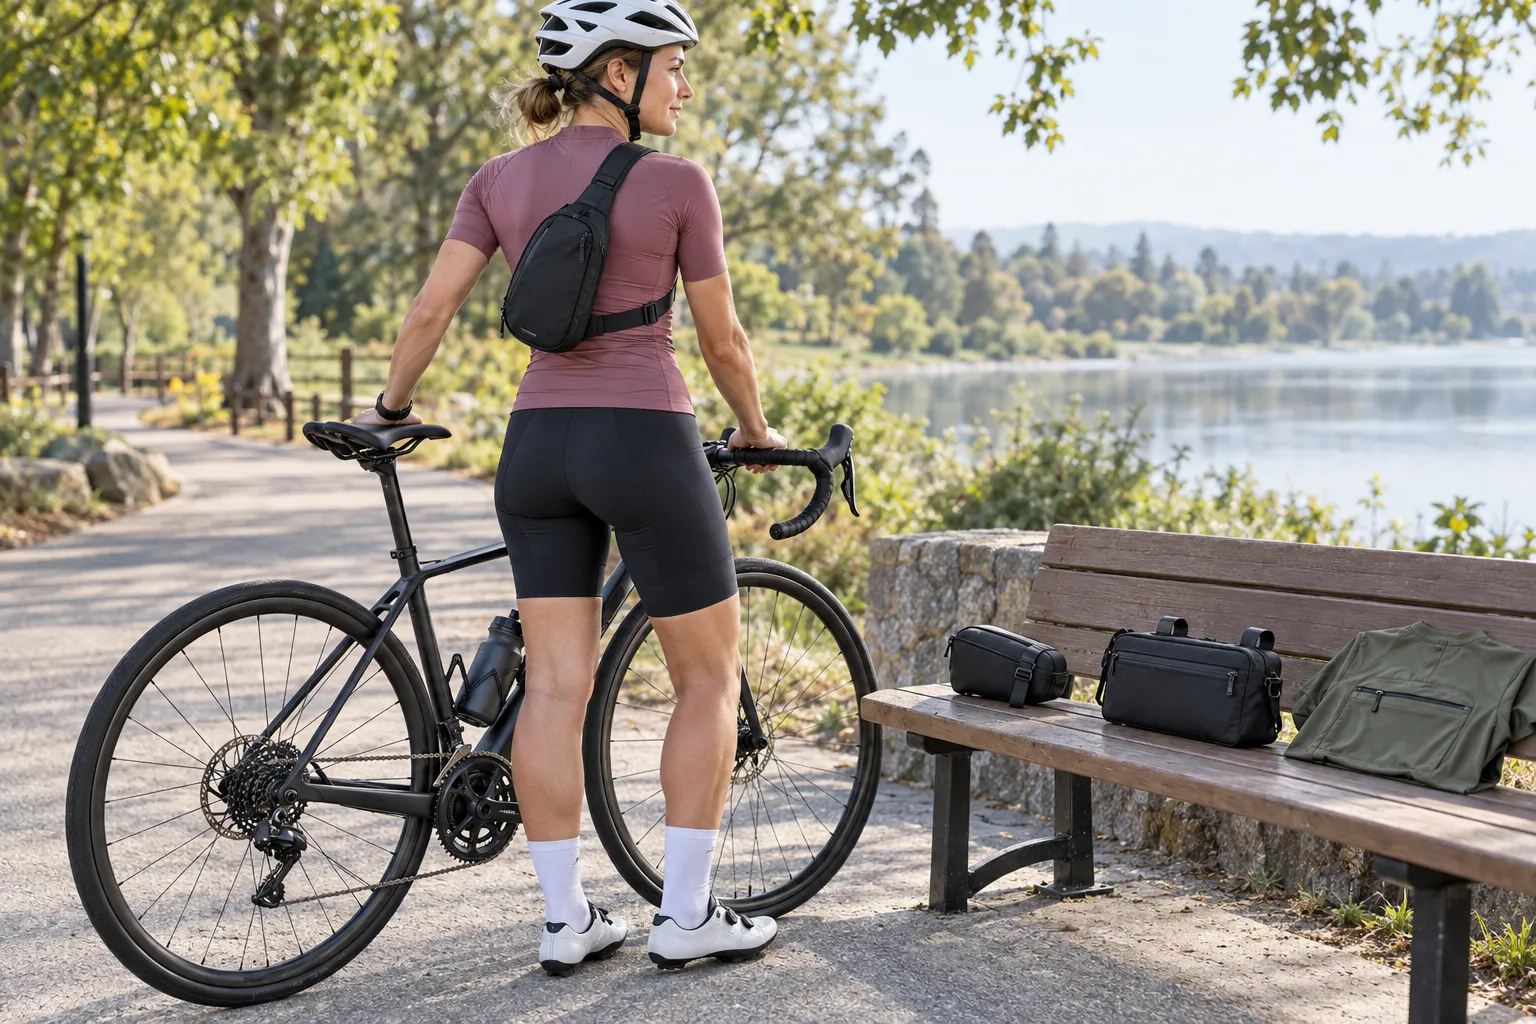
Why ordinary fashion bags move on a bike
A recent road-bike discussion asked for a crossbody bag that would not slide while riding. That is a recurring practical problem because cycling changes the bag’s orientation.
On the bike your torso leans forward, your shoulders rotate, and braking pushes the load toward the front. A long single strap lets the bag behave like a pendulum. Smooth fabric, a heavy phone, and a half-empty large compartment make the movement worse.
The solution is not simply “buy a cycling brand.” It is to control load, shape, strap geometry, and clearance.
Features that make a crossbody bag stable
Look for:
- Compact volume: enough for the actual ride, not a day tote.
- Wide adjustable main strap: spreads pressure and holds its setting.
- Designed stabiliser strap: connects the bag to the opposite side of the torso.
- High placement: the bag rests between the shoulder blades or securely at the lower back, not on the hip where it can swing.
- Low internal movement: dividers or snug pockets keep a phone and keys from shifting.
- Secure closures: zips or buckles that cannot open toward the road.
- Managed strap ends: elastic keepers or loops prevent loose webbing.
- Weather protection appropriate to the consequence: especially for a phone, medication, or documents.
Do not improvise a cord around your torso or knot loose webbing near moving parts. Use only the strap arrangement the bag is designed to support.
Pack by consequence, not capacity
Put dense items closest to your back. Separate keys from a phone and spare tube. Keep liquids sealed and upright where possible. Do not place a hard tool where a fall could drive it into your spine.
For a short supported ride, the on-body load may be only:
- phone;
- keys;
- payment and identification;
- any essential personal medication.
The puncture kit, tube, levers, and inflation often fit better in a road-bike saddle bag. That keeps the heavy, dirty equipment on the bicycle and leaves the crossbody bag light.
Compare the alternatives
| Carry option | Best for | Main check |
|---|---|---|
| Stabilised crossbody | Small valuables you want to take when leaving the bike | Must not swing or limit shoulder checks |
| Hip pack | Compact load and casual clothing | Must stay above the thighs and away from jersey pockets |
| Zipped jersey pocket | Phone, card, small food | Load must be secure and not overloaded |
| Saddle bag | Repair kit that stays with the bike | Must clear tyre, legs, light, and seatpost hardware |
| Frame bag | Heavier compact items and longer rides | Must not rub knees, cables, bottles, or frame finish |
| Handlebar bag | Layers, food, camera, day-ride items | Must not affect cables, light, steering, or tyre clearance |
A backpack is another option, but it can trap heat and place more weight on the rider. For long rides, moving weight to a correctly fitted bike bag is usually more comfortable.
Run a five-minute stability test
Pack the exact items you plan to carry, then:
- Put on your normal riding clothes and helmet.
- Adjust the main strap so the bag sits close without restricting breathing.
- Fit the stabiliser strap as designed.
- Tuck every loose strap end.
- Bend into your riding position and shake your shoulders gently.
- Practise looking over both shoulders.
- Mount the stationary bike and turn the bars fully both ways.
- Ride slowly in a traffic-free area, then brake progressively and stand briefly.
Reject the setup if the bag slides toward your chest, strikes your helmet, blocks a rearward look, catches a saddle, hits a bottle, or makes you ride one-handed to reposition it.
Check bike-mounted bags just as carefully
Bike-mounted does not automatically mean safe. After installation, compress suspension if applicable, turn the steering, spin both wheels, operate both brakes and all gears, and load the bag to its intended weight.
Confirm that:
- no strap can enter the spokes or chain;
- the bag cannot touch the tyre over bumps;
- a handlebar bag does not press hydraulic hoses or shift cables;
- lights and reflectors remain visible;
- bottles can be removed without snagging;
- the bag does not cover a frame crack or important fastener you need to inspect.
Recheck straps after the first rough section. Fabric settles and loads move.
Style without the safety compromise
A bag can look like ordinary clothing and still use cycling-friendly structure. Prioritise a close silhouette, removable stabiliser strap, quiet hardware, and useful internal pockets. Neutral bags often transfer well from riding to a café or train.
Avoid choosing a large size “just in case.” Extra space encourages extra weight and gives contents room to move. If you regularly carry a jacket, lock, laptop, or groceries, use a rack, pannier, or purpose-built larger bike bag on a compatible bicycle rather than loading one shoulder.
Your next step
Lay out what you actually carried on the last three rides. Put repair equipment in the tested roadside kit, then choose the smallest secure option for the remaining valuables. Complete the stability test before removing tags or return packaging.