Test your bike multi-tool before relying on it roadside
Audit a cycling multi-tool at home for exact bit fit, reach, leverage, and every repair your bike may need without rounding fasteners.
 Field guide / test-bike-multitool-before-first-ride
Before you buy
Check the starter kit first
Print the one-page buying brief for helmet, lights, water, phone, and repair compatibility before comparing upgrades.
A cycling multi-tool belongs in your saddle bag only after it has passed a home test on your bicycle. Check that every claimed hex or Torx bit fits fully, reaches the fastener squarely, provides enough controlled leverage, and can perform the repairs you actually expect. A long feature list does not help if the body hits the frame, the bit is too short, or a loose fit rounds your thru-axle socket.
The short answer: make a fastener map for your bike, test each roadside task at home with clean undamaged hardware, and compare the multi-tool’s fit with a good full-size key. If a bit wobbles, slips, bottoms early, or cannot align straight, do not use it under load. Carry a separate high-quality key or choose another tool.
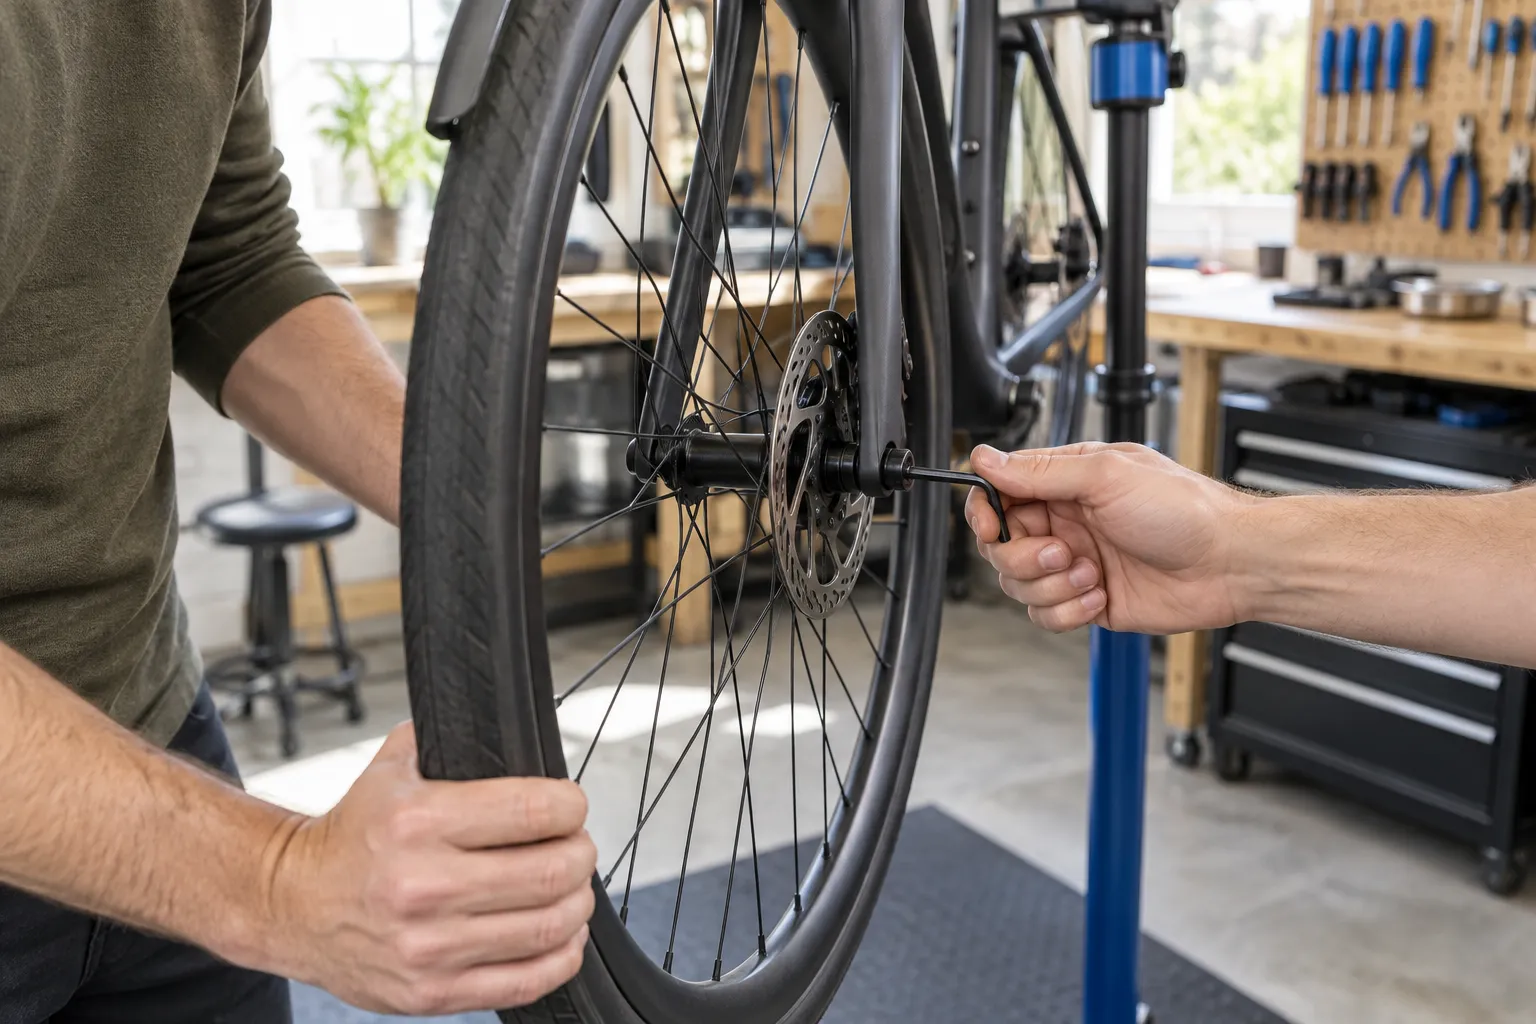
Why the home test matters
A recent r/bikewrench post described a new multi-tool whose nominal 5 mm bit slipped and became stuck in a front thru-axle. The rider tested it at home and discovered the problem before a roadside puncture—that part of the workflow was exactly right.
The discussion also illustrates why appearance can mislead. Lezyne’s current V Pro 13 description says its working bits are machined steel while the side plates are aluminium. A light tool body does not prove that the bit itself is aluminium, and material alone does not diagnose poor engagement. Dirt, a damaged socket, incomplete insertion, tool wear, dimensional error, or an awkward operating angle can produce similar symptoms.
Build a fastener map for your bicycle
Walk around the bike with its manuals and record the roadside-relevant interfaces:
- front and rear axle removal size;
- wheel-retention lever or removable handle location;
- seatpost clamp and saddle bolts;
- stem faceplate and steerer-clamp bolts;
- handlebar or integrated-cockpit fasteners;
- derailleur and hanger fasteners;
- brake-caliper mounting size only for inspection, not casual roadside adjustment;
- chain quick-link and whether the tool includes compatible pliers;
- chain tool compatibility with the installed chain;
- tubeless valve-core tool if your repair plan requires one.
Record Torx separately from hex. A T25 driver is not a “close enough” substitute for a hex key, and metric hex fasteners should not be approached with fractional-inch bits.
Test fit before applying torque
For every applicable fastener:
- Clean dirt from the socket with a soft brush or cloth.
- Inspect it under bright light for previous rounding or packed debris.
- Insert the correct full-size workshop key and learn what complete engagement feels like.
- Insert the multi-tool bit without turning it.
- Confirm that it reaches equally deep, sits square, and has little rotational rock.
- Check that the multi-tool body clears the frame, spokes, rotor, hoses, and your hand.
- Apply only modest controlled force during the audit.
If the multi-tool feels noticeably looser than a known-good key, investigate before loosening the fastener. Test the same bit in another clean, undamaged fastener of the correct size. That separates a damaged bike socket from a suspect bit without sacrificing the axle.
Reach and leverage are part of compatibility
A tool may list the correct size and still fail the task.
Short bits may not reach recessed bolts. A wide folding body may prevent straight alignment. A tiny handle may be unable to loosen a correctly tightened axle, while an excessively long improvised lever can overload the bit or fastener.
Your roadside tool does not need to replace a workshop torque wrench. It needs to remove the wheel or make a limited adjustment without damage, then allow correct reassembly according to the bike’s manual. If your axle routinely requires more force than a suitable hand tool can provide, inspect threads, cleanliness, lubrication requirements, damage, and installation torque rather than carrying a longer cheater bar.
What to do when a bit starts to slip
Stop immediately. Continuing turns a small fit problem into a rounded socket.
- Unload the tool and keep it aligned.
- Do not rock it sideways to “find grip.”
- Do not hammer a folding tool deeper into a hollow axle.
- Do not glue the bit into the fastener.
- Use a correctly sized, high-quality full-length key only if the socket remains sound.
- Replace or professionally extract a damaged fastener before the next ride.
If the bit itself is deformed, chipped, twisted, or outside specification, remove the tool from service and contact the maker or retailer. Do not move the suspect bit to less important bolts.
Rehearse the complete repair
The best audit is one calm home rehearsal:
- Remove and reinstall each wheel using the tools you plan to carry.
- Confirm your tyre levers, tube or plugs, inflation method, and valve tool work together.
- Check that the multi-tool can reach a seatpost or cockpit fastener you might need to secure after movement.
- Practise the chain tool on a discarded compatible chain section—not the good chain for the first time.
- Pack everything in its actual saddle bag and check for rattling or corrosion exposure.
Finish safety-critical tightening with the proper workshop torque tool. The multi-tool test is about roadside capability, not replacing accurate installation.
Choose functions from the bike, not the packaging
A sensible tool may need fewer features than the largest model. Prioritise:
- exact, well-made bits for your bike;
- adequate reach and body clearance;
- a handle shape you can control with cold or wet hands;
- corrosion resistance and replaceable or warranted parts;
- chain functions that match your actual chain;
- compact storage that does not abrade a spare tube.
For a bike with a deeply recessed axle socket, a separate L-key of the exact size may be more reliable than any folding tool. Pack the tool your bicycle needs, not the one with the highest function count.
Your next step
Take your current multi-tool and make a ten-minute fastener map. Test both axles first, because wheel removal is central to many roadside repairs. If either bit cannot sit fully and squarely, replace the tool or add a dedicated key before your next ride.
Then use the road-bike saddle-bag checklist to make sure the tool works as part of a complete repair system.
Sources and further reading
- Lezyne V Pro 13 specifications: steel bits and aluminium side plates
- r/bikewrench reader context: multi-tool bit slipped and stuck in a thru-axle — used as an editorial problem signal; the thread did not establish the condition of every tool or fastener.