How to inspect used carbon rim-brake wheels before buying
Check identity, brake-track wear, heat and impact damage, tyre compatibility, hub condition, spare parts, and complete conversion cost before buying used wheels.
 Field guide / how-to-buy-used-carbon-rim-brake-wheels
A used carbon rim-brake wheel is worth considering only when its exact model, service history, brake track, rim structure, hubs, spokes, tyre system, and replacement parts can all be verified. Price comes last. A deep rim that looks clean in a listing can still need new pads, a freehub, bearings, tyres, or retirement because of brake-track wear.
The short answer: identify the exact generation and serial number, obtain its manual, inspect the complete brake track and rim in person, verify every interface with your bike, and add the cost of approved pads, tyres, tubes, cassette parts, hub service, and professional inspection. Walk away when crash history, heat exposure, repairs, wear limits, or spare-parts support cannot be resolved.
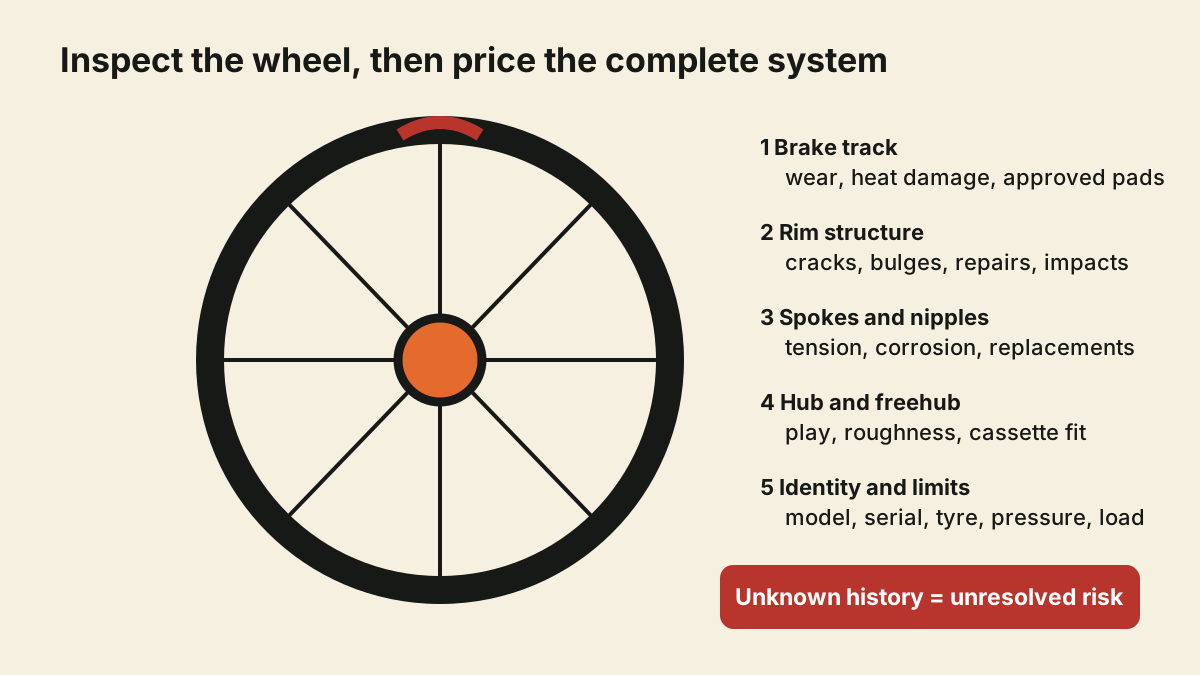
Why old premium wheels need a different check
A current r/bicycling discussion compared older used carbon and aluminium rim-brake wheelsets for a 2013 road bike. Replies focused on price and appearance, but the underlying decision is broader: a discontinued premium wheel can be inexpensive to buy and expensive—or impossible—to support.
Carbon rim-brake wheels combine the rim structure with the braking surface. Repeated braking creates heat at that structure, and pad choice is model-specific. Zipp’s current road-wheel manual warns that improper or contaminated pads can create excessive temperatures and premature rim wear or failure. It also tells riders not to use pads on carbon rims after those pads have been used on aluminium rims.
Those statements apply to the named wheels and manual, not to every brand. The principle is universal: the exact wheel maker decides the wear signs, approved pads, tyre system, pressure, load, and service method.
Identify the exact wheel before meeting the seller
Ask for clear photographs of:
- both sides of each wheel;
- every decal, serial number, model code, and hub marking;
- the complete brake tracks in overlapping sections;
- valve holes, spoke holes, and spoke nipples;
- freehub splines and axle ends;
- any scratch, repair, impact, or discoloured area; and
- included pads, skewers, spacers, valve extenders, and manuals.
Model name alone may span several generations with different rim widths, tyre types, hubs, brake tracks, and replacement parts. Match the serial or visual details to a manufacturer service page. If the identity remains uncertain, you cannot reliably establish the correct pads or limits.
Verify compatibility as a complete system
“700c Shimano wheel” is not enough. Confirm:
- Brake system: the wheel is genuinely designed for rim brakes and the caliper can reach and clear the rim.
- Axle and frame: front and rear spacing, axle type, dropout fit, and skewer requirements match.
- Freehub and cassette: the driver accepts the cassette family and speed, including any required spacer.
- Tyre interface: clincher, tubular, tube-type, or tubeless compatibility is documented for that generation.
- Rim and tyre width: the chosen tyre is approved and fits the frame and brakes at its measured width.
- Pressure and load: use the lowest applicable wheel, tyre, rim tape, and bicycle limit.
- Pads: the exact approved pad compound is available for the rim.
Run the hardware through the replacement-wheel compatibility checklist before discussing price.
Inspect the brake track first
Clean dirt can hide surface changes, but aggressive polishing can also hide evidence. Ask the seller not to refinish the track before inspection.
Under bright, raking light, inspect the full circumference on both sides for:
- the maker’s wear indicator or documented wear pattern;
- exposed fibres or a changed weave pattern;
- grooves, steps, waviness, bulging, or concavity;
- glossy burned areas, resin changes, or discolouration;
- cracks at the track edge or tyre bed; and
- embedded aluminium or grit from incorrect pads.
Zipp’s manual gives a brand-specific stop condition: when its outer woven brake-track layer is worn enough to expose the described parallel fibres, the wheel must not be ridden and needs retailer inspection. Another maker may use a groove, hole, coating, thickness, or different visual cue. Do not invent one generic carbon wear test.
If a seller says “the marks are only cosmetic,” ask for the wheel maker or an authorised carbon-repair specialist to confirm that in writing. A marketplace description is not a structural assessment.
Check heat, impact, and repair history
Ask directly about:
- crashes, potholes, transport drops, and airline travel;
- long or steep descents and any tyre blow-off;
- brake rub or a pad contacting the tyre;
- indoor trainer use with the rear wheel fixed or loaded unusually;
- professional or home repairs;
- maximum rider and luggage load; and
- storage near heat, chemicals, or vehicle exhaust.
An honest “I do not know” leaves the risk unresolved. Carbon damage can extend beyond a visible mark, and not every repair is approved by the original wheel maker. For an expensive set, condition the sale on inspection by a qualified shop or carbon specialist.
Inspect the rest of the wheel
Spokes, nipples, and trueness
Spin each wheel in a suitable stand or known-compatible bicycle. Look for lateral and radial runout, local hops, uneven spoke tension, corrosion, seized nipples, replacement spokes, and cracks around spoke holes. A wheel that was repeatedly trued may have an underlying rim or tension problem.
Do not squeeze spokes to create a universal tension verdict. Spoke type, lacing, rim design, and specified tension vary. A wheel builder can measure tension and dish.
Hubs and freehub
Turn the axle slowly and check for roughness, notchiness, binding, or play. Rotate the freehub, listen for inconsistent engagement, and inspect splines for severe notching. Confirm that replacement bearings, freehub bodies, end caps, and proprietary spokes still exist.
A cassette included in the sale adds little value if it is worn or incompatible. Use the used-parts buying method to price wear items separately.
Tyres and accessories
Treat old tyres, tubes, rim tape, pads, and glue as consumables unless their age, condition, and exact compatibility are documented. Tubular tyres add bonding history and removal labour. Valve extenders and proprietary skewers must be the right type, not merely present.
Calculate the real purchase price
Add:
- professional wheel and carbon inspection;
- approved new brake pads;
- compatible tyres, tubes or tubular installation;
- cassette, spacer, and lockring work;
- hub bearings or freehub service;
- missing skewers, valves, extenders, or spokes; and
- the uncertainty of no warranty or returns.
Then compare that complete figure with a supported new wheelset and with a serviceable aluminium alternative. On wet rides and long descents, predictable braking and available spares may be more useful than rim depth.
Do not anchor to original retail price. The wheel’s remaining supported life and fit for your routes determine its value now.
Your next step
Ask the seller for the serial numbers, close-ups of both brake tracks, crash and descent history, current pad type, rider load, hub service history, and a video of each wheel turning. Match the exact generation to its manual. If those checks pass, arrange an in-person wheel-builder inspection before payment; if identity or brake-track condition remains uncertain, buy a different wheel.
Sources and further reading
- SRAM/Zipp road-wheel manual: rim-brake pads, brake-track wear, and wheel limits
- SRAM/Zipp example service page: model-specific specifications and documents
- r/bicycling reader context: comparing used rim-brake wheelsets — used as an editorial demand signal; prices and anecdotes were not treated as market data or safety evidence.