How to clear a clogged road-tubeless valve
Separate a blocked pump connection, valve core, and tubeless valve stem, then restore airflow without creating a leak at the rim.
 Field guide / clogged-road-tubeless-valve
Before you buy
Check the starter kit first
Print the one-page buying brief for helmet, lights, water, phone, and repair compatibility before comparing upgrades.
When a road-tubeless valve will not accept air, the blockage may be in the pump head, removable core, or valve stem. Diagnose those in order. Do not immediately unseat the tyre or tighten the valve nut harder.
The short answer: verify the pump on another Presta valve, fully deflate the tyre, remove the core with the correct tool, and test airflow through the core and open stem separately. Clean or replace only the blocked part, then reinflate gradually while checking the bead and valve for leaks.
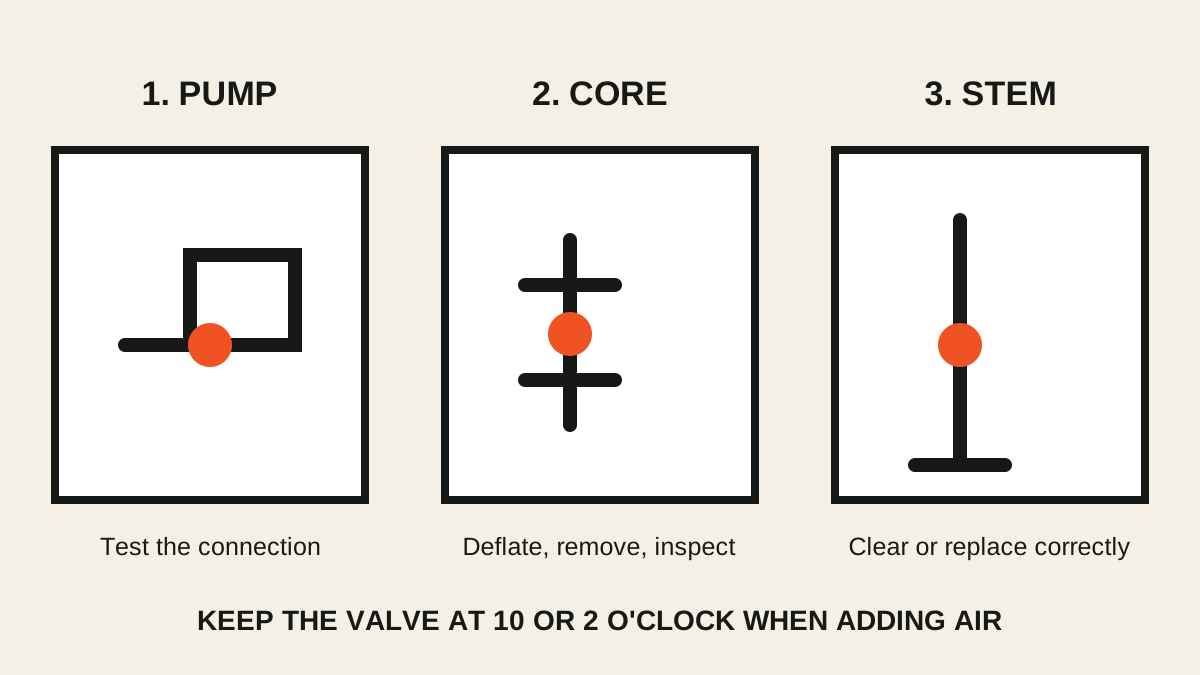
Why tubeless valves clog
A current road-tubeless discussion describes a rear valve repeatedly clogging until air would no longer enter. The question often becomes a shopping comparison, but the useful first task is locating the restriction.
Sealant is supposed to move toward escaping air. That means it can collect in the narrow passages of a valve or removable core, particularly when the valve sits at the bottom while pressure is adjusted. Dried sealant, a bent core pin, a pump head that is not fully seated, or a valve design incompatible with the pump can produce similar symptoms.
Do not treat a Reddit anecdote about one valve brand as proof that your complete valve needs replacement.
Step 1: prove the pump works
Before touching the wheel:
- Open the Presta tip fully.
- Push it briefly to confirm it moves.
- Fit the pump head squarely and completely.
- Try the same pump on a known-working Presta wheel.
If the pump fails on both, service the pump head. If it works on the comparison wheel, continue with the tubeless valve. The Presta inflation guide covers pump-head faults in more detail.
An electric pump that instantly reports high pressure may simply be pushing against a blockage. Stop rather than cycling it repeatedly and heating the hose or chuck.
Step 2: deflate before removing the core
Rotate the valve toward the top of the wheel and let the sealant drain away from it for several minutes. Protect the floor and wear eye protection. Release all pressure through the valve as far as the blockage allows.
Confirm the tyre is fully soft before putting a core tool on the flats of a removable core. Unscrew it slowly while keeping your face away. If pressure remains or the core begins to eject, stop and allow the system to depressurise.
Not every valve uses a conventional removable Presta core. Some high-flow systems have their own internal parts and service procedure. The manufacturer’s instructions take priority.
Step 3: test the core and open stem separately
With the core out:
- inspect its side openings and rubber seal;
- press the pin gently and check for free movement;
- look through the valve stem without inserting a sharp metal object;
- attach the pump briefly to the open stem and test for airflow at low effort.
If air moves freely through the stem but not the core, clean or replace the correct core. If the open stem remains blocked, the valve body needs model-specific cleaning or replacement.
Do not push a drill bit, spoke, or screwdriver through the valve. It can damage the stem, valve base, rim tape, or tyre. Do not pour unapproved solvent into a mounted tyre; it may affect sealant, tape, rubber, or the rim finish.
Clean or replace the right part
For a conventional removable core, peel or wipe away loose dried sealant without cutting the rubber seal. If its pin is bent, sealing surface damaged, or movement still sticky, replace it with a compatible core.
For a blocked valve stem, follow the valve maker’s method. Some can be cleared with a non-damaging purpose-made tool after depressurisation. If removal is required, unseat only enough tyre to work safely and protect the tape. The valve base shape, grommet, washer, and nut order must return exactly as specified.
Replace the full valve when:
- the stem or threads are bent or cracked;
- the base seal is damaged;
- the internal passage cannot be restored safely;
- the retaining hardware is corroded or incorrect;
- the valve is not suitable for the rim profile;
- its proprietary parts are unavailable.
Valve length must leave enough accessible stem for the pump. Extensions and deep rims add another compatibility layer.
Reassemble without creating a rim leak
Install the core to the valve maker’s specification. “As tight as possible” can damage the core or make roadside removal impossible.
If the complete valve was removed:
- Inspect the rim tape around the valve hole.
- Replace damaged, lifted, split, or badly indented tape using the rim maker’s approved tape and process.
- Seat the specified valve base against the inside of the rim.
- Tighten the outer nut only by the approved method.
- Add the correct, well-mixed sealant quantity by the product instructions.
- Inflate gradually and inspect both bead lines.
- Check the valve base and spoke holes for escaping air.
Air appearing at spoke holes can indicate air entering the rim cavity through damaged tape elsewhere; it does not prove every nipple leaks independently. Stop and inspect rather than tightening the valve nut harder.
Reduce repeat clogging
- Put the valve around 10 or 2 o’clock before adding or releasing air, giving liquid sealant time to drain away.
- Wipe the valve tip before attaching the pump.
- Do not deliberately release sealant through the valve to check pressure.
- Check sealant on the product’s schedule instead of letting it dry into deposits.
- Use only valve, core, sealant, rim, and pump combinations documented as compatible.
- Carry a tested tube and removal tool for a roadside failure.
Schwalbe advises storing a tubeless wheel with the valve at the top for longer periods to reduce sticking, and its tubeless guidance notes that valve-area leaks may require cleaning the contact area, replacing the valve, or replacing damaged tape.
Your next step
Test the pump elsewhere, park the wheel with its valve high, then isolate the core from the stem only after complete depressurisation. Replace the smallest failed part that restores reliable airflow and sealing. If tape, bead, or valve-base integrity is uncertain, use a tubeless-experienced mechanic.